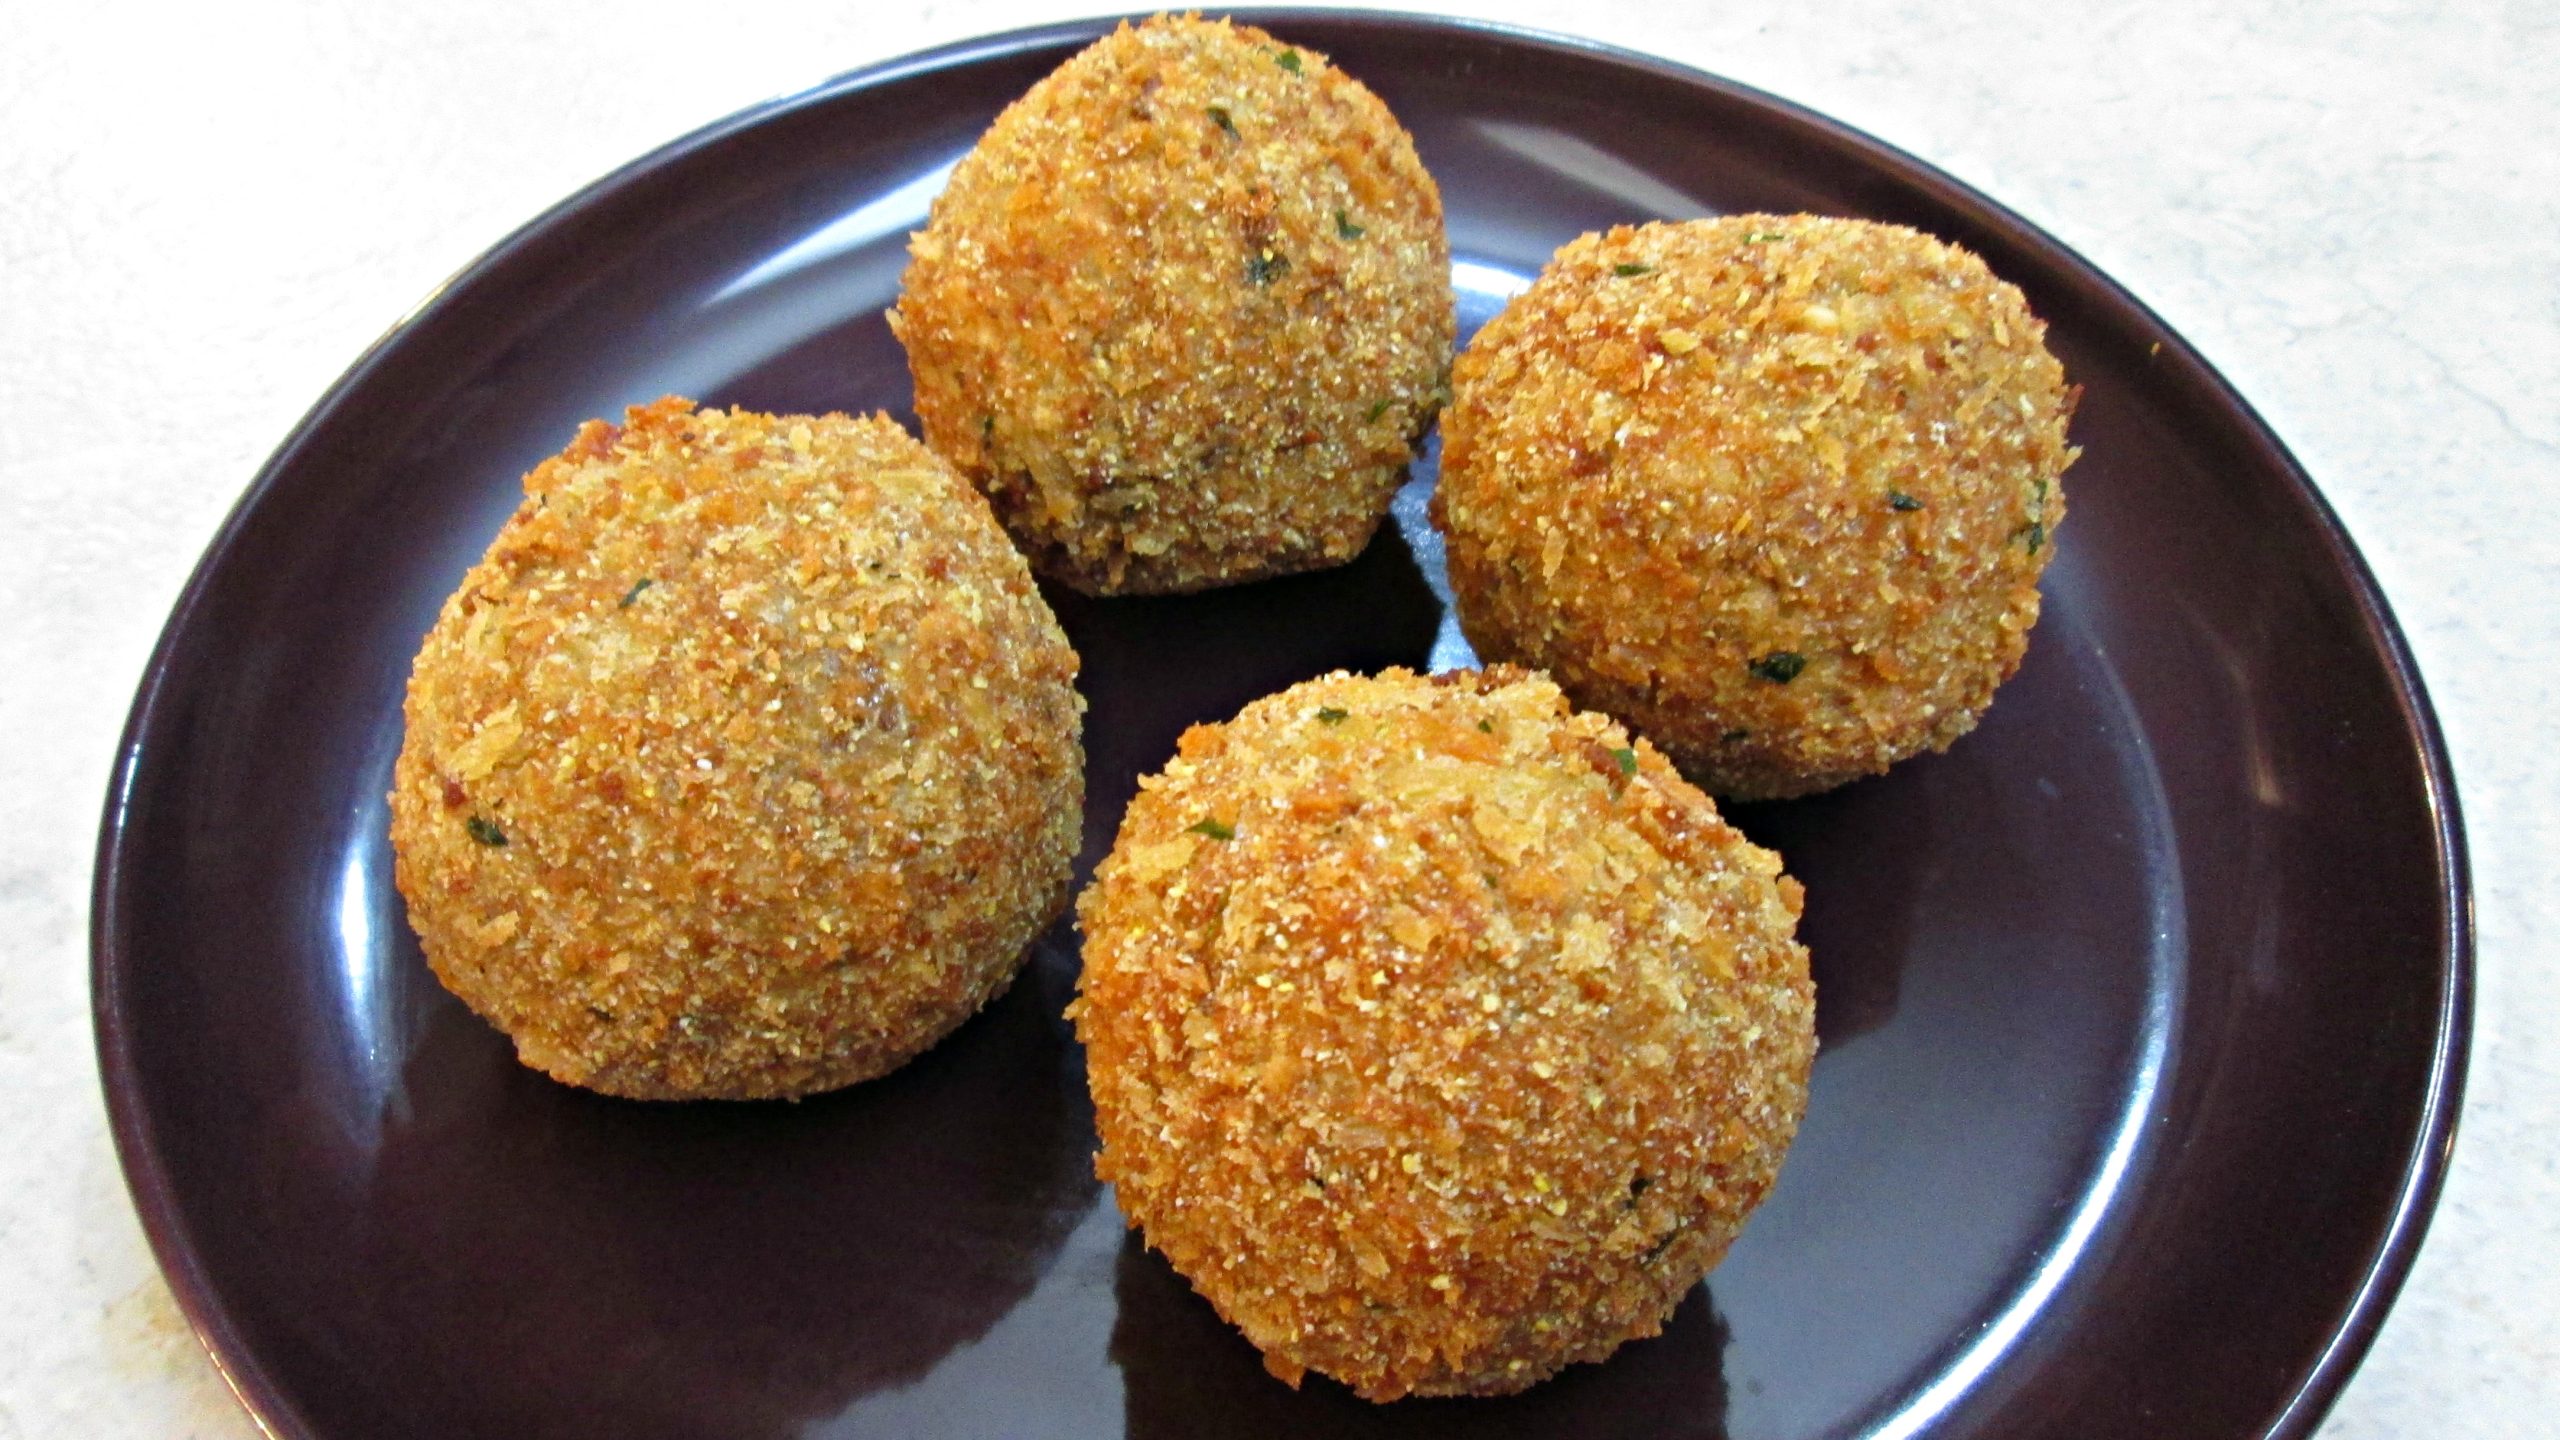
Boudin Balls – Fried Rice Pudding Blood Sausage

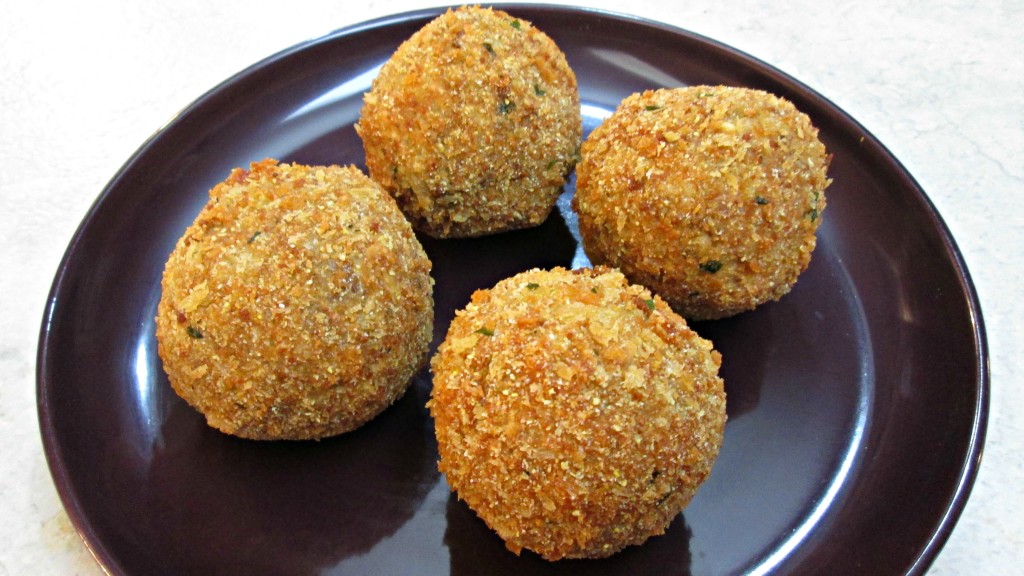
Fried Boudain Balls Main Pic

Classic Boudin Balls Recipe

This Boudin Balls recipe is a classic recipe that has been spun into a fun appetizer that is starting to make a heavy appearance on menus in the South. Whether you pronounce it Boudin or Boudain, this Cajun recipe has got Balls.  I’m talking heat, flavor, crunch and it just so happens that they are rolled up all sphere like.  Hence the recipe name, Boudin Balls.  But make no mistake.  This Boudain Balls recipe is perfect for stuffing links if that’s what you prefer.  I’m telling you that this Boudin recipe is hands down as good as it gets and I’m betting that it’s even better than you’re moms recipe too!

If you don’t know what Boudin Balls are or even what Boudin is, let’s talk about it for a minute.  Most Americans think it originated in the South but the truth is there are all forms of Boudin throughout Europe.  Some people call it rice pudding or blood sausage.  Both are fairly accurate descriptions but for the most part, it’s generally a very potent rice pudding blood sausage with a concentrated spicy taste.  It’s normally twisted up in stuffed hog casings that can be smoked, grilled, baked or even pan fried.  And now, with this Boudin Balls recipe, it can be deep fried.

If you’re interested in learning how to stuff Boudin or more Cajun and Southern recipes, Check out the links below.

CLICK HERE for Boudin
CLICK HERE for Crawfish Etouffee

CLICK HERE for Jambalaya

Boudin Balls Ingredients:

4 cups white rice, cooked
1 lbs Ground Andouille Sausage
1/2 lbs Chicken liver
1 Celery stalk, chopped
1/2 Red Onion, chopped
3 Garlic Cloves, chopped
1 Jalapenos, chopped
1 Bell Pepper, chopped
1/2 cup Fresh Parsley, chopped
1/2 cup Scallions

2 Cups Chicken Broth
1 Cup Clam Juice
2 tbs Butter
1 tbs kosher salt (or to taste)
2 tbs freshly ground black pepper
1 tbs Worcestershire
1 tsp cayenne pepper
1/2 tsp chili powder
1/4 cup Red Wine

1 cup Seasoned Flour, Salt/Pepper/Paprika to taste
3 eggs, beaten
1 cup Panko/Seasoned Bread Crumbs/Corn Meal (equal parts)
Oil for frying

Be sure to watch the short video to tutorial and fry your Boudin Balls for 2 to 3 minutes at 375° Fahrenheit or until golden brown.

Broccoli and Cheese Dip with Marinated Artichoke Hearts

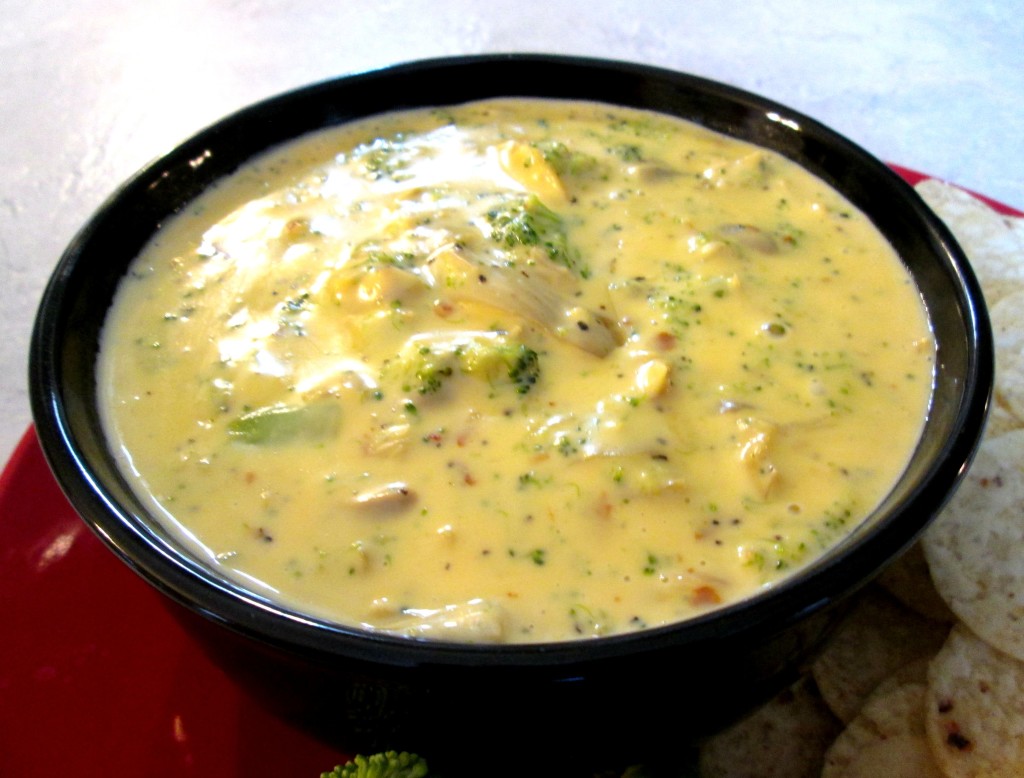
Broccoli and Cheese Dip Main Pic

The Best Broccoli and Cheese Dip

I love this Broccoli and Cheese Dip and so does my family.  I think this is something you’re bound to fall in love with yourself.  Make no mistake about it. If you’re a Broccoli fan and you love Marinated Artichoke Hearts, this will become one of your regular party, snack or appetizer favorites.  It’s quick, easy and a solid crowd pleaser.  You can serve this hot, with chips, or on a toasted sliced baguette and it’s even better after it’s been refrigerated and used as a spread.  I’m half tempted to even try this over Chicken or stuffed inside a Cordon Bleu, it’s that good!  But don’t take my word for it.

Broccoli and Cheese Dip with Marinated Artichoke Hearts

This Broccoli and Cheese Dip has Marinated Artichoke Hearts in it.  Why?  Because they’re delicious, that’s why.  It can be made without, if you prefer, but I would highly recommend using them because they provide a ton of flavor you’ll have to make up for otherwise.  I think you could pull it off with a little bit of Italian dressing, as an alternative, but I’m talking about pickling and various seasons that are already balanced in a store bought Jar of Artichoke Hearts.  So, like I said, be sure to use the marinated kind.

If you are interested in another recipe idea for a dip or something with Broccoli, take a look at these two below.

Spinach and Artichoke Dip CLICK HERE!

Cream of Broccoli Soup CLICK HERE!

Broccoli and Cheese Dip Ingredients:

2 cups Velveta Cheese
1 cup Heavy Whipping Cream
1 cup Fresh Broccoli, chopped
1 cup Marinated Artichoke Hearts, chopped
1/2 tsp Black Pepper (optional)

Be sure to watch the short video tutorial and I’ll show you how to make this Broccoli and Cheese Dip with Marinated Artichoke Hearts.

Beef Jerky – Teriyaki

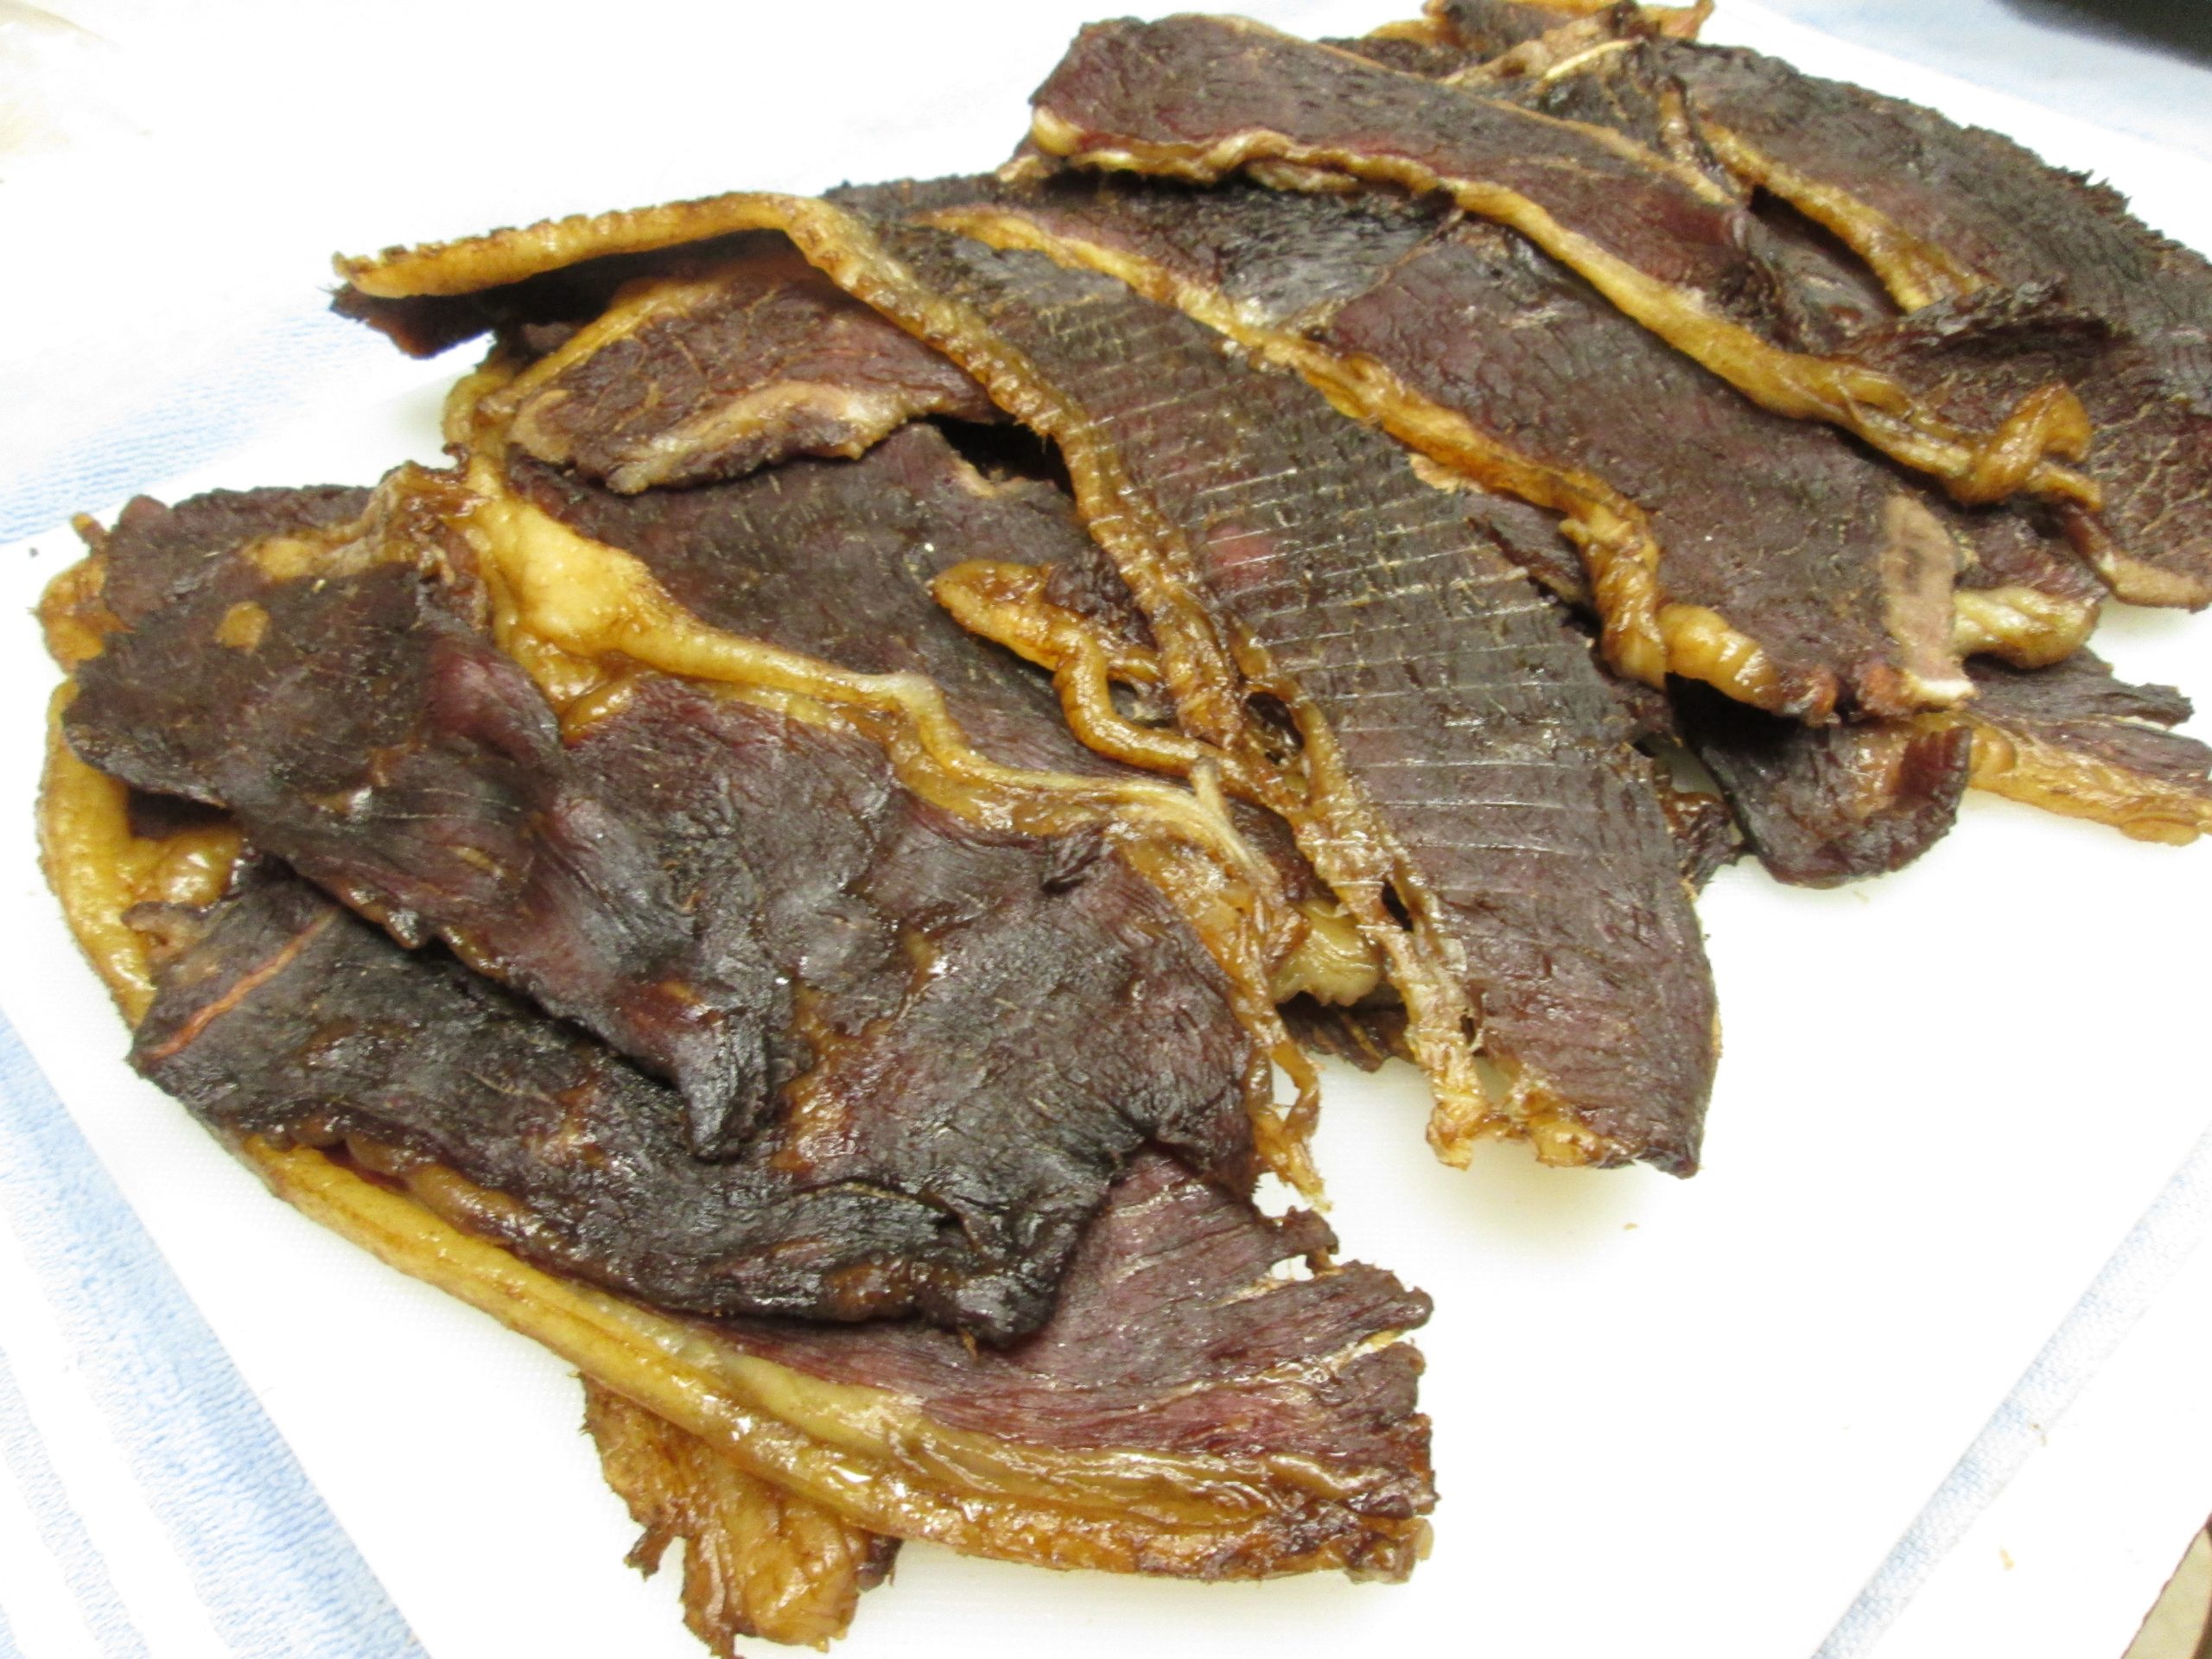
Beef JerkyMaking Beef Jerky!

Beef Jerky is an excellent snack to have on hand when your traveling.  With School coming to a close and summer rapidly approaching, I would imagine that many will be hitting the road.  If not to find solace in the wilderness, maybe, just to get away on vacation somewhere.  Options at the gas stations are your run of the mill trucker snacks and burritos.  Hot foods are hit and miss, and prices are unruly; especially if you’re buying Beef Jerky.  But, if you know what you’re doing, you can throw down 20 bucks and spin out over 3 lbs of it!

Size is everything.  You don’t want to have your Bottom Round Roast cut to the thickness you’re use to eating.  No, you need to cut it thick enough to dehydrate down to the size you are use to eating it.  Capiche? No less than 1/8 of inch and no more than 1/4.  I always lean to the  thicker side.  So pick your favorite roast and hand it to your butcher and tell him you need it sliced, against the grain, on the heavy side of an 1/8 inch.  Have him show you the first slice before he chops the entire Roast, trust me.  You want it about twice as thick raw as you want your final product.  Once you get that handled, all you have to do now is Marinade and Dehydrate, and between the two of those it should only take you 3 hours, tops!

Beef Jerky Ingredients:

1  4 to 5 lbs Rump Round Roast or Beef Flank
1 Bottle of Teriyaki Marinade (I’m using Lowry’s but choose your favorite)

Marinate the meat for a Minimum 30 Minutes.  If you’d like the flavor through and through, marinate for a few hours, but an overnight marinade is too much.  Lay flat on your dehydrator racks.  If your using an Oven, you can do the same thing.  The only difference is you’ll have to prop open the oven door an inch or two to allow the moisture to escape in order for it to dry out your meat.  150 degrees is what you’re looking for.  Only 2 1/2 to 3 hours of cooking time is needed before you have the finished product.  And just a helpful tip, you can trim off all the excess fat from each slice just using a pair of scissors.  There you have it, Beef Jerky right here in the Poor Man’s Gourmet Kitchen!