Baby Back Ribs Tin Foil Dinner

Fun Baby Back Ribs Dinner

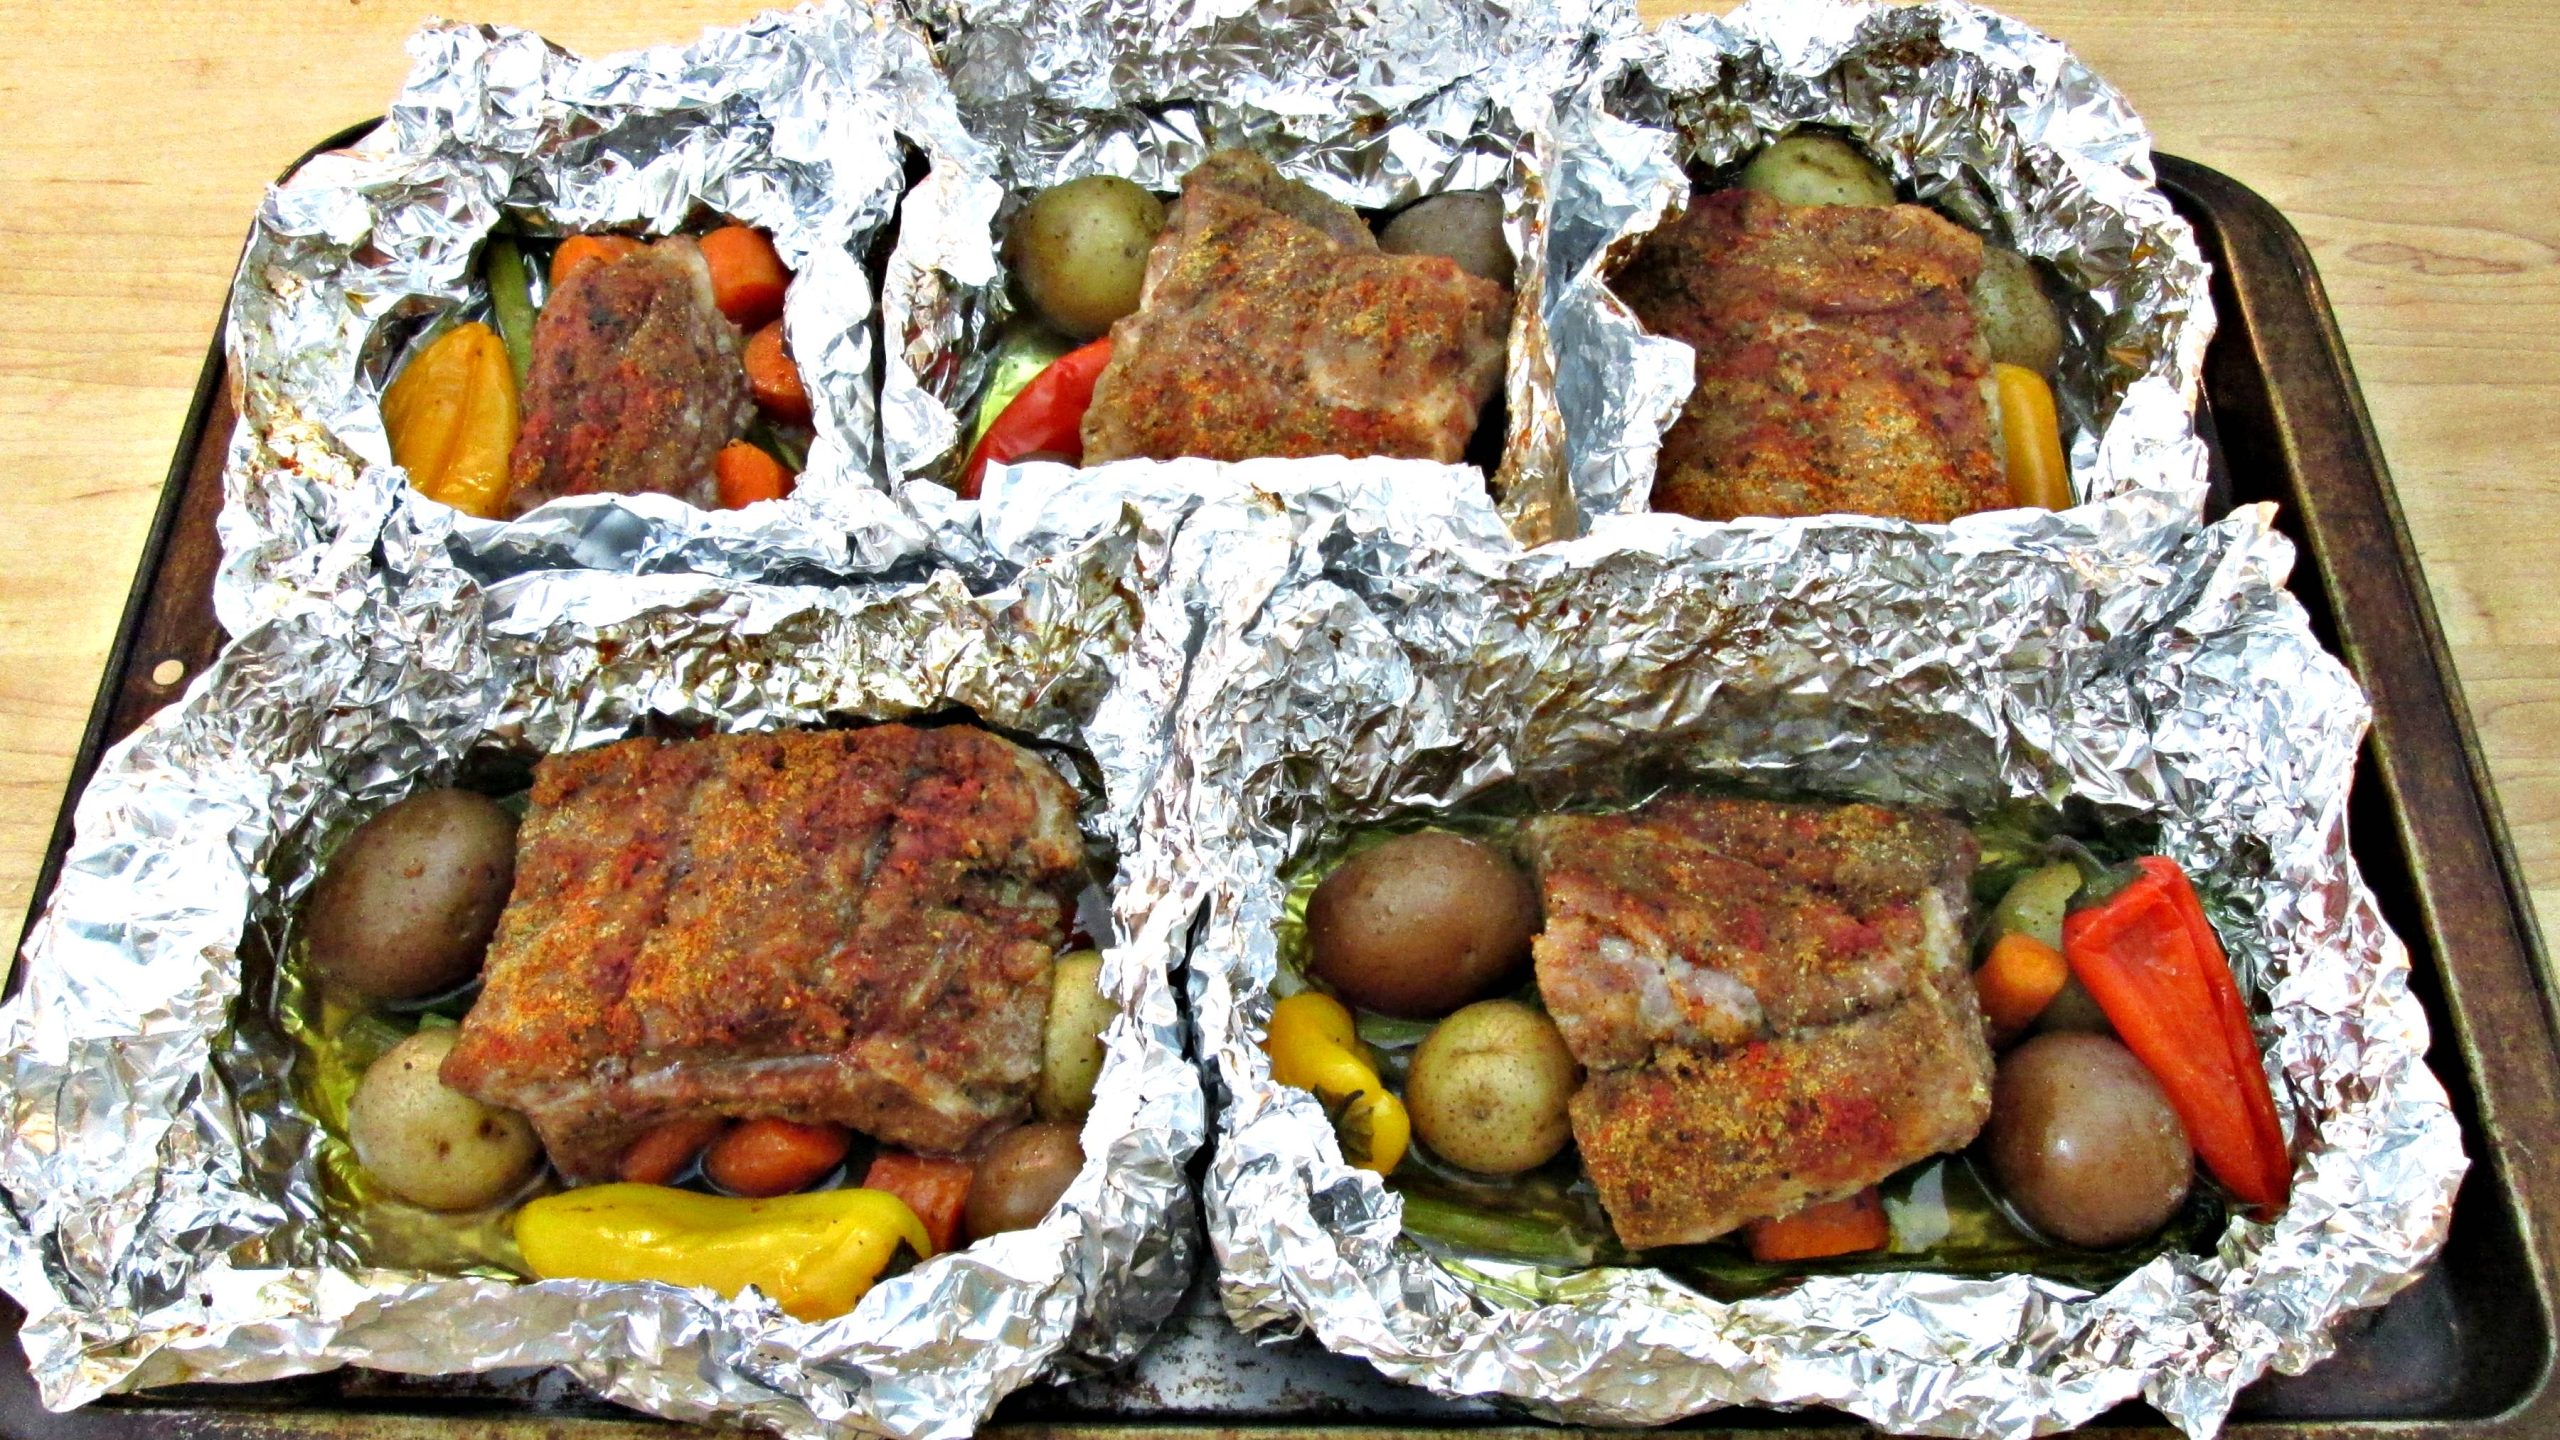
Tin foil dinners were a regular thing for me, growing up. I was a Boy Scout and without mommy and daddy around to cook for me, I had to throw something together that could just be cooked by campfire. I didn’t like hot dogs so hamburger and vegetables was the next alternative. Well, now that I’m full grown, I don’t want little burned bits of under seasoned hamburger. I want ribs and an assortment of vegetables that any gourmet chef would be proud of and this is what I came up with.

Raw Baby Back Ribs seasoned with Kosher Salt, Black Pepper, Cumin and Blackened Seasoning.

The Best Baby Back Ribs

If you want great Baby Back Ribs, they’ve got to be seasoned. We’ve all got our own specific tastes but the key is to lay it on there thick. In my opinion, the only way you can over season ribs is if you add too much salt. That’s why I use Kosher. It’s light, fluffy and a few pinches, spread evenly, seasons the meat perfectly. There’s a variety of different seasoning I use for different recipes but the key is to cook them slow and low, no matter what you decided to season your ribs with. Cook them over some hot coals, in a smoker, barbecue grill or in the oven like I do and the slow and low method will never do you wrong.

In this recipe I use Cumin and Blackened Seasoning. That means there is Smoked Paprika, Garlic and Onion Powder and a few earthy ingredients that really make pork pop. I posted a recipe for Blackened Seasoning a while back if you’d like to put together some for your self.

Waxy potatoes, sweet peppers, asparagus and carrots.

Veggies and Baby Back Ribs

One pairing that is as sure as death and taxes is vegetables in tin foil dinners and this Baby Back Ribs recipe is no exception. Vegetables that are hard and take longer to cook are the best to use because it takes a few hours for the pork to cook. I chose some small waxy potatoes, carrots, sweet peppers and asparagus. Why I didn’t think to put onion in there, until this exact moment, I’ll never know. Truthfully I was trying to film 2 videos at the same time. 2 hours of cooking time gave me nothing to do so I must have racked my brain trying to get a second video done. Anyway, where was I… oh yeah, the vegetables. They will turn out perfectly with just a little olive oil and salt and pepper.

Baby Back Ribs Tin foil Dinner Ingredients:

1 rack Baby Back Ribs
Carrots
Asparagus
Small Waxy Potatoes
Small Sweet Peppers
Cumin
Blackened Seasoning
Kosher Salt and Pepper
Olive Oil

Cook at 300 degrees Fahrenheit for 2 hours and then expose the ribs and kick up the heat 50 degrees. Bake a second time, with barbecue sauce if you’d like, for 20 minutes.

I’m not listing all of the exact amounts because it’s not necessary. I just bought a small bag of each item and just eye balled the seasoning and I’m confident that you can do the same thing and be proud of your self. Just follow the instructions in the Baby Back Ribs Tin Foil Dinner video tutorial and I’ll show you exactly how to make this.

Beef Jerky – Teriyaki

Beef JerkyMaking Beef Jerky!

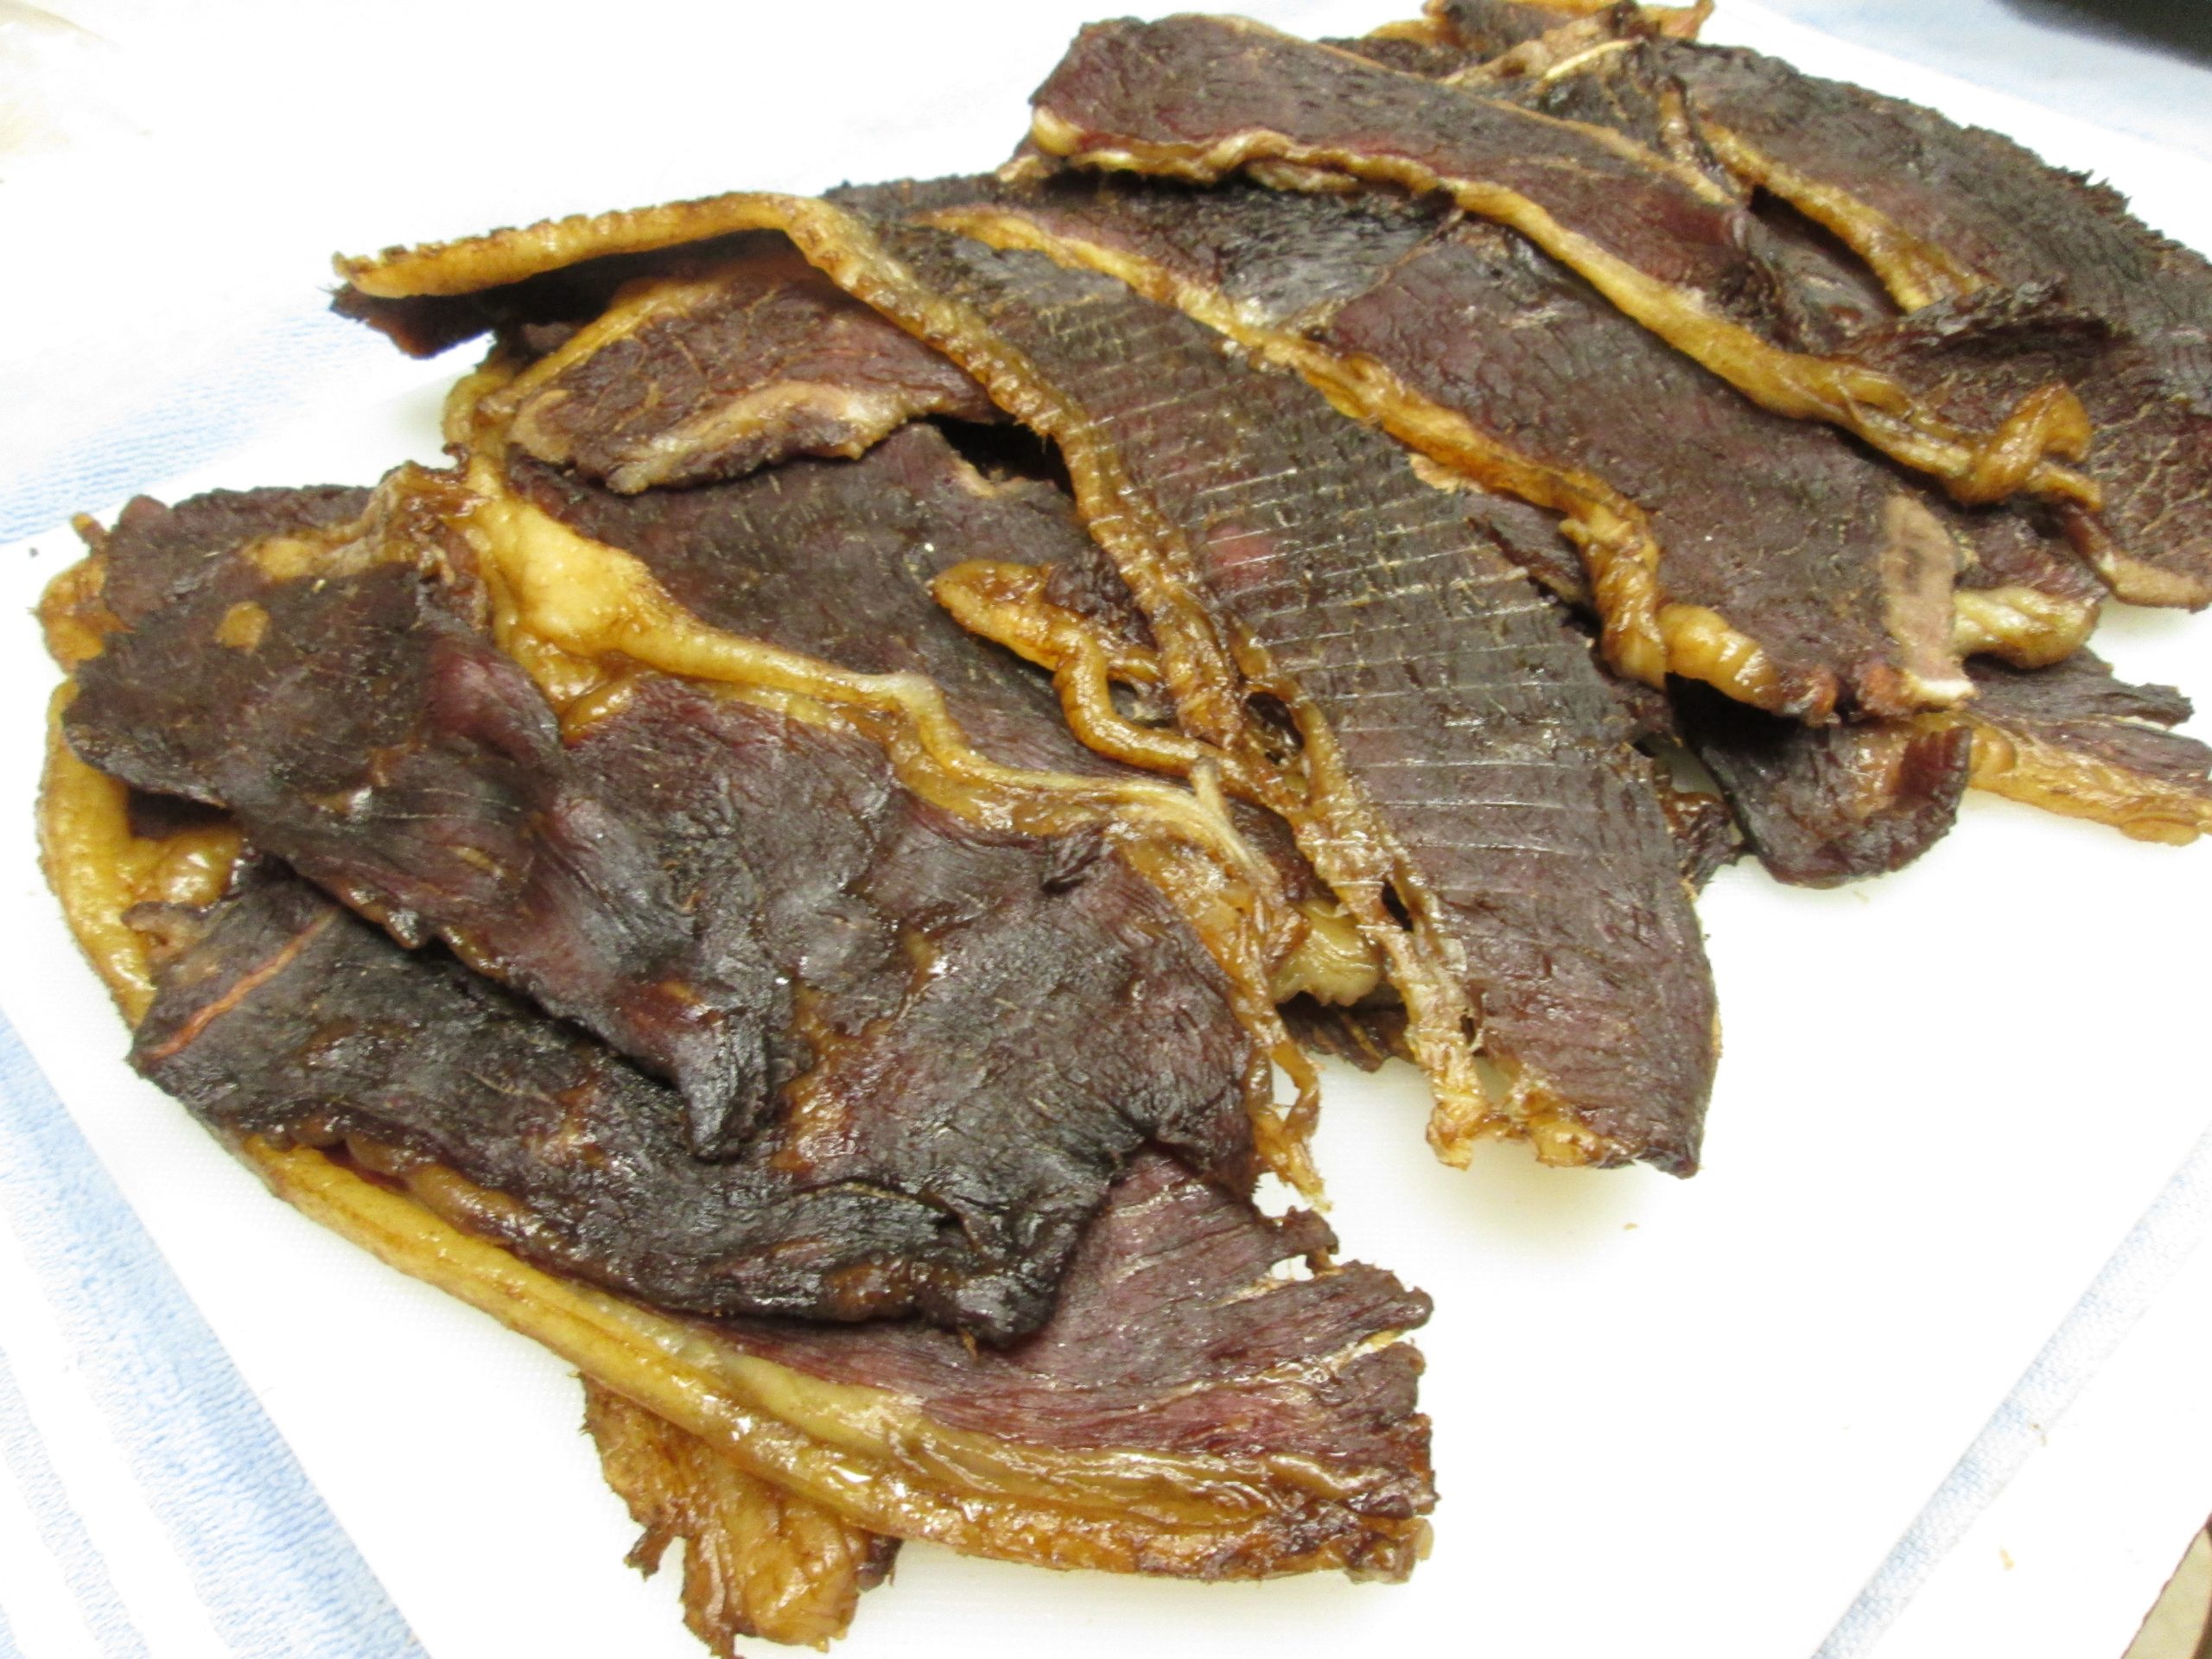
Beef Jerky is an excellent snack to have on hand when your traveling.  With School coming to a close and summer rapidly approaching, I would imagine that many will be hitting the road.  If not to find solace in the wilderness, maybe, just to get away on vacation somewhere.  Options at the gas stations are your run of the mill trucker snacks and burritos.  Hot foods are hit and miss, and prices are unruly; especially if you’re buying Beef Jerky.  But, if you know what you’re doing, you can throw down 20 bucks and spin out over 3 lbs of it!

Size is everything.  You don’t want to have your Bottom Round Roast cut to the thickness you’re use to eating.  No, you need to cut it thick enough to dehydrate down to the size you are use to eating it.  Capiche? No less than 1/8 of inch and no more than 1/4.  I always lean to the  thicker side.  So pick your favorite roast and hand it to your butcher and tell him you need it sliced, against the grain, on the heavy side of an 1/8 inch.  Have him show you the first slice before he chops the entire Roast, trust me.  You want it about twice as thick raw as you want your final product.  Once you get that handled, all you have to do now is Marinade and Dehydrate, and between the two of those it should only take you 3 hours, tops!

Beef Jerky Ingredients:

1  4 to 5 lbs Rump Round Roast or Beef Flank
1 Bottle of Teriyaki Marinade (I’m using Lowry’s but choose your favorite)

Marinate the meat for a Minimum 30 Minutes.  If you’d like the flavor through and through, marinate for a few hours, but an overnight marinade is too much.  Lay flat on your dehydrator racks.  If your using an Oven, you can do the same thing.  The only difference is you’ll have to prop open the oven door an inch or two to allow the moisture to escape in order for it to dry out your meat.  150 degrees is what you’re looking for.  Only 2 1/2 to 3 hours of cooking time is needed before you have the finished product.  And just a helpful tip, you can trim off all the excess fat from each slice just using a pair of scissors.  There you have it, Beef Jerky right here in the Poor Man’s Gourmet Kitchen!