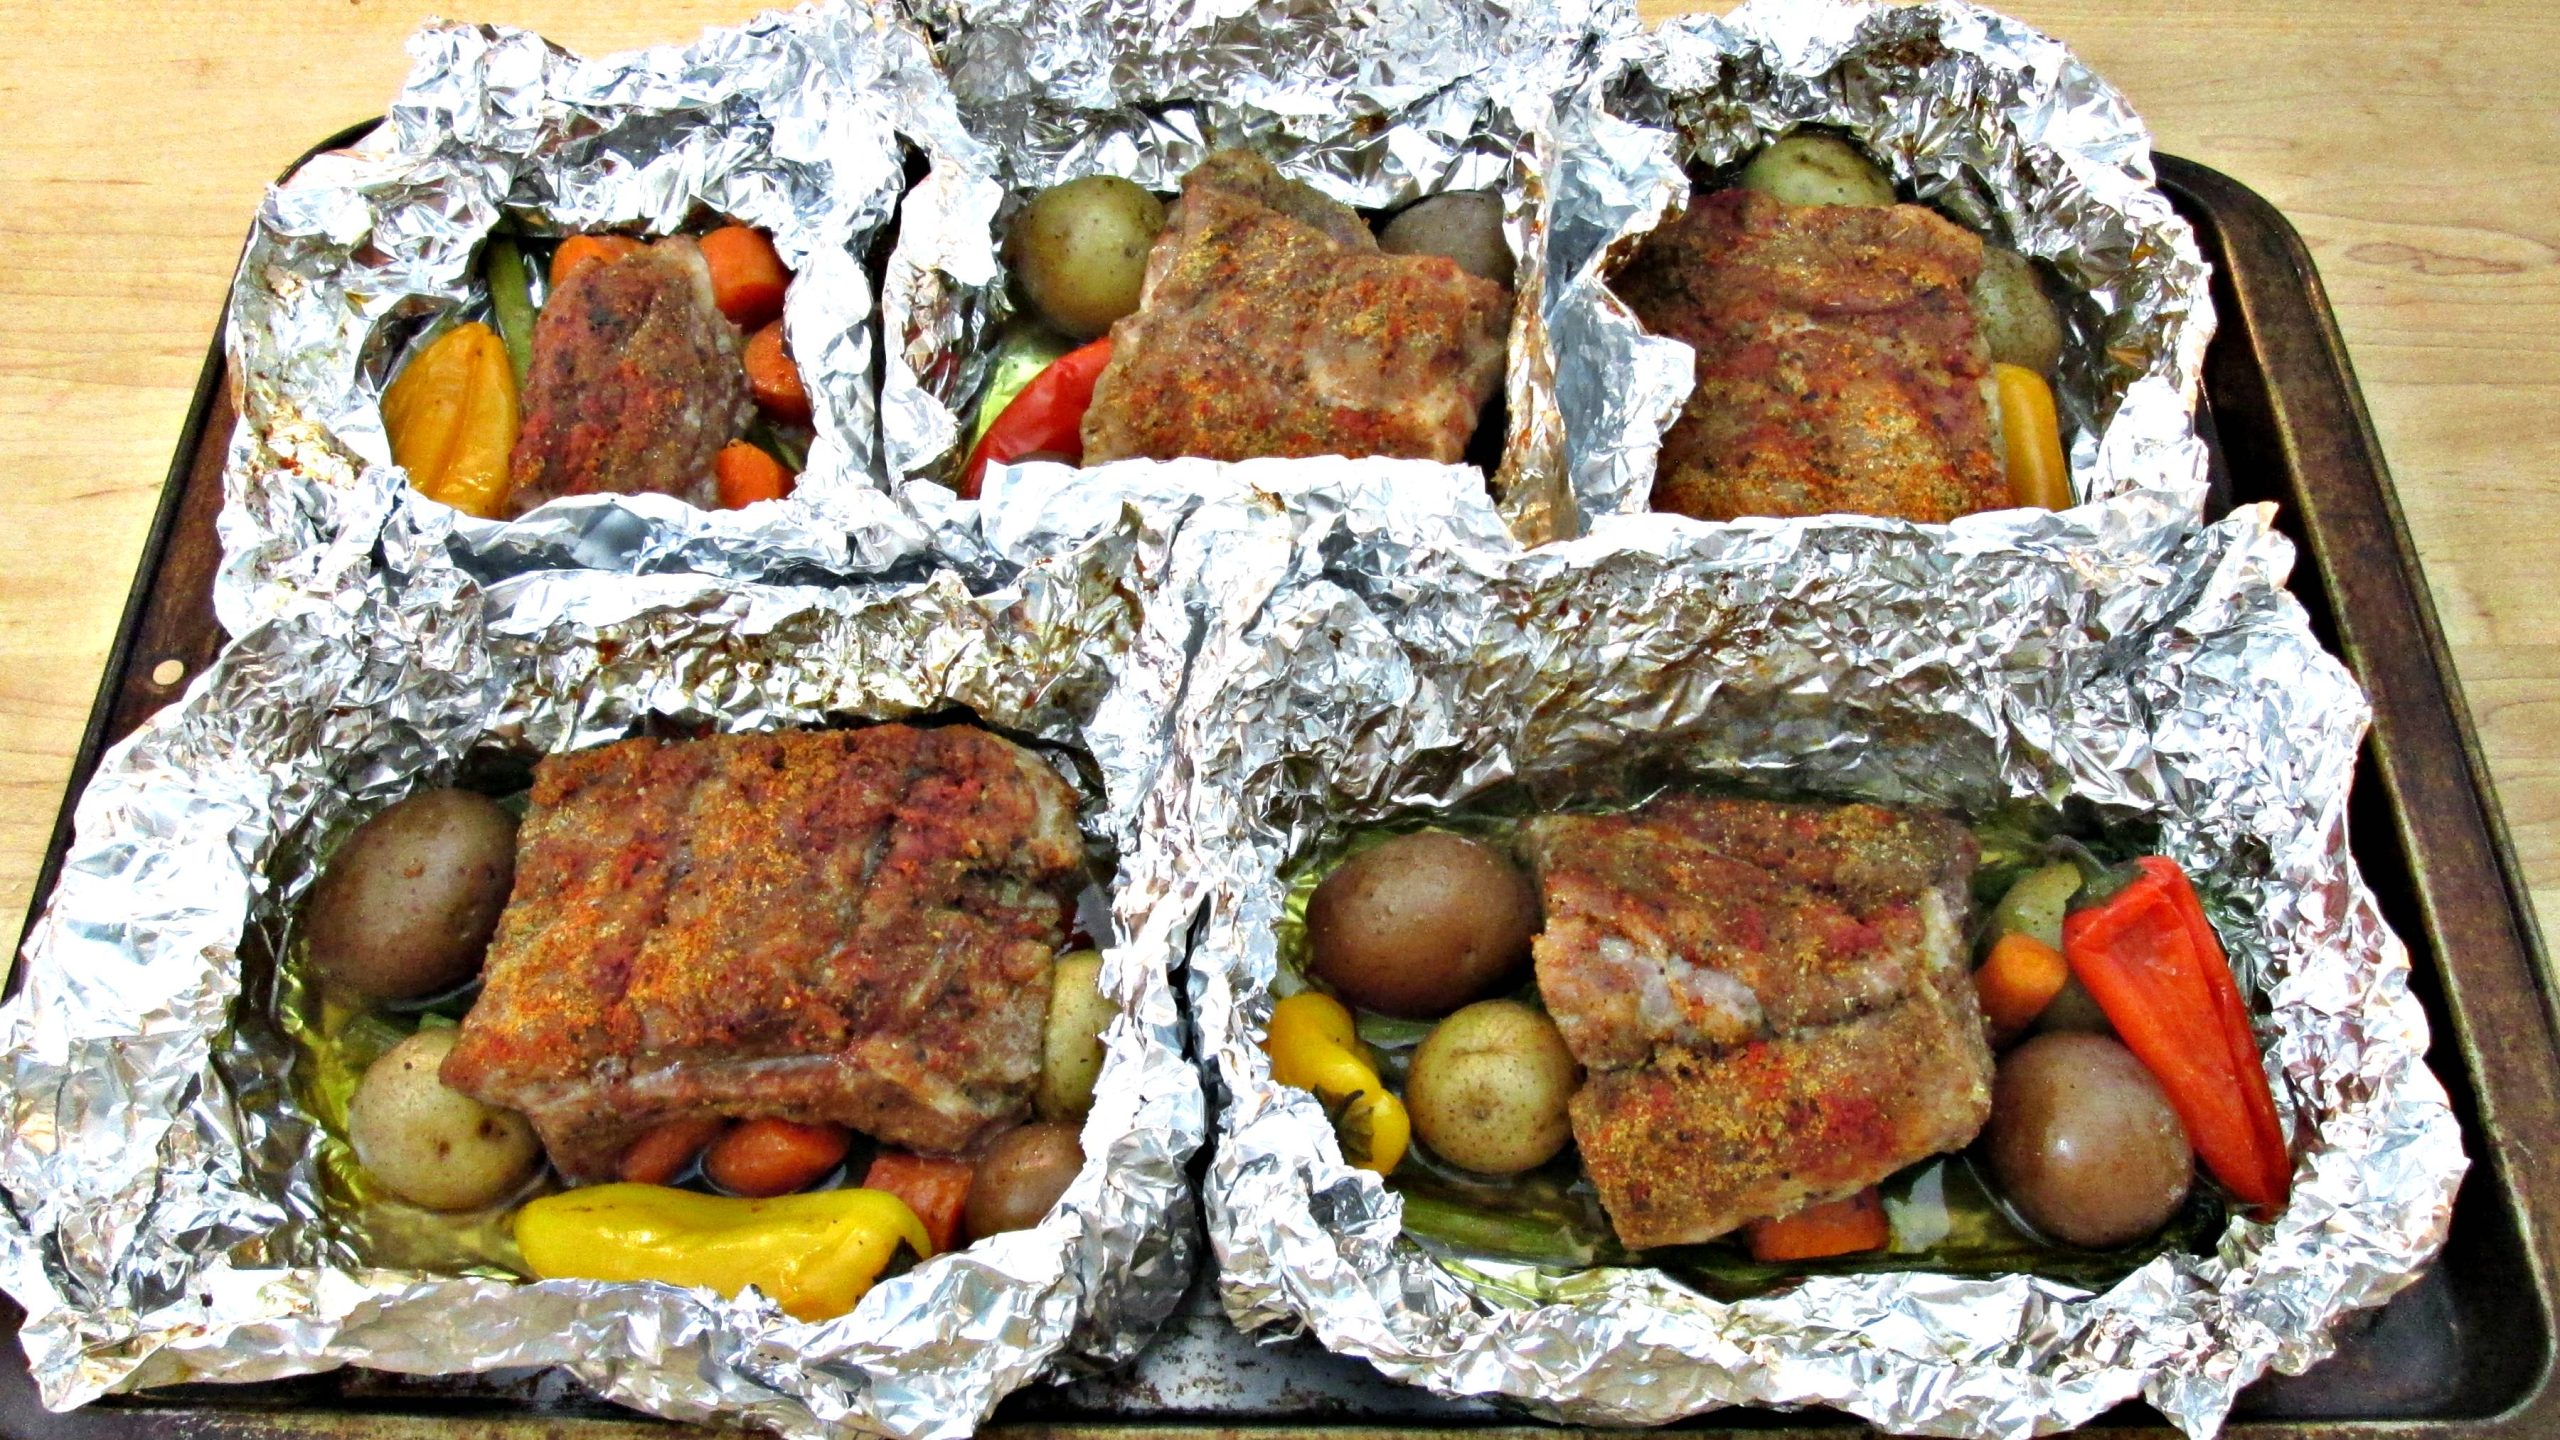
Baby Back Ribs Tin Foil Dinner

Fun Baby Back Ribs Dinner

Tin foil dinners were a regular thing for me, growing up. I was a Boy Scout and without mommy and daddy around to cook for me, I had to throw something together that could just be cooked by campfire. I didn’t like hot dogs so hamburger and vegetables was the next alternative. Well, now that I’m full grown, I don’t want little burned bits of under seasoned hamburger. I want ribs and an assortment of vegetables that any gourmet chef would be proud of and this is what I came up with.

Raw Baby Back Ribs seasoned with Kosher Salt, Black Pepper, Cumin and Blackened Seasoning.

The Best Baby Back Ribs

If you want great Baby Back Ribs, they’ve got to be seasoned. We’ve all got our own specific tastes but the key is to lay it on there thick. In my opinion, the only way you can over season ribs is if you add too much salt. That’s why I use Kosher. It’s light, fluffy and a few pinches, spread evenly, seasons the meat perfectly. There’s a variety of different seasoning I use for different recipes but the key is to cook them slow and low, no matter what you decided to season your ribs with. Cook them over some hot coals, in a smoker, barbecue grill or in the oven like I do and the slow and low method will never do you wrong.

In this recipe I use Cumin and Blackened Seasoning. That means there is Smoked Paprika, Garlic and Onion Powder and a few earthy ingredients that really make pork pop. I posted a recipe for Blackened Seasoning a while back if you’d like to put together some for your self.

Waxy potatoes, sweet peppers, asparagus and carrots.

Veggies and Baby Back Ribs

One pairing that is as sure as death and taxes is vegetables in tin foil dinners and this Baby Back Ribs recipe is no exception. Vegetables that are hard and take longer to cook are the best to use because it takes a few hours for the pork to cook. I chose some small waxy potatoes, carrots, sweet peppers and asparagus. Why I didn’t think to put onion in there, until this exact moment, I’ll never know. Truthfully I was trying to film 2 videos at the same time. 2 hours of cooking time gave me nothing to do so I must have racked my brain trying to get a second video done. Anyway, where was I… oh yeah, the vegetables. They will turn out perfectly with just a little olive oil and salt and pepper.

Baby Back Ribs Tin foil Dinner Ingredients:

1 rack Baby Back Ribs
Carrots
Asparagus
Small Waxy Potatoes
Small Sweet Peppers
Cumin
Blackened Seasoning
Kosher Salt and Pepper
Olive Oil

Cook at 300 degrees Fahrenheit for 2 hours and then expose the ribs and kick up the heat 50 degrees. Bake a second time, with barbecue sauce if you’d like, for 20 minutes.

I’m not listing all of the exact amounts because it’s not necessary. I just bought a small bag of each item and just eye balled the seasoning and I’m confident that you can do the same thing and be proud of your self. Just follow the instructions in the Baby Back Ribs Tin Foil Dinner video tutorial and I’ll show you exactly how to make this.

Fire Roasted Salsa

Grilled, Broiled or Fire Roasted Salsa

I can honestly say that this Fire Roasted Salsa is amazing and it is, quite possibly, the best salsa I’ve ever tried.  It starts with fresh Hot House Tomatoes, Yellow Onions, Green Bell, Anaheim and Jalapeno Peppers, cilantro, lime and a few other key ingredients.  Although you can find recipes, similar to this one, all over the web, I seriously considered keeping this one all to my self.  But I get too excited when I discover the secrets to authentic recipes.  It makes me want to share it with everyone.  So that’s what I’m going to do today.

Fire Roasted Salsa Preperation

To get the best results, and be sure that your Fire Roasted Salsa tastes amazing, there’s only one thing you need to do before you take the vegetables to the grill.  Cut your onions in half.  It isn’t going to matter if you peel them before or after they roast but it is important that those onion layers get exposed to the grill. Salsa gets a lot of great flavor from onions and they have memory, so adding that smoked flavor to the rings will insure that your salsa tastes amazing when you blend them, together, with the other ingredients.

Fire Roasted Salsa Grilling Technique

Whether you choose to grill, broil or roast your vegetables over an open pit, to make this Fire Roasted Salsa, the timing and flipping is simple.  I average 25 to 30 minutes of roasting time, over medium heat(350 Fahrenheit), and I rotate and flip everything about every 5 minutes.  Look for some good color on the under side and flip.  It’s that easy.  I tend to check the peppers first because they burn quicker than the tomatoes and onions.  The onions I worry about the least.  The tomatoes just need to be pulled off the grill before they pop and loose their juice to the grill.  You should pay attention to where the hot spots are and rotate everything accordingly.  Then remove them from the heat and let them rest for a half an hour or so, until they are cool enough to touch and handle with your hands.  Remove the stems, peel the onions and add the other ingredients.

Fire Roasted Salsa Formula

I have a basic formula that you might find useful when you’re making Fire Roasted Salsa.  For every large Tomato, I add 1 medium sized Onion, 1 Bell Pepper, 1 Anaheim Pepper, 1 Jalapeno and a few cloves of Garlic.  It’s pointless making salsa on that small of a scale and that’s why I double that amount in the ingredients below.  If you want it spicier, add more peppers, different kinds or use less tomato.  It’s really not that difficult to trick up.  But that should give you a better understanding of how to approach your own homemade salsa in the future.

How to Spice Up Fire Roasted Salsa

If the Peppers aren’t providing enough heat and flavor for your tastes, there are a few other ingredients you can add to your Fire Roasted Salsa and I’ve included them in this recipe.  Cumin, Smoked Paprika and Mexican Oregano are definitely among my favorites.  You can even add some Cayenne if you’re feeling froggy.  Just be sure that you stay true to your tastes and be considerate of the pallets and less tolerant individuals, like children you may be serving, if they can’t handle spice.

Fire Roasted Salsa Ingredients:

2 Hot House Tomatoes, large
2 Onions,
1 Bell Pepper
1 Anaheim Pepper
1 Jalapeno
5 Garlic Cloves
1 lime, squeezed
1 bunch Cilantro
1 tbsp Oregano
1 tbsp Cumin
1 tbsp Smoked Paprika
1 tbsp Chicken Bouilion, Caldo con Sabor de Pollo(Knorr)
Salt and Pepper to taste

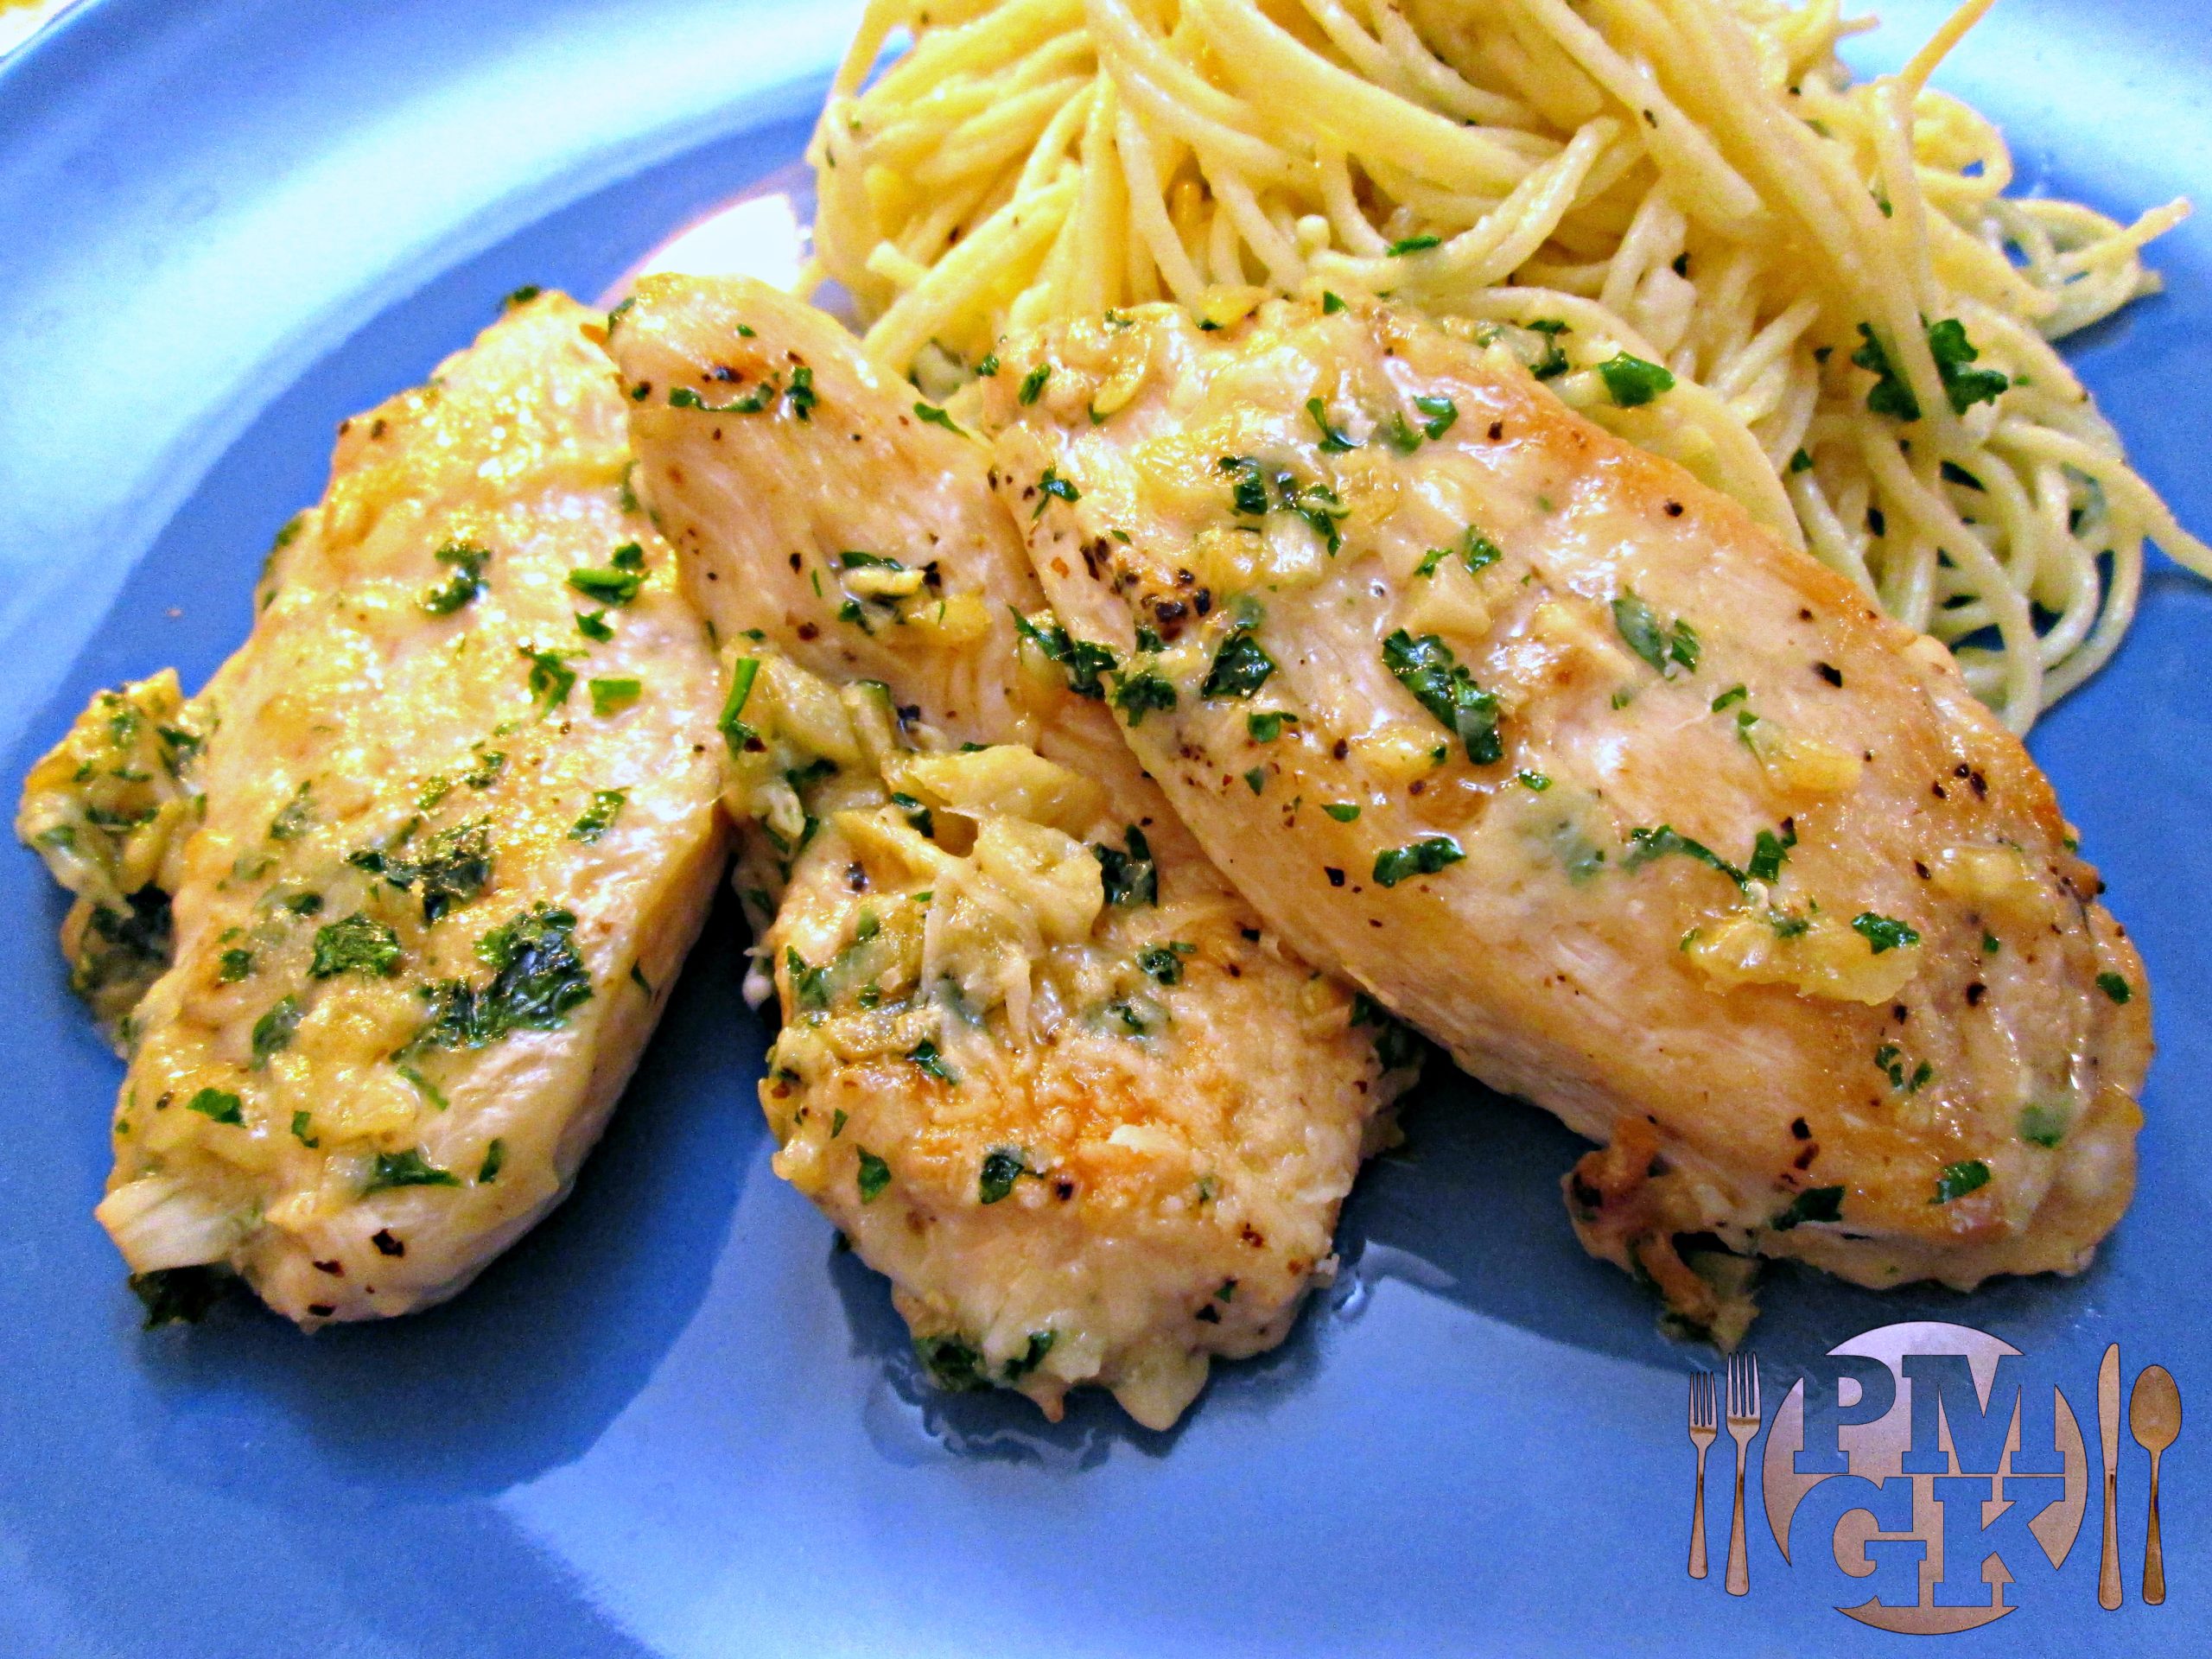
Garlic Parmesan Chicken

The Best Garlic Parmesan Chicken Recipe

This Garlic Parmesan Chicken recipe is very simple and delicious.  It can be made with white or dark meat, breaded or bare, pan fried or baked.  It’s entirely up to you.  This recipe is even good over wings and chicken legs if you’re just looking for a side dish.  The point is, Garlic Parmesan Chicken is so versatile it can practically be done anyway you want to cook it.  I even use these exact same ingredients over Brussels Sprouts, it’s that good.

The way I like Garlic Parmesan Chicken

My personal favorite way to cook this recipe is with chicken thigh meat cut into small pieces.  In fact, that’s how I like my Chicken Fettuccine Alfredo.  Cooking the chicken this way just adds so much more depth to the pasta and sauce.  So I highly recommend you add your Garlic Parmesan Chicken to your favorite noodles.  You can check out my Alfredo recipe HERE if you’d like.  Of course when I say “my” I mean The Olive Gardens! 😉

If you’re interested in other chicken recipes be sure to check out my Jamaican Jerk Chicken and my Blackened Chicken Alfredo or look over this Chicken Recipes Playlist for more options.

Garlic Parmesan Chicken Ingredients:

2 Boneless Chicken Breasts
2 tbsp Olive Oil
6 Garlic Cloves, chopped
1/4 cup Fresh Parsley, chopped
1/2 cup Parmesan Cheese, grated
2 tbsp Salted Butter (optional)
Kosher Salt and Pepper to taste

The instructions in my Garlic Parmesan Chicken video recipe tutorial is very easy to follow.  However, I don’t use any butter in the cooking, though it’s clearly in the ingredients as an option.  I do this for health reasons.  For me the Olive Oil is enough but the added butter does make this dish taste even better.  So consider adding it if it’s something you would normally do to make your Garlic Parmesan Chicken perfect.