Hasselback Potatoes

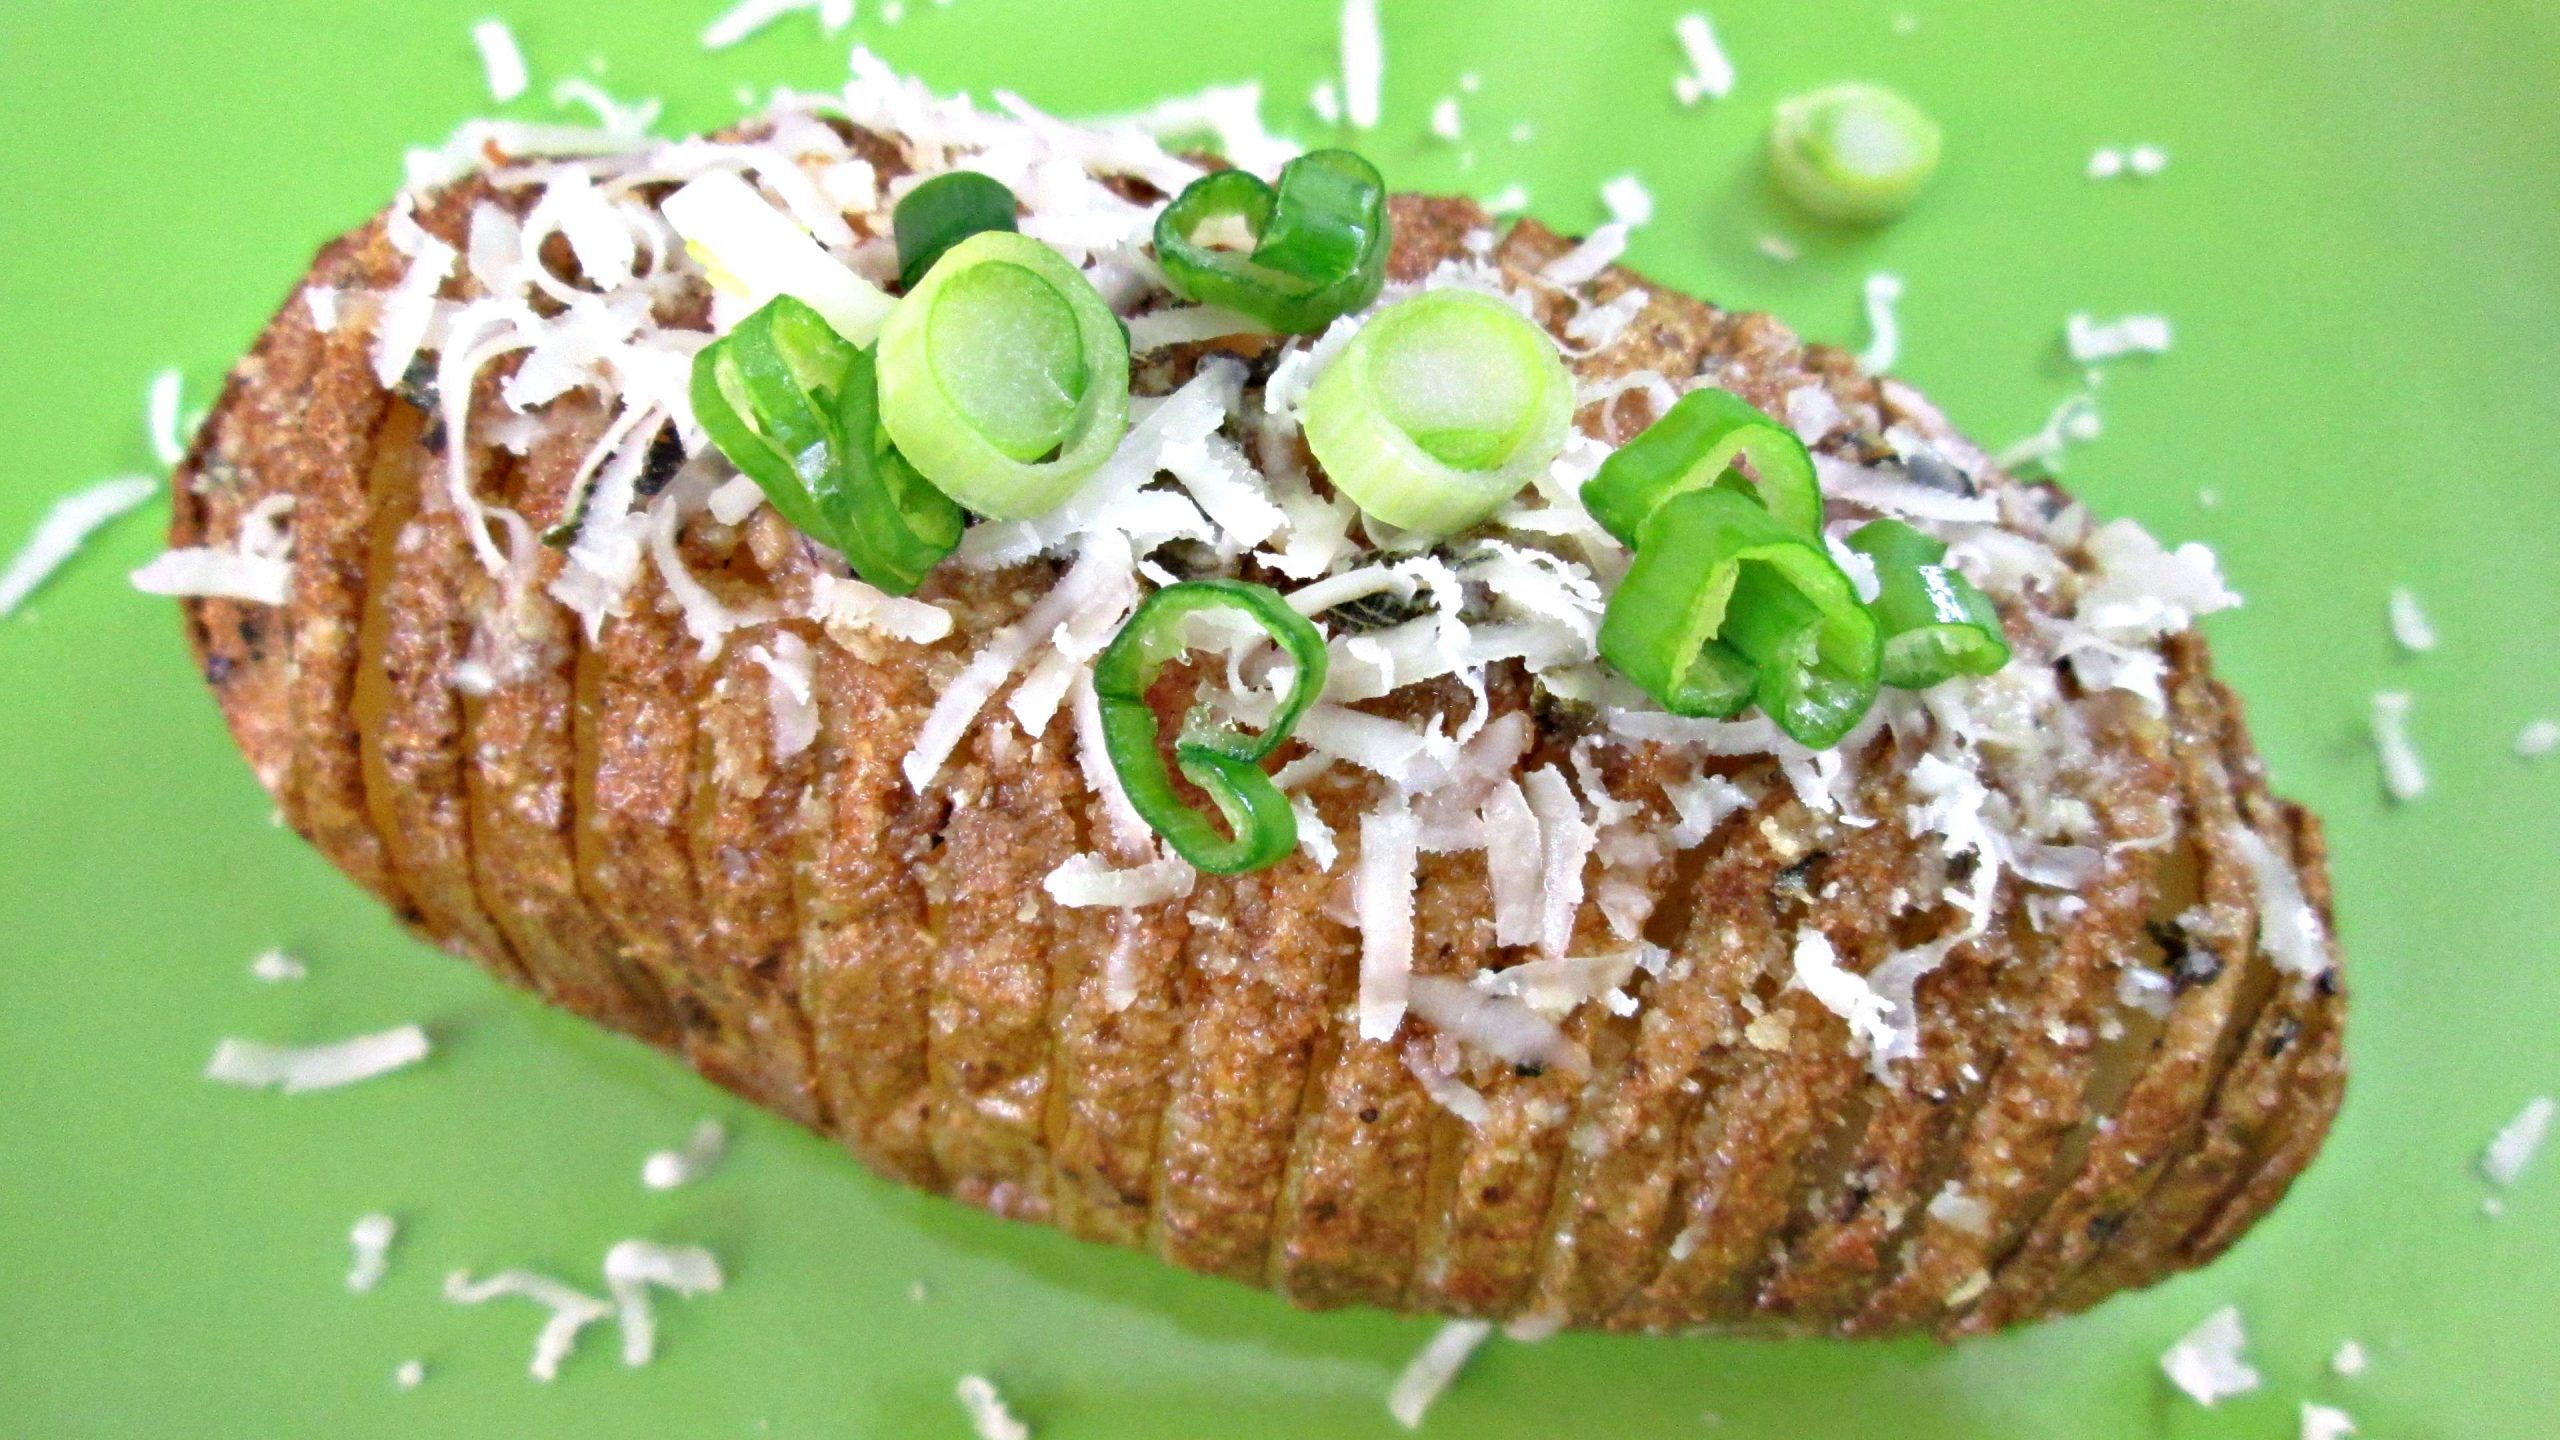
Hasselback Potato with Romano Cheese and Chives.

The Best Hasselback Potatoes

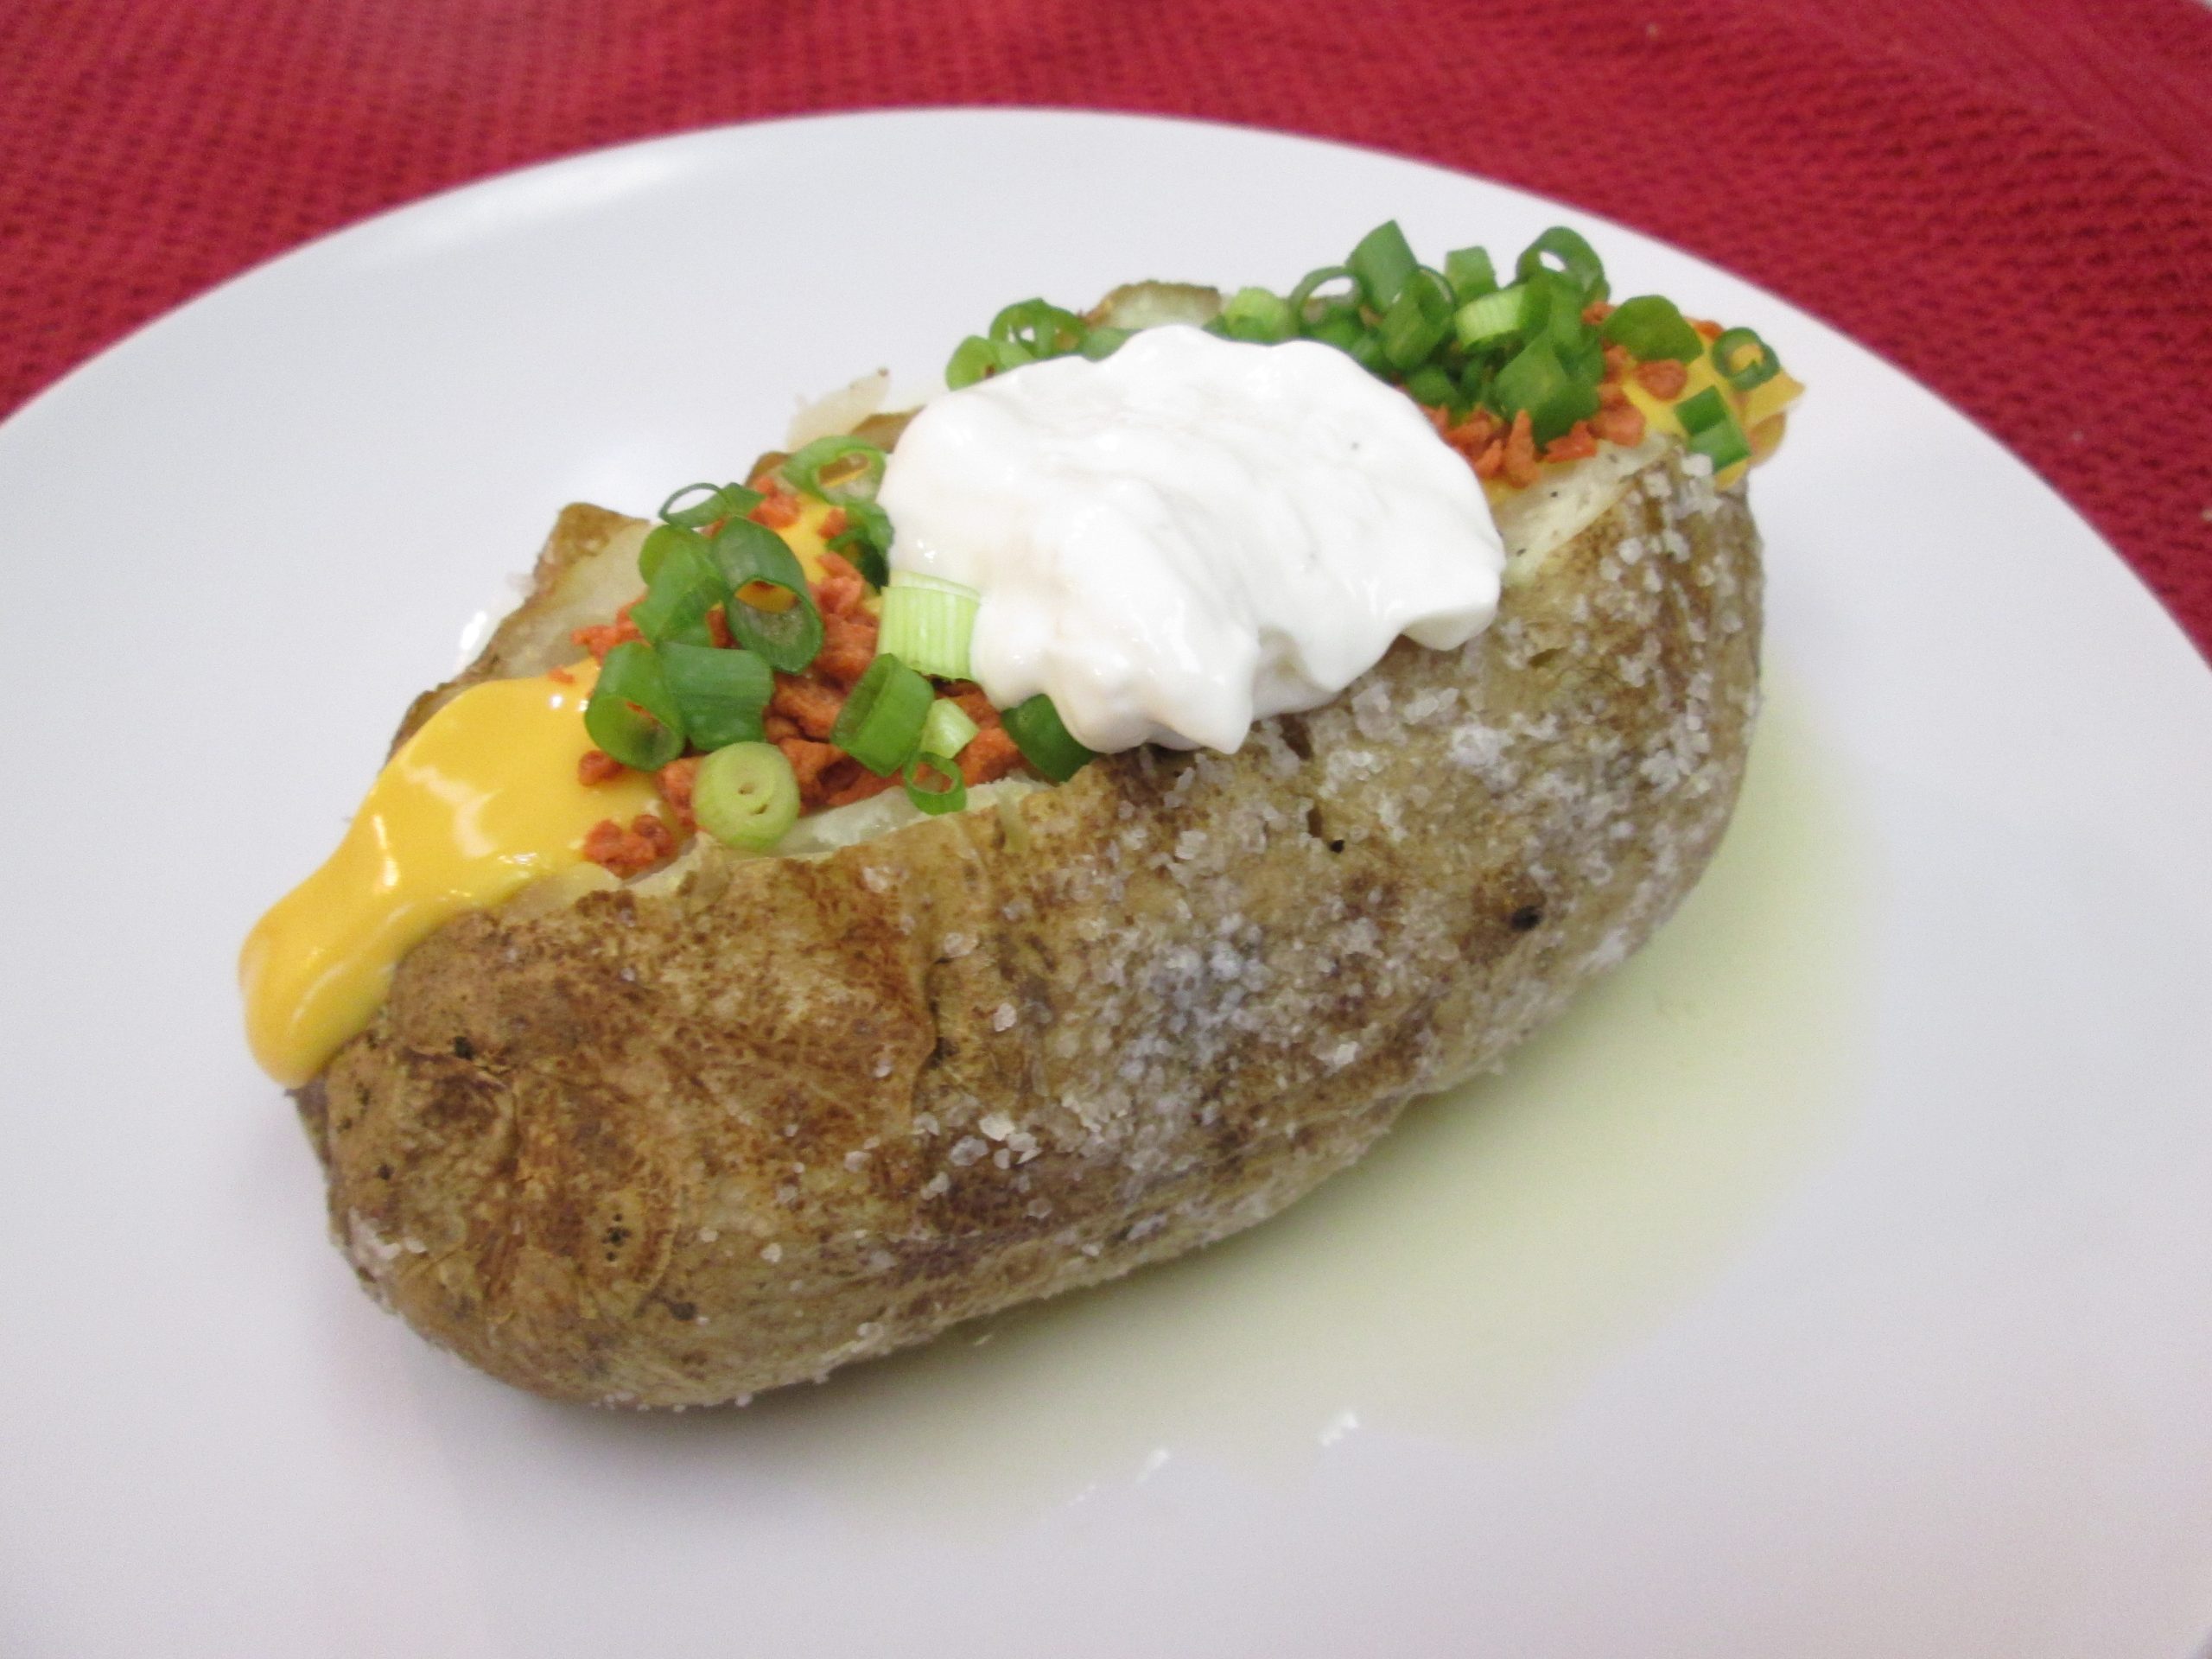
If you’re a fan of a classic or salted baked potato, you’re going to love this dish. Hasselback Potatoes are believed to have derived from the Hasselbacken hotel and restaurant in Stockholm, Sweden in the 1700’s and have long been a traditional Swedish dish, since. Much like Twice Baked Potatoes, all a Hasselback Potato really is is an over the top fancy baked potato. Only, Hasselbacks have thinly sliced ridges, seasoned with butter, herbs, bread crumbs and various cheeses. Of course, you can do whatever you want but I’m going to show you a few ways that I like to prepare them and the easiest way to cut those ridges.

Idaho Russet Potatoes.

Idaho Russet Potatoes

It’s a no-brainer when it comes to making Hasselback potatoes that you should use a classic Idaho Russet Potato. These potatoes can grow longer than the length of your hand and smaller than your fist so, it’s up to you which size you want to work with. I usually just work with what I have and choose potatoes that are all similar in size. Variety, however can be good if you’re serving adults and children with different appetites. The point is, Russet Potatoes should be your “go-to” of choice but, use what you have.

Russet Potato, cutting knife and a metal skewer.

The Cutting Secret

A quick search on the web will show you all kinds of deluded ways of cutting a Hasselback Potato. The trick is to cut thinly sliced vertical ridges, an 8th inch apart, all the way down the length of the potato, without cutting all the way through the bottom of the spud. This means the potato needs to remain still and in the same position.

The best way that I have found to accomplish this task, with efficiency and speed, is to to cut a flat spot, on the bottom of the potato and use a skewer. The flat spot keeps the potato from rolling and the skewer stops the blade from reaching the bottom. Wooden Skewers don’t work as well as metal skewers because they’re harder to penetrate the spud and they often break with applied force. The metal skewers, however, slide right through with ease so, I recommend using them instead. I found mine at the dollar store for dirt cheap, fyi.

Making your slices isn’t very complicated. Just be careful, use a sharp knife and cut each ridge an eight inch apart, like I show you how to do in the video tutorial.

Raw cut russet potatoes.
Baking and Preperation

Once you’ve got all of your russet potatoes cut, you need to rub them with vegetable oil. You season the outside with Kosher Salt and Pepper if you’d like but I like to do it after the first bake. These potatoes will bake at a higher temp first, for 20 minutes, then bake longer at a lower temp. There’s also some butter and herbs that can be used to baste the potatoes while the cook and I show you how to do that in the video tutorial as well.

You can bake the classic version, which I show you how to prepare first, or you can add other toppings, much like a baked potato or you can even poor a gravy over the top. It’s up to you. Let you’re imagination run wild and have fun with this recipe.

Hasselback Potatoes – The Cutting Secret by poormansgourmet.
Hasselback Potatoes Ingredients:

6 Potatoes
1 cube Butter, melted
1 clove Garlic
1 sprig Thyme
1 sprig Rosemary
1 pinch Mexican Oregano
2 tbsp Vegetable Oil
1/4 cup Bread Crumbs, optional
1/4 cup Romano Cheese
1 Green Onion, chopped
Kosher Salt and Pepper to taste

Cut and cover potatoes with vegetable oil. Bake 20 minutes 425° Fahrenheit. Brush with Butter mix and bake again for 45 minutes at 350° F.
Add more butter mix, bread crumbs and bake for 10 more minutes. Then add butter again and Parmesan cheese before serving and any other toppings you might like.

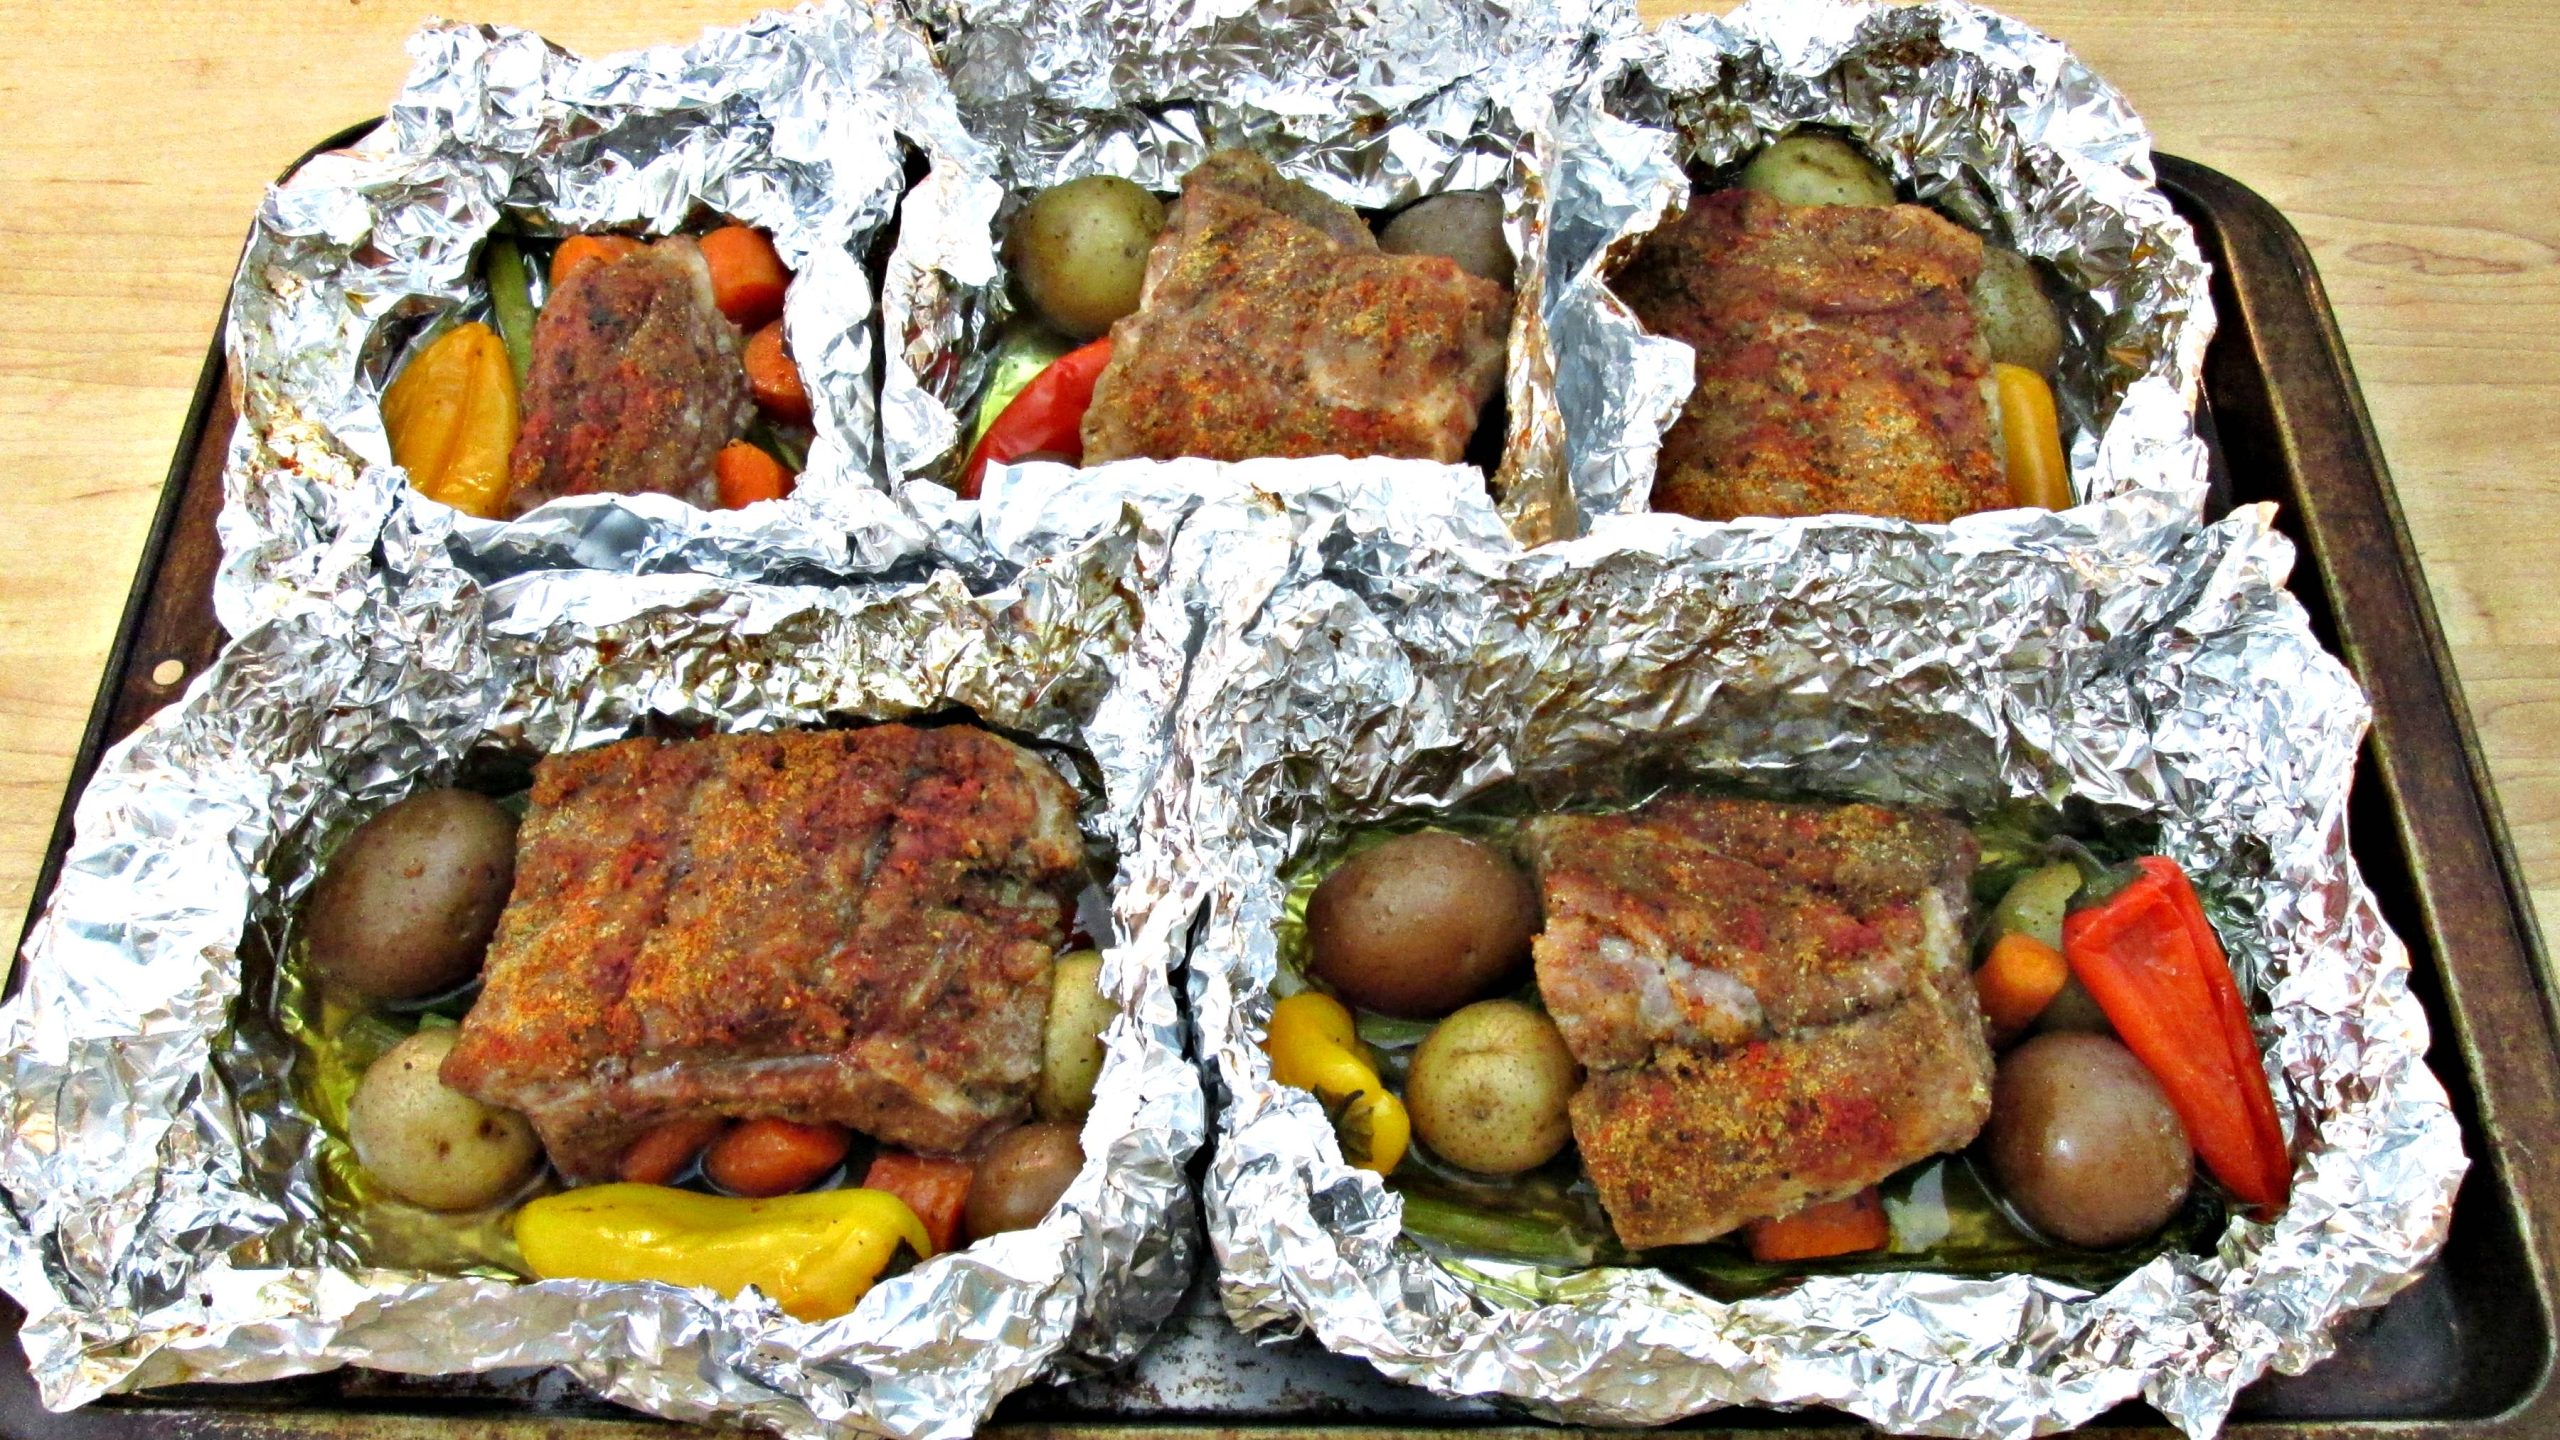
Baby Back Ribs Tin Foil Dinner

Fun Baby Back Ribs Dinner

Tin foil dinners were a regular thing for me, growing up. I was a Boy Scout and without mommy and daddy around to cook for me, I had to throw something together that could just be cooked by campfire. I didn’t like hot dogs so hamburger and vegetables was the next alternative. Well, now that I’m full grown, I don’t want little burned bits of under seasoned hamburger. I want ribs and an assortment of vegetables that any gourmet chef would be proud of and this is what I came up with.

Raw Baby Back Ribs seasoned with Kosher Salt, Black Pepper, Cumin and Blackened Seasoning.

The Best Baby Back Ribs

If you want great Baby Back Ribs, they’ve got to be seasoned. We’ve all got our own specific tastes but the key is to lay it on there thick. In my opinion, the only way you can over season ribs is if you add too much salt. That’s why I use Kosher. It’s light, fluffy and a few pinches, spread evenly, seasons the meat perfectly. There’s a variety of different seasoning I use for different recipes but the key is to cook them slow and low, no matter what you decided to season your ribs with. Cook them over some hot coals, in a smoker, barbecue grill or in the oven like I do and the slow and low method will never do you wrong.

In this recipe I use Cumin and Blackened Seasoning. That means there is Smoked Paprika, Garlic and Onion Powder and a few earthy ingredients that really make pork pop. I posted a recipe for Blackened Seasoning a while back if you’d like to put together some for your self.

Waxy potatoes, sweet peppers, asparagus and carrots.

Veggies and Baby Back Ribs

One pairing that is as sure as death and taxes is vegetables in tin foil dinners and this Baby Back Ribs recipe is no exception. Vegetables that are hard and take longer to cook are the best to use because it takes a few hours for the pork to cook. I chose some small waxy potatoes, carrots, sweet peppers and asparagus. Why I didn’t think to put onion in there, until this exact moment, I’ll never know. Truthfully I was trying to film 2 videos at the same time. 2 hours of cooking time gave me nothing to do so I must have racked my brain trying to get a second video done. Anyway, where was I… oh yeah, the vegetables. They will turn out perfectly with just a little olive oil and salt and pepper.

Baby Back Ribs Tin foil Dinner Ingredients:

1 rack Baby Back Ribs
Carrots
Asparagus
Small Waxy Potatoes
Small Sweet Peppers
Cumin
Blackened Seasoning
Kosher Salt and Pepper
Olive Oil

Cook at 300 degrees Fahrenheit for 2 hours and then expose the ribs and kick up the heat 50 degrees. Bake a second time, with barbecue sauce if you’d like, for 20 minutes.

I’m not listing all of the exact amounts because it’s not necessary. I just bought a small bag of each item and just eye balled the seasoning and I’m confident that you can do the same thing and be proud of your self. Just follow the instructions in the Baby Back Ribs Tin Foil Dinner video tutorial and I’ll show you exactly how to make this.

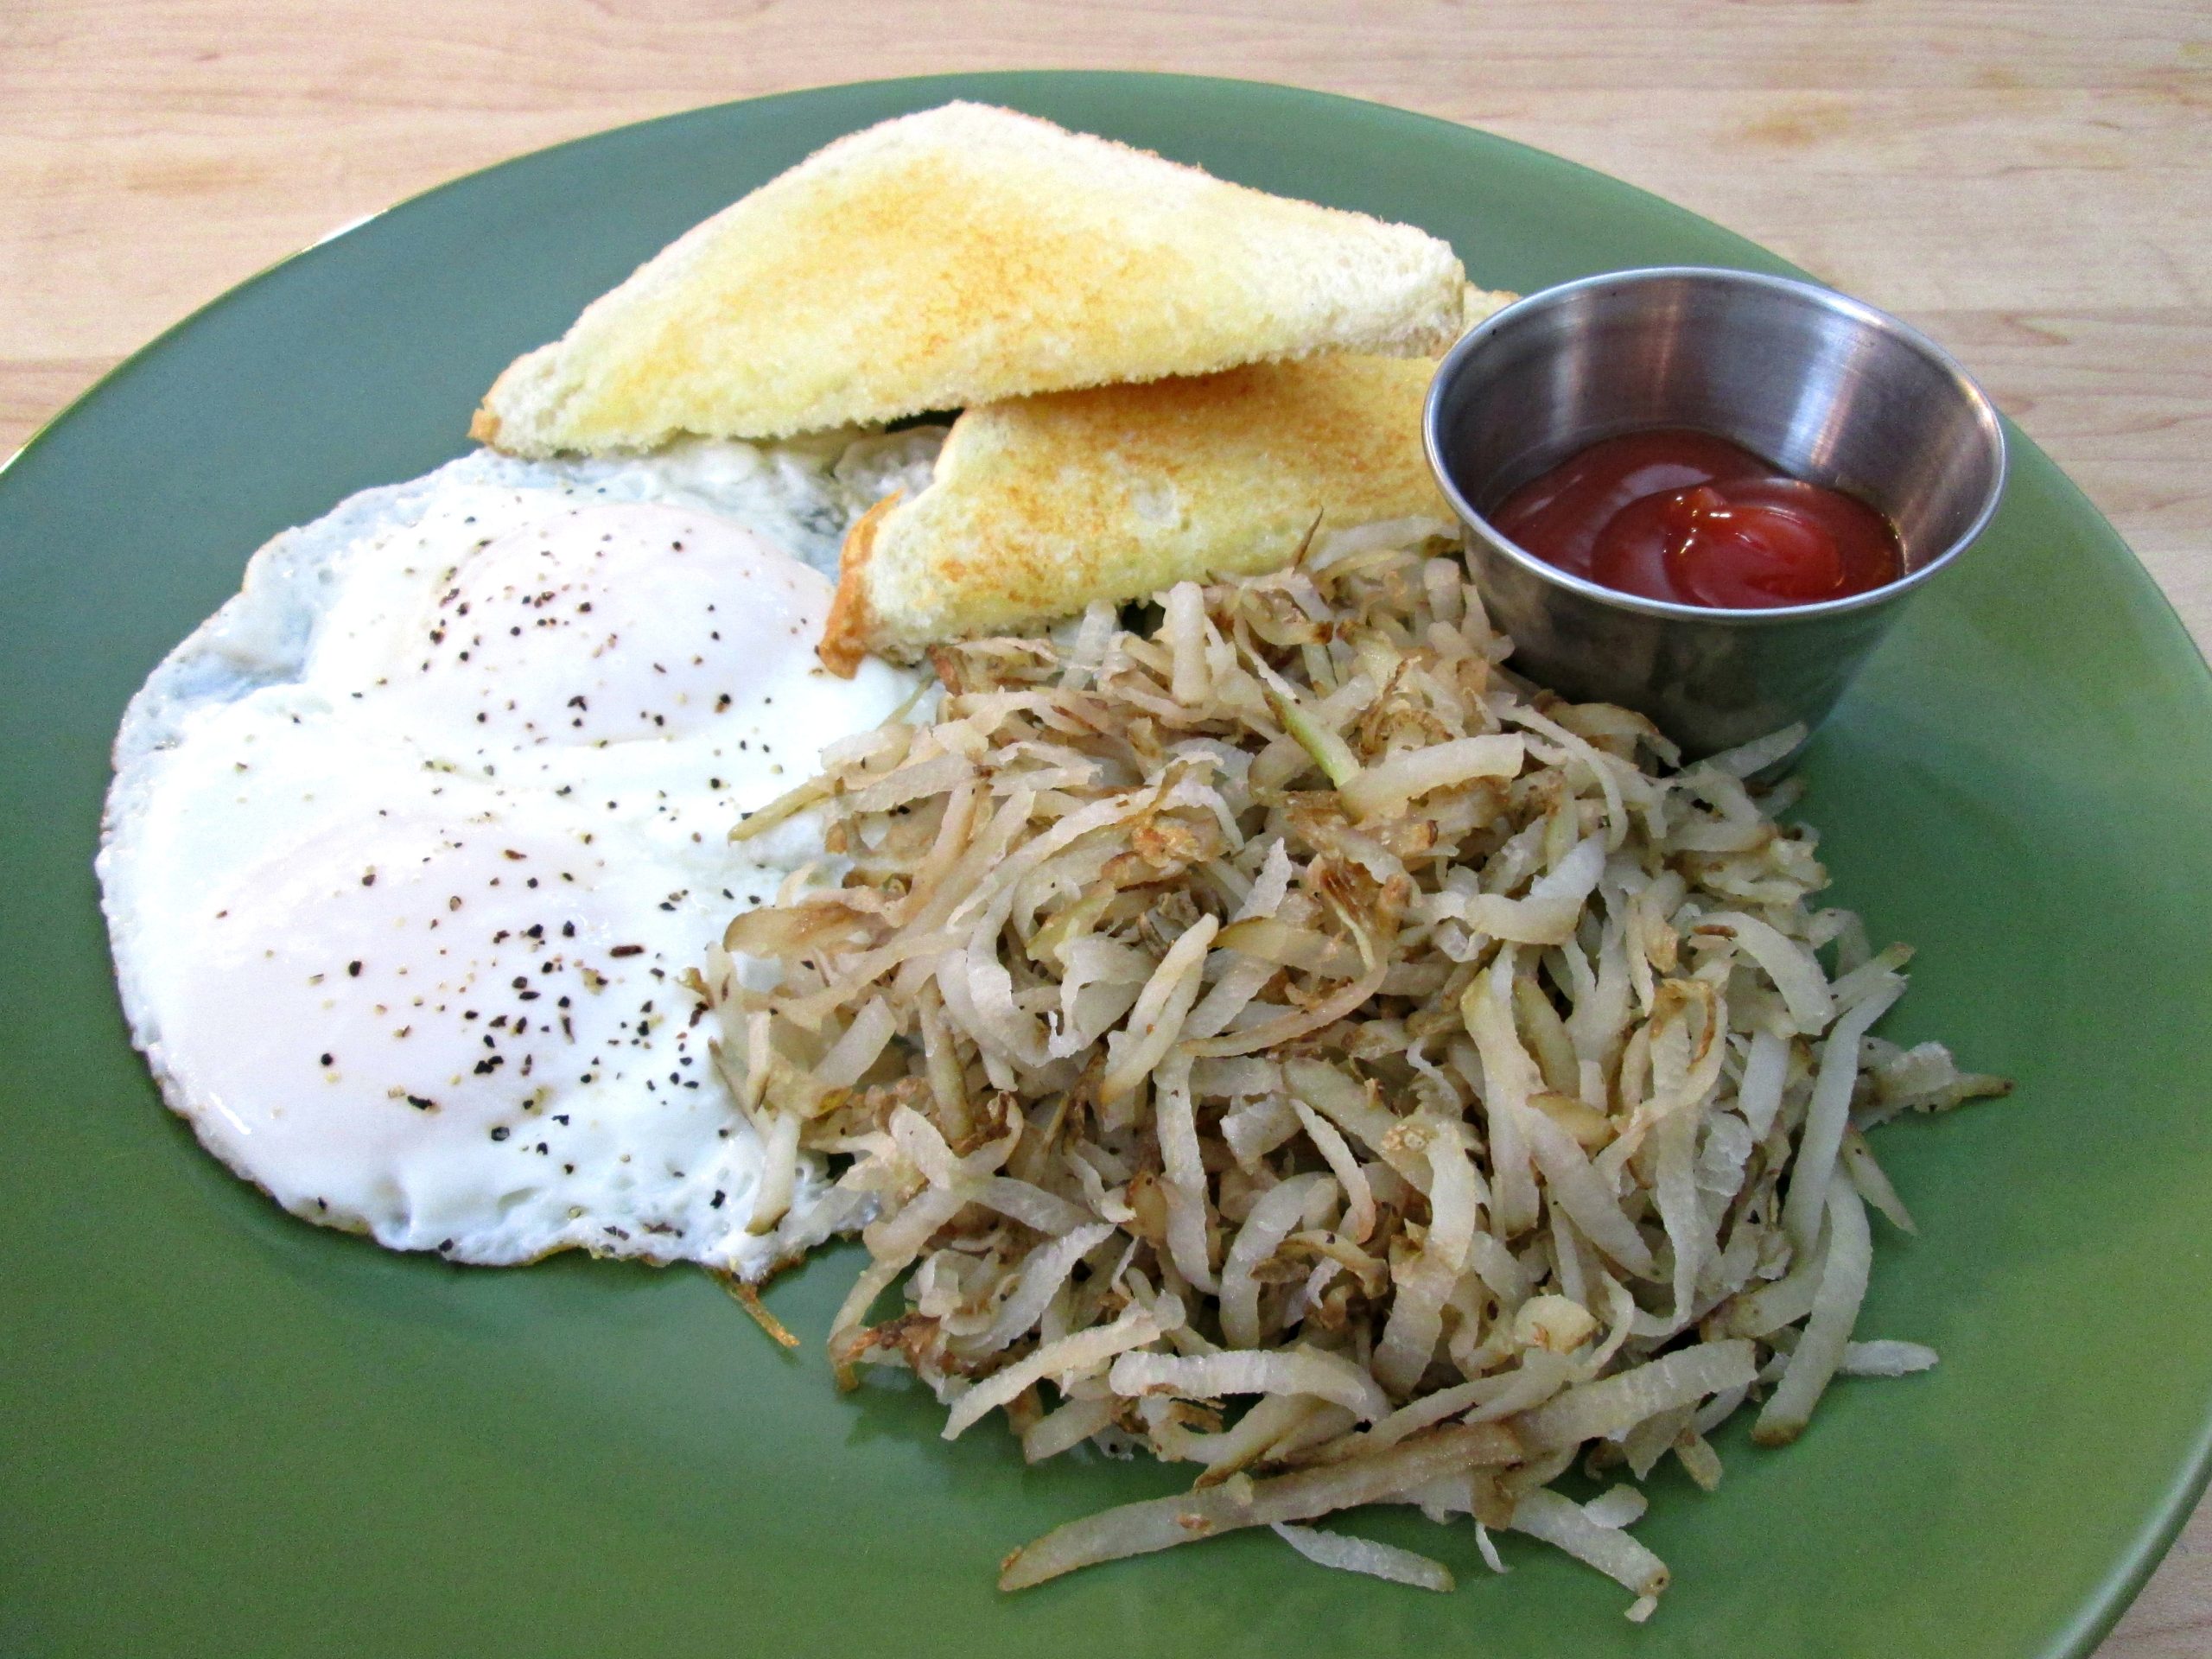
Shredded Hash Browns

I Love Shredded Hash Browns

There are several different ways to cook Shredded Hash Browns and it all just depends on how you like to eat them.  Restaurants serve them up differently everywhere you go.  Some people like them flat and formed into a pancake like patty and others like them loose and fluffy.  Personally I’ll eat them either way but I prefer the ladder.  In this recipe, I prepare them Loose and fluffy but I’m going to tell you how to cook the patty style too.  Believe it or not, the secret all boils down to water.

Shredded Hash Browns Potatoes

In this Hash Brown recipe, I use good old fashioned Russet Potatoes because I like them crispy when I cook them.  Yukon Gold Potatoes are good for patties that stick together.  Although a Russet Potato will stick together fairly well, too, if you don’t rinse them with cold water as much as I’m recommending in the video.  Waxy Potatoes tend to be the world favorite for making Shredded Hash Browns or Potato Salads because they hold their shape better.  Starchy Potatoes, like the Russet get Crispier but the Yukon Golds, in my opinion, actually taste better.  So if you’ve got options and you don’t mind the price difference, choose your spuds wisely.

If you want to trick it up a bit, I highly recommend adding a sliced onion and a few chopped Bell Peppers, for more flavor, when you’re cooking.  I like to added grated Cheddar cheese, over the top too, at the end of the cooking.  There’s a Restaurant here in town that will top your Hash Browns with what they call, “The Killers!”  It’s Sausage Gravy with Bacon, Onions and Peppers cooked right into it and it is amazing.  If you’re interested, check out my Potato Waffles made with Hash Browns and Cheese.  They’re so good, my neighbor asks me to cook them for her birthday.

Fresh or Frozen Shredded Hash Browns

It’s important that you understand that this recipe is for Fresh Shredded Hash Browns and not Frozen.  In fact, this recipe is best cooked immediately after following all of my rinse, parboil and straining steps.  If you were to try to freeze these Potato Shreds uncooked, you’ll end up with a big mess on your hands.  The color changes and they don’t taste good when they’re cooked.  Frozen Hash Brown recipes have a whole different process and I’d love to share that with you in a future post.  In the meantime, please, never freeze uncooked potatoes.

Shredded Hash Browns Ingredients:

6 to 8 Russet Potatoes, grated
4 tbsp Butter
1/2 pot Boiled Water, 3 to 4 quarts
Salt and Pepper to taste

Follow the instructions in the Shredded Hash Browns video recipe and I’ll show you just how easy these are to make.