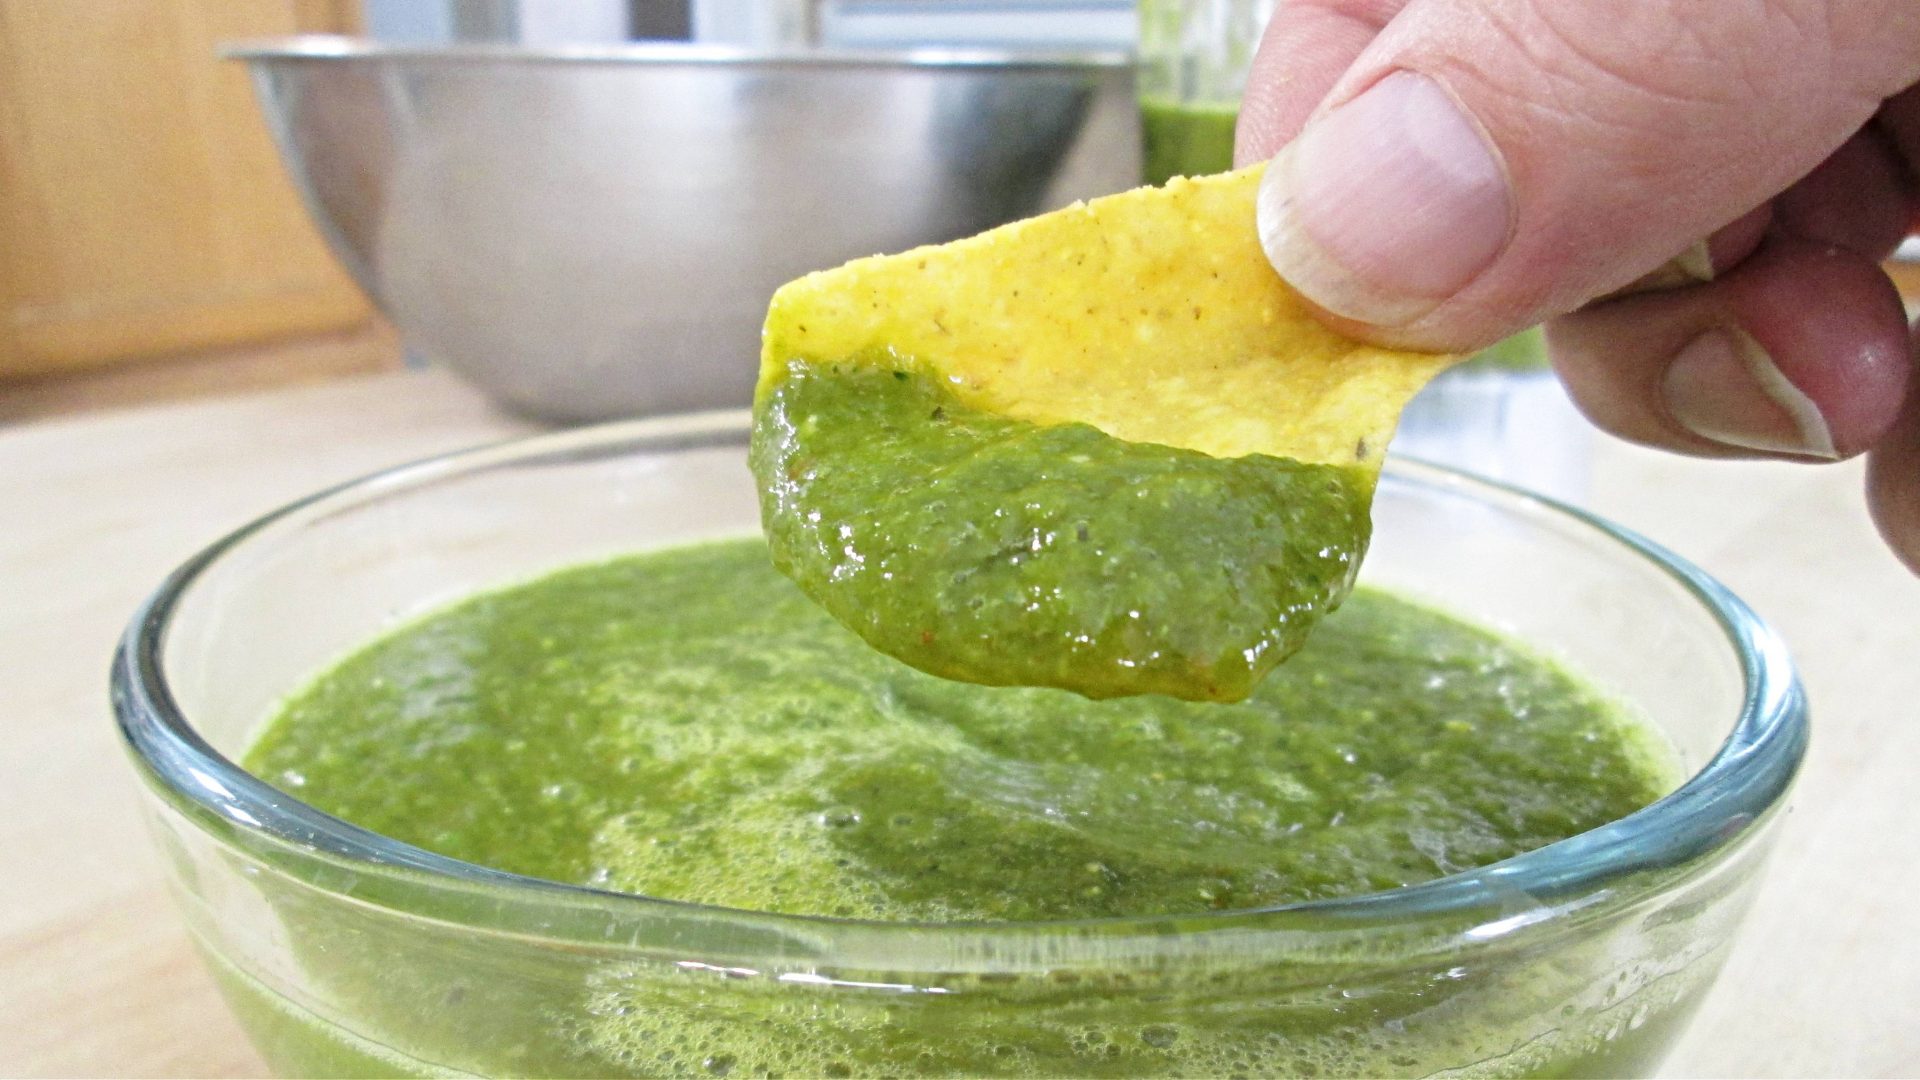
If you’re a fan of Mexican food and you love a good salsa, you have got try this Roasted Salsa Verde recipe. It’s made with fresh Tomatillos, Anaheim, Jalapeno and Poblano Peppers, some onion and roasted garlic, blended together with a few other spices to really make it pop. It pairs well with practically any meat, for tacos and burritos, and tastes great over eggs or nachos.
Roasting the Onions, Tomatillos & Peppers
A key step in developing the rich, smoky flavor of Salsa Verde, is roasting the onions, tomatillos, and peppers. The high heat caramelizes the natural sugars in these ingredients, enhancing their sweetness while adding a depth of complexity. Roasting also mellows the raw bite of the onions and brings out the peppers’ natural smokiness.
You can roast them in a variety of ways—over an open flame for a charred, smoky flavor, on the grill for that perfect sear, in the oven for an even roast, or in a frying pan for a quick and easy alternative. Each method imparts its own unique flavor profile, but all create the perfect foundation for a bold, tangy salsa.
Two other recipes I posted in the past, that are similar to this one, is my Green Enchilada Sauce and my Pork Chili Verde. My Fire Roasted Salsa is probably the most popular though. Anyone who’s tried these recipes raved about the finished product so, I highly suggest you move into those posts if you fancy this recipe.
Preheat the Broiler: Set your oven’s broiler to high.
Prepare the Vegetables: Place the Tomatillos, Anaheim peppers, Poblano peppers, onion (cut in half), and Garlic Cloves on a baking sheet.
Broil the Vegetables: Broil for 10-15 minutes, turning occasionally until the skins are charred and the vegetables are soft.
Blend: Add the roasted vegetables, Roma tomatoes, cilantro, garlic, lime juice, cumin, smoked paprika, chicken bouillon, and turmeric to a blender or food processor. Blend until smooth or to your desired consistency.
Serve: Transfer the salsa to a bowl and enjoy!
Watch the short video tutorial and I’ll show you exactly how easy it is to make this Roasted Salsa Verde recipe.
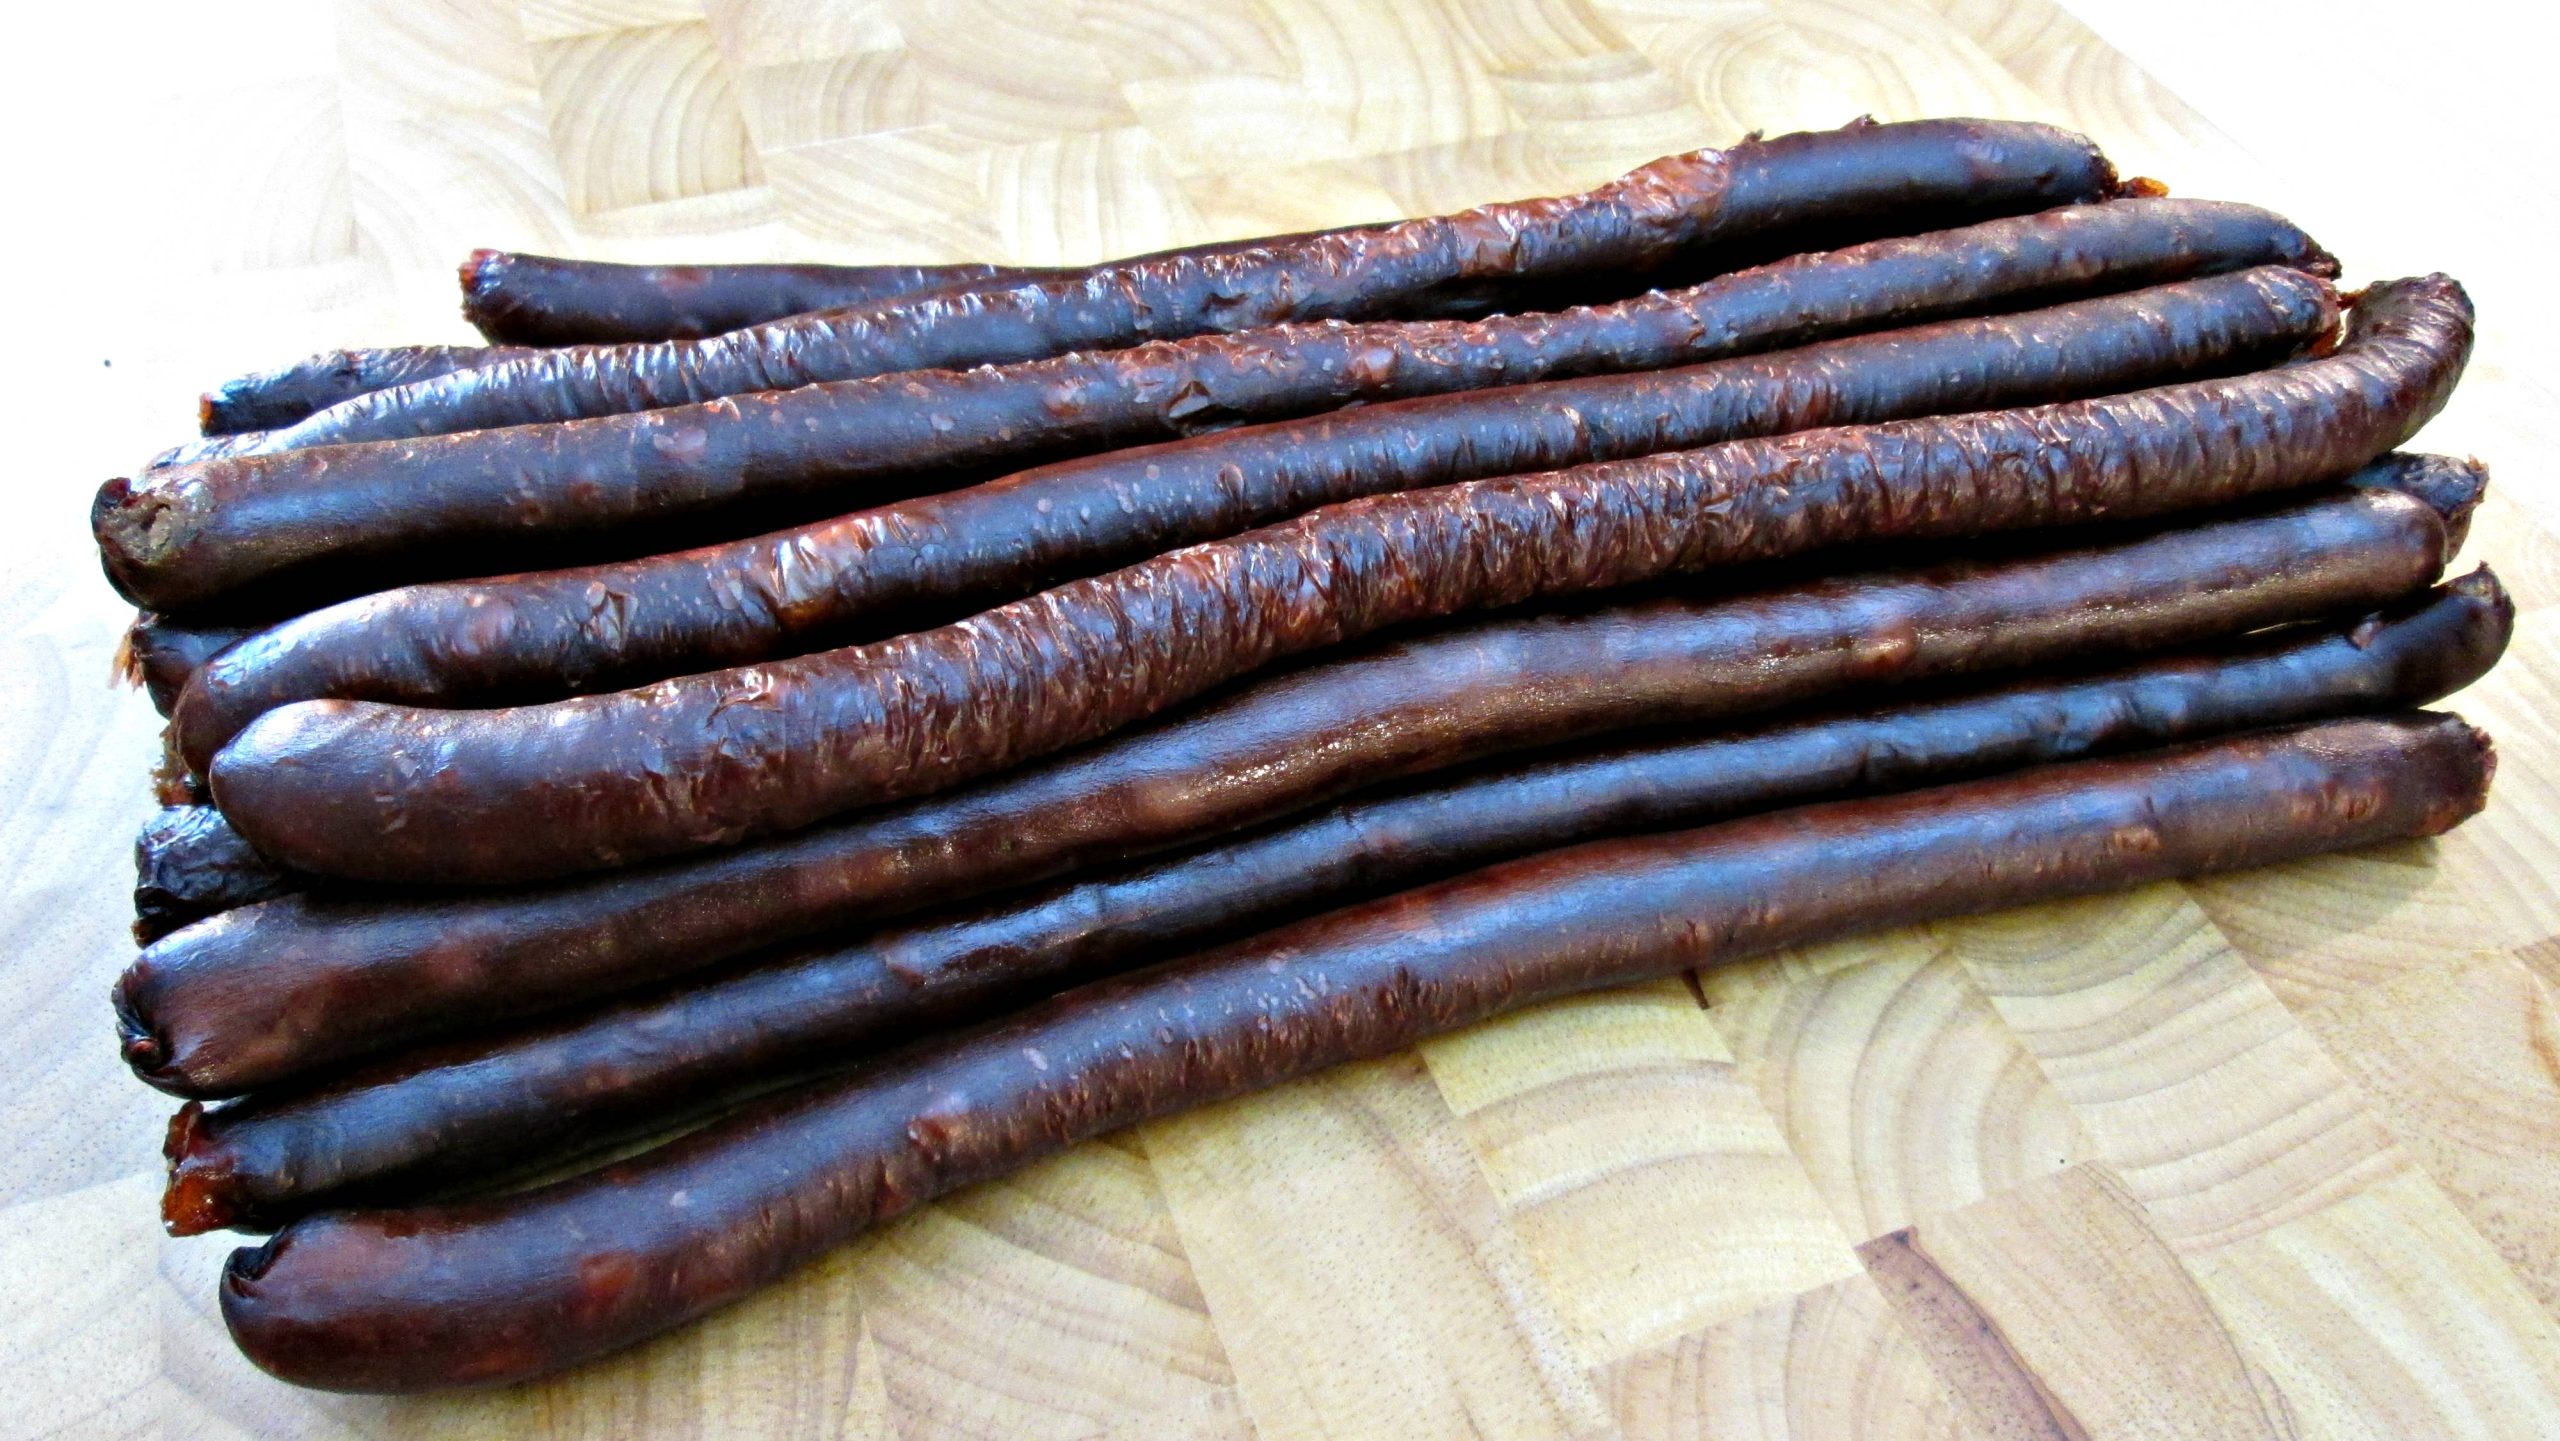
I’ve recently discovered my love for these Teriyaki Beef Sticks. I started purchasing some 5″ sticks at the front counter register of one of my local gas station. 2 for $1 sounded like a good deal to me and before I knew it, I was hooked. I started buying them buy the tens. I quickly discovered, however, that I didn’t like the other brands I tried. Plus the price, for some reason, was much higher, which is crazy to me because convenient store prices are usually way higher than grocery stores. So, I got obsessed with making my own and I began searching for a recipe that was consistently delicious and up to my specific tastes.
How to make Homemade Teriyaki Beef Sticks
Traditional vs. Spicy Teriyaki Sauce options
It doesn’t matter if you like a more traditional Beef Sticks recipe or one that’s spicier than this Teriyaki recipe. I’ve got ingredients you can add for both. Even though I use My Teriyaki Sauce recipe for this recipe, it can tend to be expensive to put together. So, instead, I highly recommend using Veri Veri Teriyaki Sauce or Yoshida’s Original Gourmet. I already tried them both for you and I think the results were amazing.
Saving Money on Beef and Sacrificing Quality
You don’t have to use a Beef Tenderloin. Ground hamburger is just fine to use. After all, this is all about saving money in the Poor Man’s Gourmet Kitchen. It is, however, “Gourmet” and when I saw the price of this Tenderloin, I couldn’t resist the temptation. It is a tad bit more expensive but at my local grocery it was still less than only $1 dollar more per pound. Beef chuck, Top Sirloin or eye of round are all great choices, too and probably what we all should use; especially if we’re grinding our own meat.
Interestingly enough, however, a Beef Tenderloin this size, at a different grocer, was $50 bucks. From what I understand, it was more expensive there because the cut was consistently portioned and the same size; which is great for a Beef Wellington but notice how my tenderloin is tapered. That’s where I’m saving money and it’s about a 60% difference in savings. Another 5 to 10 dollars in ingredients and I can make about $60 worth of Snack Sticks.
Comparing Homemade vs. Store-Bought Beef Sticks
I’ve seen 12″ Beef Sticks sell for $2.50 a piece at most convenient stores and that’s just where I live. I’m sure they’re twice that much back east in places like New York, where the inflation is hiked way up, but my video tutorial is going to show you exactly how I was able to make these at home. You should know that they last 3-6 days in the refrigerator.
Extending Shelf Life with Vacuum Sealing
If they are vacuum sealed, 2-3 weeks. Don’t place them in closed zip lock bags unless you’re planning to eat them the same day; it creates moisture and they will go bad faster. Vacuum seal and freeze for 8-12 months.
2 tsp Liquid Smoke: Perfect for a smoky flavor if you’re not using a smoker.
Follow the instructions in the video tutorial and be sure to smoke, dehydrate or oven bake your Beef Sticks for 1 1/2 to 2 hours at 220 degrees Fahrenheit.
Step-by-Step Instructions
Preparing the Meat
Trim and Grind the Beef Tenderloin:
Trim any excess fat or silver skin from the beef tenderloin.
Cut the tenderloin into small chunks and grind it using a fine grind plate. Alternatively, have your butcher grind it for you.
Shred the Cheese:
Finely shred the Pepper Jack Cheese and set it aside to mix in later.
Mixing the Ingredients
Combine the Marinade:
In a large mixing bowl, combine 1 cup Veri Veri Teriyaki Sauce, 2 tsp salt, 2 tsp black pepper, 1 tbsp hoisin sauce, and 1 tsp sesame oil.
Add any optional ingredients at this stage for extra flavor.
Mix the Meat and Cheese:
Add the ground beef to the marinade and mix thoroughly.
Fold in the shredded Pepper Jack Cheese, ensuring it’s evenly distributed throughout the mixture.
Chill the Mixture:
Cover the bowl with plastic wrap and refrigerate for 2 hours to allow the flavors to meld.
Stuffing the Collagen Casings
Prepare the Casings:
Unlike Hog Casings, soaking in water is not necessary when using Collagen Casings.
Use a Sausage Press:
Load the beef mixture into a sausage stuffer and carefully fill the casings, ensuring there are no air pockets.
Twist the casings to form uniform sticks, about 6–12 inches long.
Smoking the Beef Sticks
Preheat the Smoker:
Set the smoker to 160°F (71°C) and add wood chips (e.g., hickory or mesquite) for a rich, smoky flavor.
Smoke the Beef Sticks:
Arrange the sticks on the smoker racks, ensuring they don’t touch.
Smoke for 2–3 hours until the internal temperature reaches 150°F (65°C).
Baking to Finish
Preheat the Oven:
Preheat your oven to 220°F (104°C).
Bake the Beef Sticks:
Transfer and lay the Beef sticks directly on the oven rack above a baking sheet below.
Bake for an additional 1–2 hours or until the internal temperature reaches 160°F (71°C), ensuring they’re fully cooked.
Storage Tips
Short-Term: Store in the refrigerator for 3–6 days in an airtight container.
Long-Term: Vacuum seal and freeze for up to 8–12 months for best results.
These Teriyaki Beef Sticks are smoky, savory, and packed with flavor—perfect for snacks or on-the-go protein. Let me know if you need anything else, Boss!
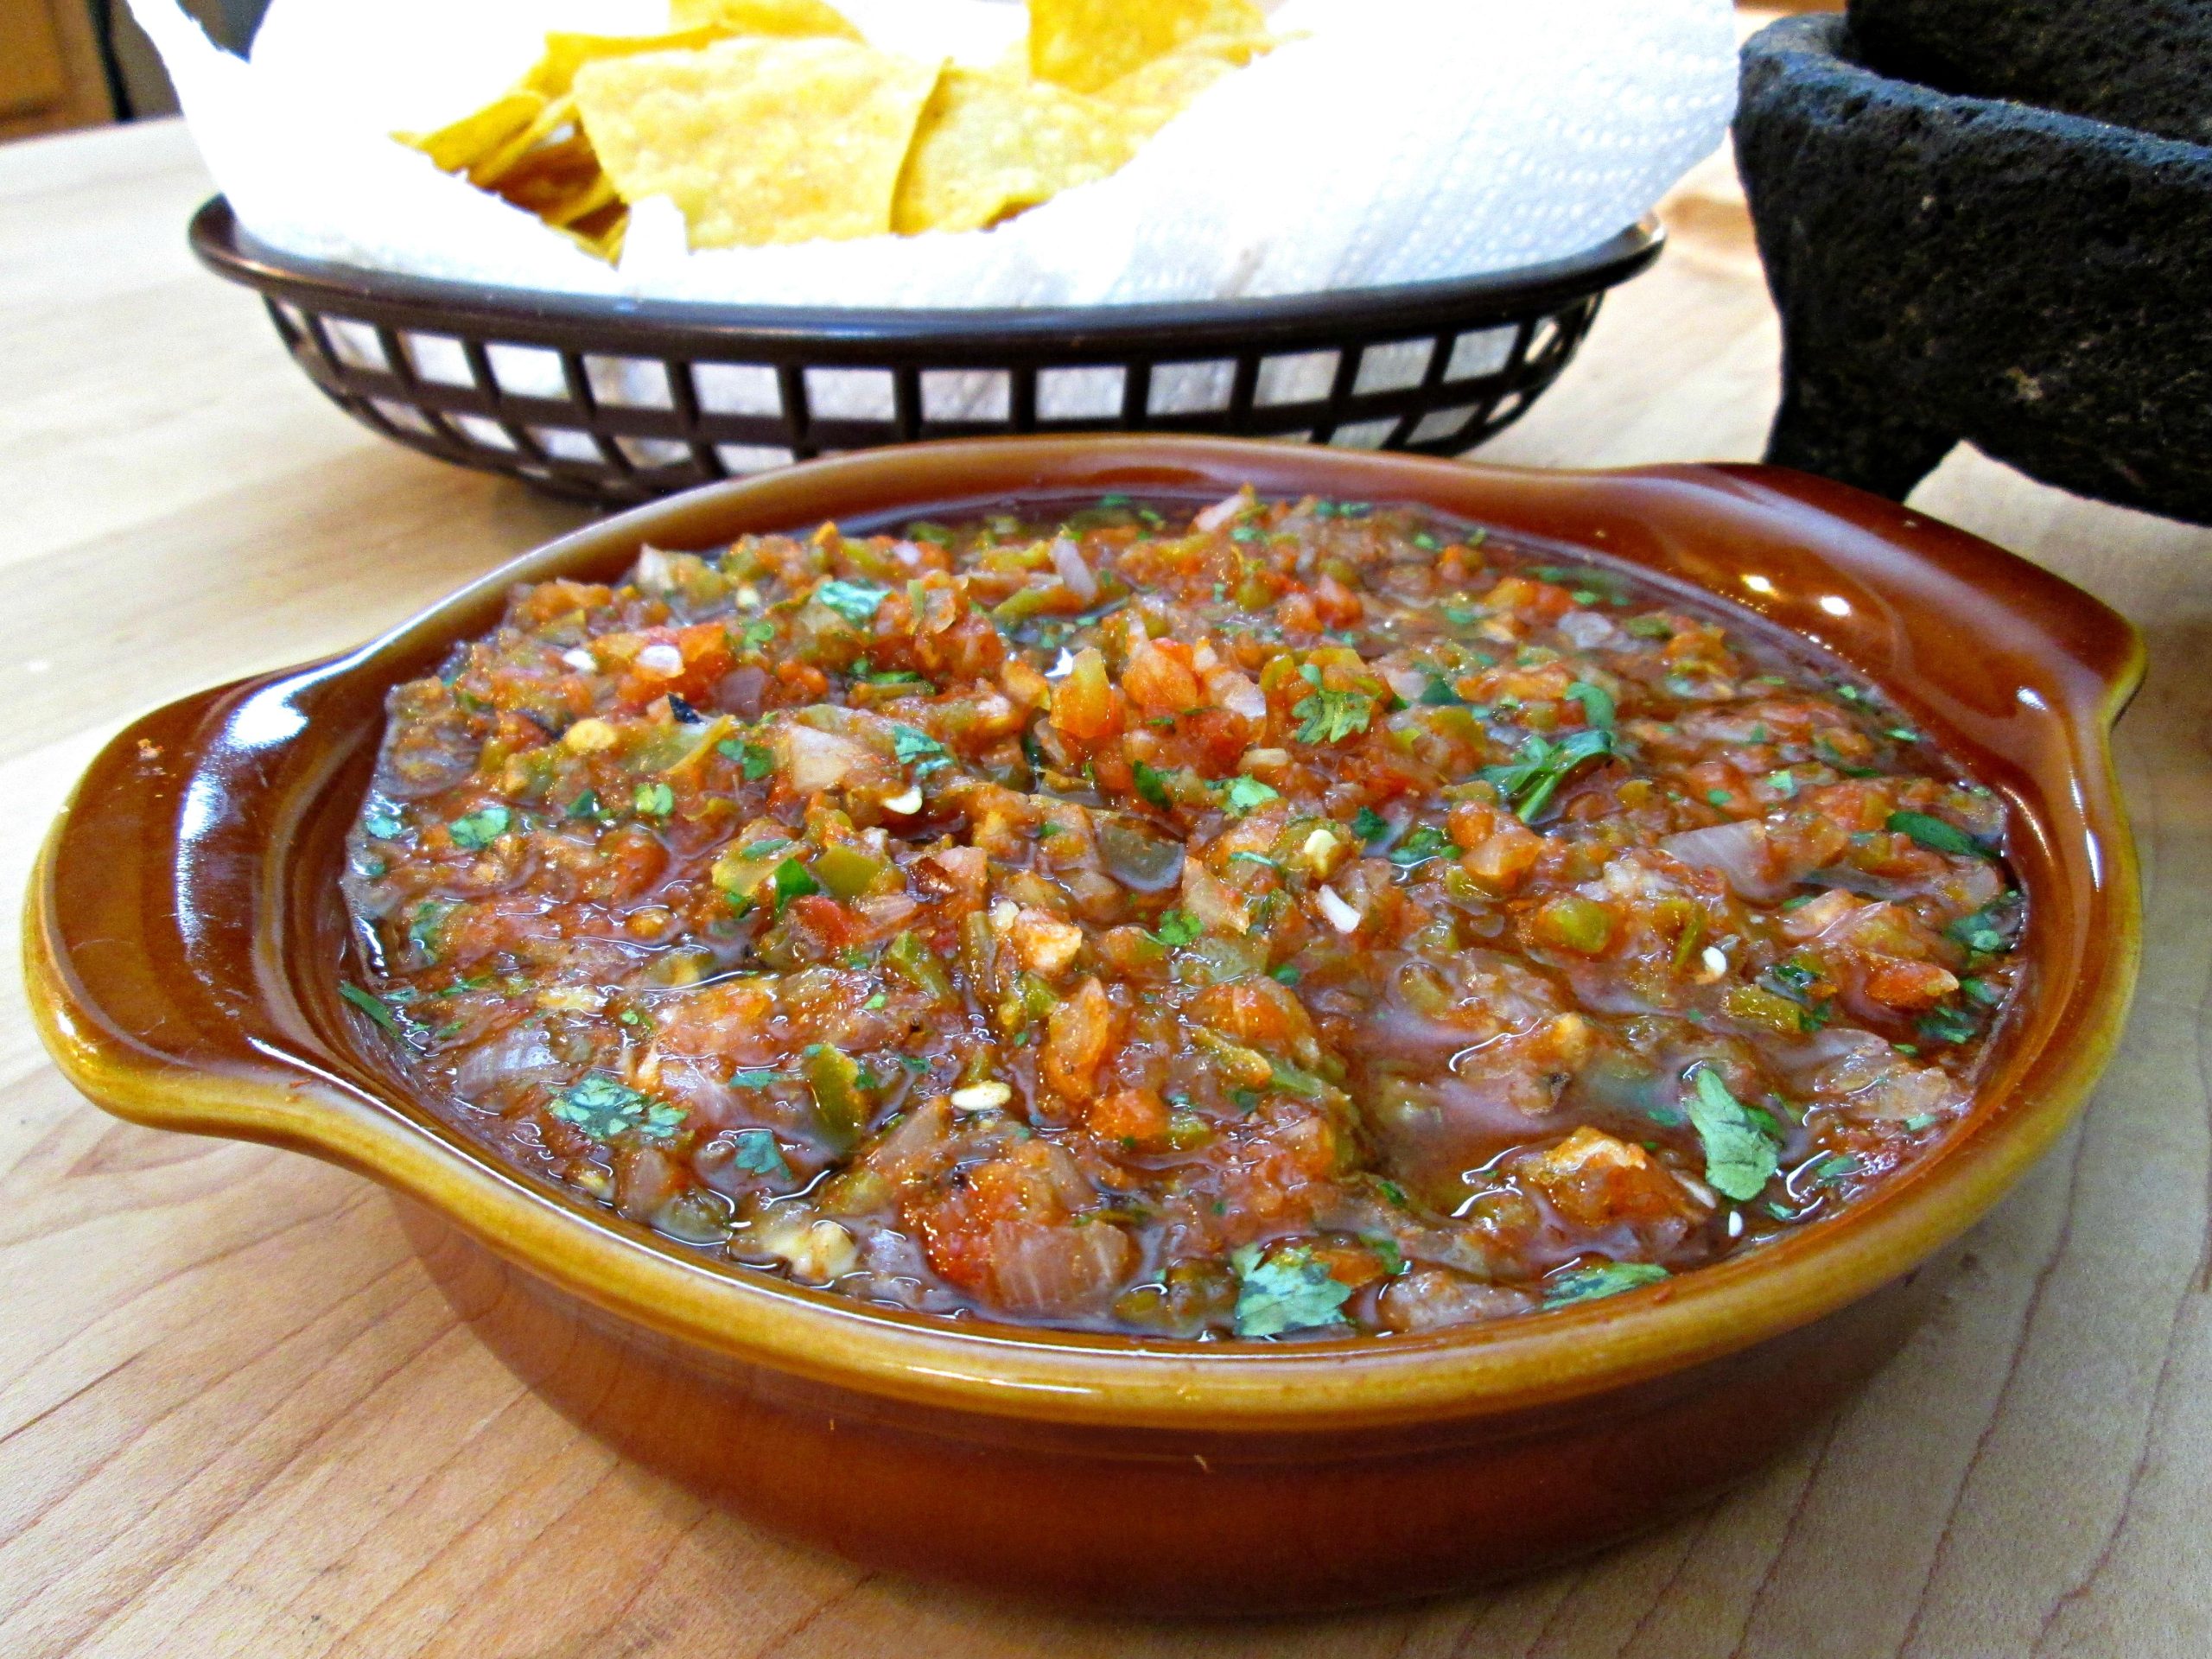
I can honestly say that this Fire Roasted Salsa is amazing and it is, quite possibly, the best salsa I’ve ever tried. It starts with fresh Hot House Tomatoes, Yellow Onions, Green Bell, Anaheim and Jalapeno Peppers, cilantro, lime and a few other key ingredients. Although you can find recipes, similar to this one, all over the web, I seriously considered keeping this one all to my self. But I get too excited when I discover the secrets to authentic recipes. It makes me want to share it with everyone. So that’s what I’m going to do today.
Fire Roasted Salsa Preparation
To get the best results, and be sure that your Fire Roasted Salsa tastes amazing, there’s only one thing you need to do before you take the vegetables to the grill. Cut your onions in half. It isn’t going to matter if you peel them before or after they roast but it is important that those onion layers get exposed to the grill. Salsa gets a lot of great flavor from onions and they have memory, so adding that smoked flavor to the rings will insure that your salsa tastes amazing when you blend them, together, with the other ingredients.
Fire Roasted Salsa Grilling Technique
Whether you choose to grill, broil or roast your vegetables over an open pit, to make this Fire Roasted Salsa, the timing and flipping is simple. I average 25 to 30 minutes of roasting time, over medium heat(350 Fahrenheit), and I rotate and flip everything about every 5 minutes. Look for some good color on the under side and flip. It’s that easy. I tend to check the peppers first because they burn quicker than the tomatoes and onions. The onions I worry about the least. The tomatoes just need to be pulled off the grill before they pop and loose their juice to the grill. You should pay attention to where the hot spots are and rotate everything accordingly. Then remove them from the heat and let them rest for a half an hour or so, until they are cool enough to touch and handle with your hands. Remove the stems, peel the onions and add the other ingredients.
Fire Roasted Salsa Formula
I have a basic formula that you might find useful when you’re making Fire Roasted Salsa. For every large Tomato, I add 1 medium sized Onion, 1 Bell Pepper, 1 Anaheim Pepper, 1 Jalapeno and a few cloves of Garlic. It’s pointless making salsa on that small of a scale and that’s why I double that amount in the ingredients below. If you want it spicier, add more peppers, different kinds or use less tomato. It’s really not that difficult to trick up. But that should give you a better understanding of how to approach your own homemade salsa in the future.
How to Spice Up Fire Roasted Salsa
If the Peppers aren’t providing enough heat and flavor for your tastes, there are a few other ingredients you can add to your Fire Roasted Salsa and I’ve included them in this recipe. Cumin, Smoked Paprika and Mexican Oregano are definitely among my favorites. You can even add some Cayenne if you’re feeling froggy. Just be sure that you stay true to your tastes and be considerate of the pallets and less tolerant individuals, like children you may be serving, if they can’t handle spice.
Roast Vegetables: Grill or roast the tomatoes, onions, bell pepper, Anaheim pepper, jalapeño, and garlic cloves until charred and soft.
Blend: Add the roasted vegetables to a blender or food processor. Squeeze in lime juice and add cilantro, oregano, cumin, smoked paprika, chicken bouillon, salt, and pepper.
Pulse & Taste: Pulse until desired texture is reached. Taste and adjust seasoning if needed.
Serve: Transfer the salsa to a bowl and serve with chips, tacos, or your favorite dishes.
Be sure to watch the short video tutorial and I’ll show you exactly how to make this Fire Roasted Salsa!