Jalapeno Popper Dip

Jalapeno Popper Dip Main pic

I Love Jalapeno Popper Dip

This Jalapeno Popper Dip is a fun way to kick off any meal.  It’s also great for parties and barbecues.  I mean, who doesn’t love Poppers?  The great thing is you don’t have to fight over who gets the last one.  When you’ve got a dip like this one, the only thing you have to watch for is those sneaky double dippers!

Jalapeno Popper Dip with Chips

If you’ve ever had bacon wrapped Jalapeno Poppers, you know they rock.  So I made sure to add some bacon to this recipe as well.  In the video recipe, I dip with Corn Chips but, truth be told, I honestly think it’s better with a Ritz or House Cracker.  I’ve even seen some people go for the toasted baguette but that’s entirely up to you.  This Jalapeno Popper Dip Rocks either way.  Just be sure to tell your friends where you got this recipe.

Also, check out my actual Jalapeno Poppers recipe and my Chili Con Queso Dip!

Jalapeno Popper Dip Ingredients:

5 Large Jalapenos, de-seeded & chopped
5 pcs Bacon, chopped
1 Green Onion, chopped
1/4 cup Fresh Cilantro, Chopped
2 pkg Cream Cheese
1 cup Colby Jack Cheese, grated
1 cup Sour Cream
1 cup Seasoned Bread Crumbs
1 Cup Parmesan Cheese
2 tbsp butter
Salt and Pepper to taste

Bake the Jalapeno Popper Dip at 350 degrees Fahrenheit for 15 minutes.

Jalapeno Poppers

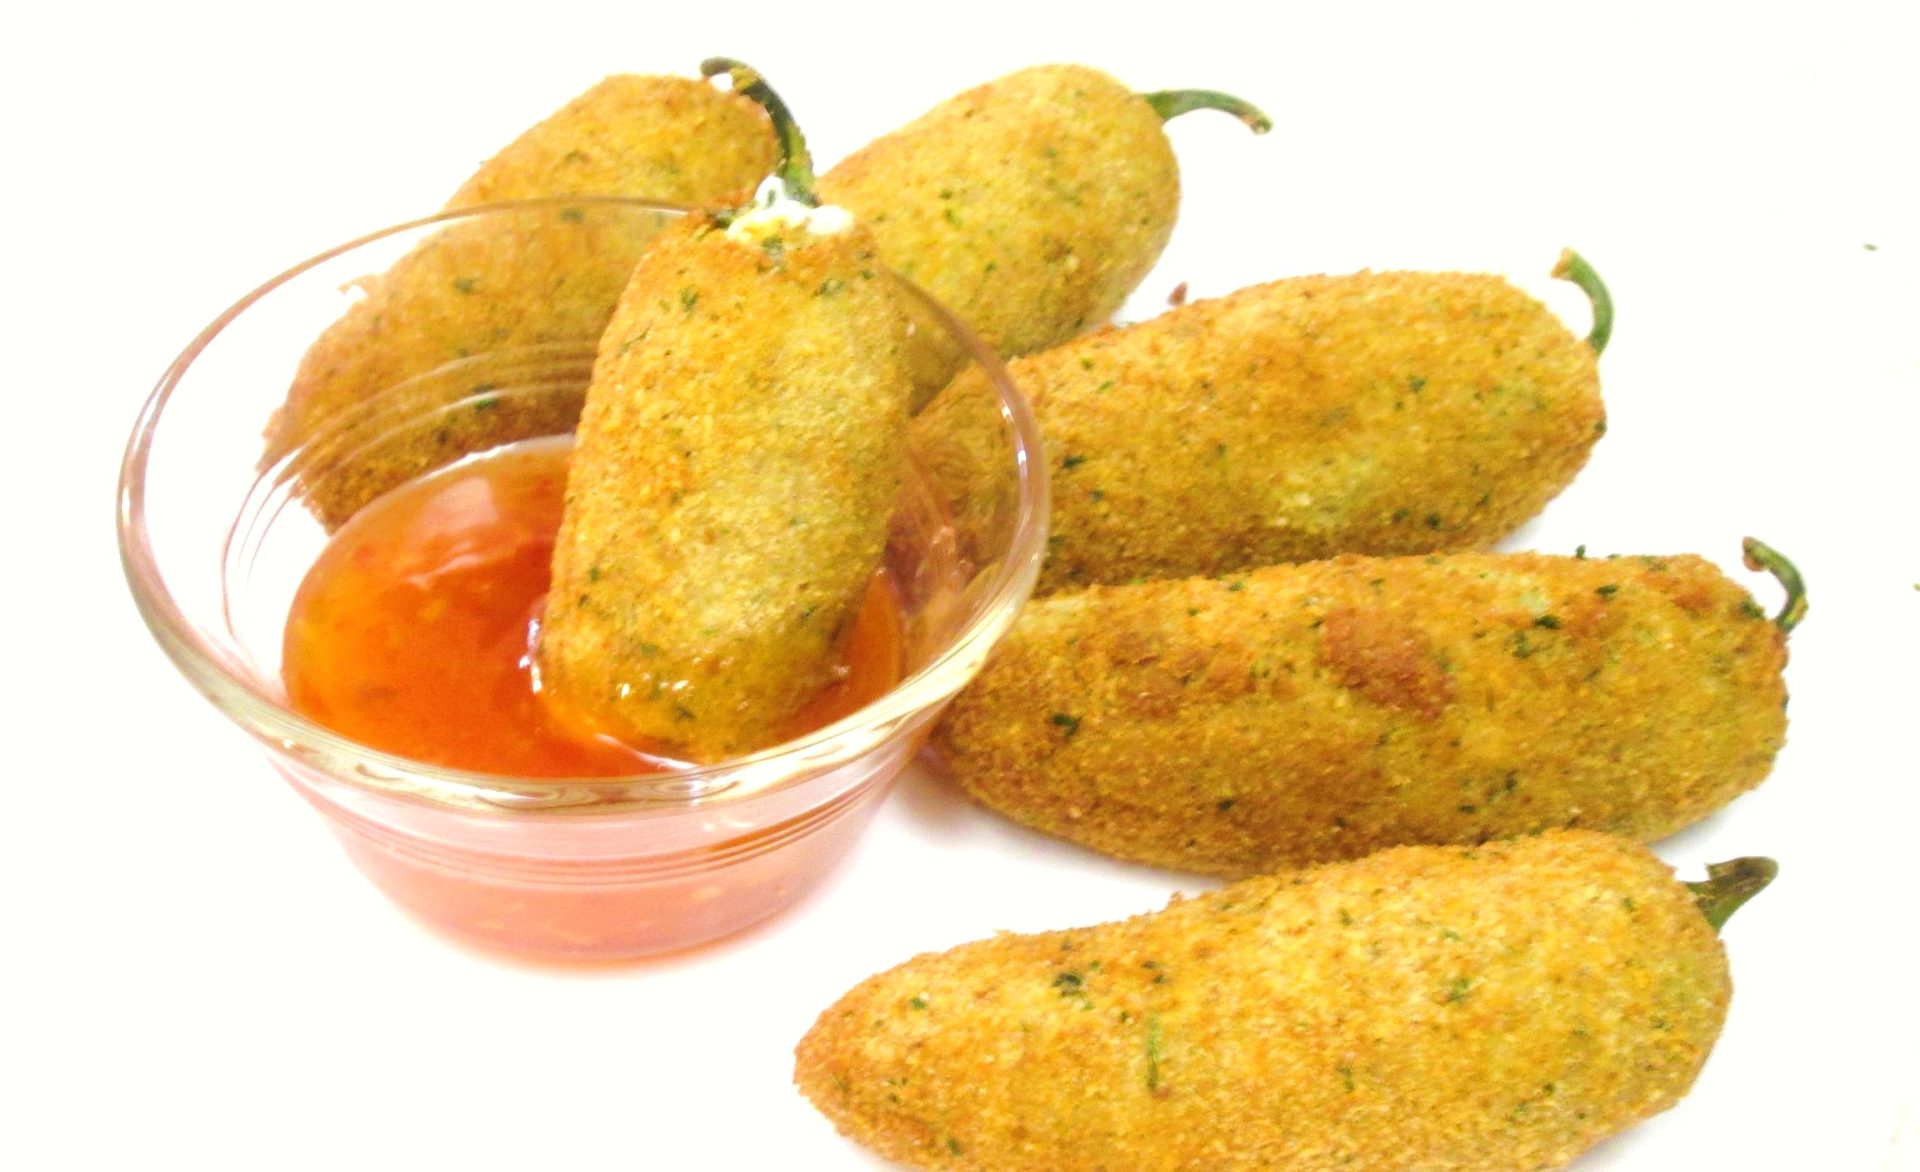
Jalapeno PoppersNew and Improved Jalapeno Poppers!

So what’s so new and improved about these Jalapeno Poppers?  Everything!  These Poppers are absolutely done right.  There is nothing lazy about them.  If you’ve already looked online, then you’ve probably noticed that there are a lot of people that don’t even deal with the breading.  And then, to make matters worse, some recipes use only half the pepper.  Others are wrapped with bacon or just a little Panko sprinkled on top, then baked.  Well not my Jalapeno Poppers, no Sir/Mam.  Not only are these the real deal, I’ve made some definite improvements so let’s talk about it.

progresso-bread-crumbs-italian-425g-82-pFirst of all, what are the basic rules for traditional Jalapeno Poppers?  One, it’s got to be a whole Pepper.  Two, it’s got to be stuffed with Cheese.  Three, it’s got to be breaded and Baked or Fried, and Four, it’s got to stay and hold together.  The secret for all of the above is detail.  So the first thing you need to do is peel the skins.  This is one of the secrets to keeping the breading on a shiny, smooth Jalapeno.  The second trick is to stuff them with enough Cheese so that two Jalapeno halves will stick back together with pressure.  Now if you want to know how to keep them together with out using a tooth pick, listen to this.  Once the Jalapeno Poppers are stuffed and pressed together, they must be rolled in flour first, then egg washed, rolled in breading, then back in the egg wash and rolled in the breading one last time.  This three step process will hold the Pepper together from the outside, while the cold from the freezer holds the inside.  Freezing the Poppers for a couple of hours before they’re fried insures that they won’t fall apart in the fryer.  The Frying Cooks The egg wash breading on the outside before the frozen cheese softens on the inside.  And this keeps them from falling apart and making a mess in the oil.

Jalapeno Poppers Ingredients:

8 to 10 Jalapeno Peppers
1 pkg Creme Cheese
2 chopped Green Onions
1/3 pkg sliced bacon
1/2 cup graded Colby Jack Cheese
1/2 tsp Ranch Dressing Seasoning (optional)

Breading:

3 to 4 eggs
1/2 cup Flour
1 cup Bread Crumbs (Progresso Garlic and Herb)
Oil for Frying

I recommend Frying at 375 degrees until golden brown, which takes only a few minutes.  If you’re going to bake them, bake at 425 degrees for approximately 8-12 minutes.  Serve Jalapeno Poppers with a Sweet Berry Jelly or Orange Chili Sauce.

Deep Fried Chimichanga

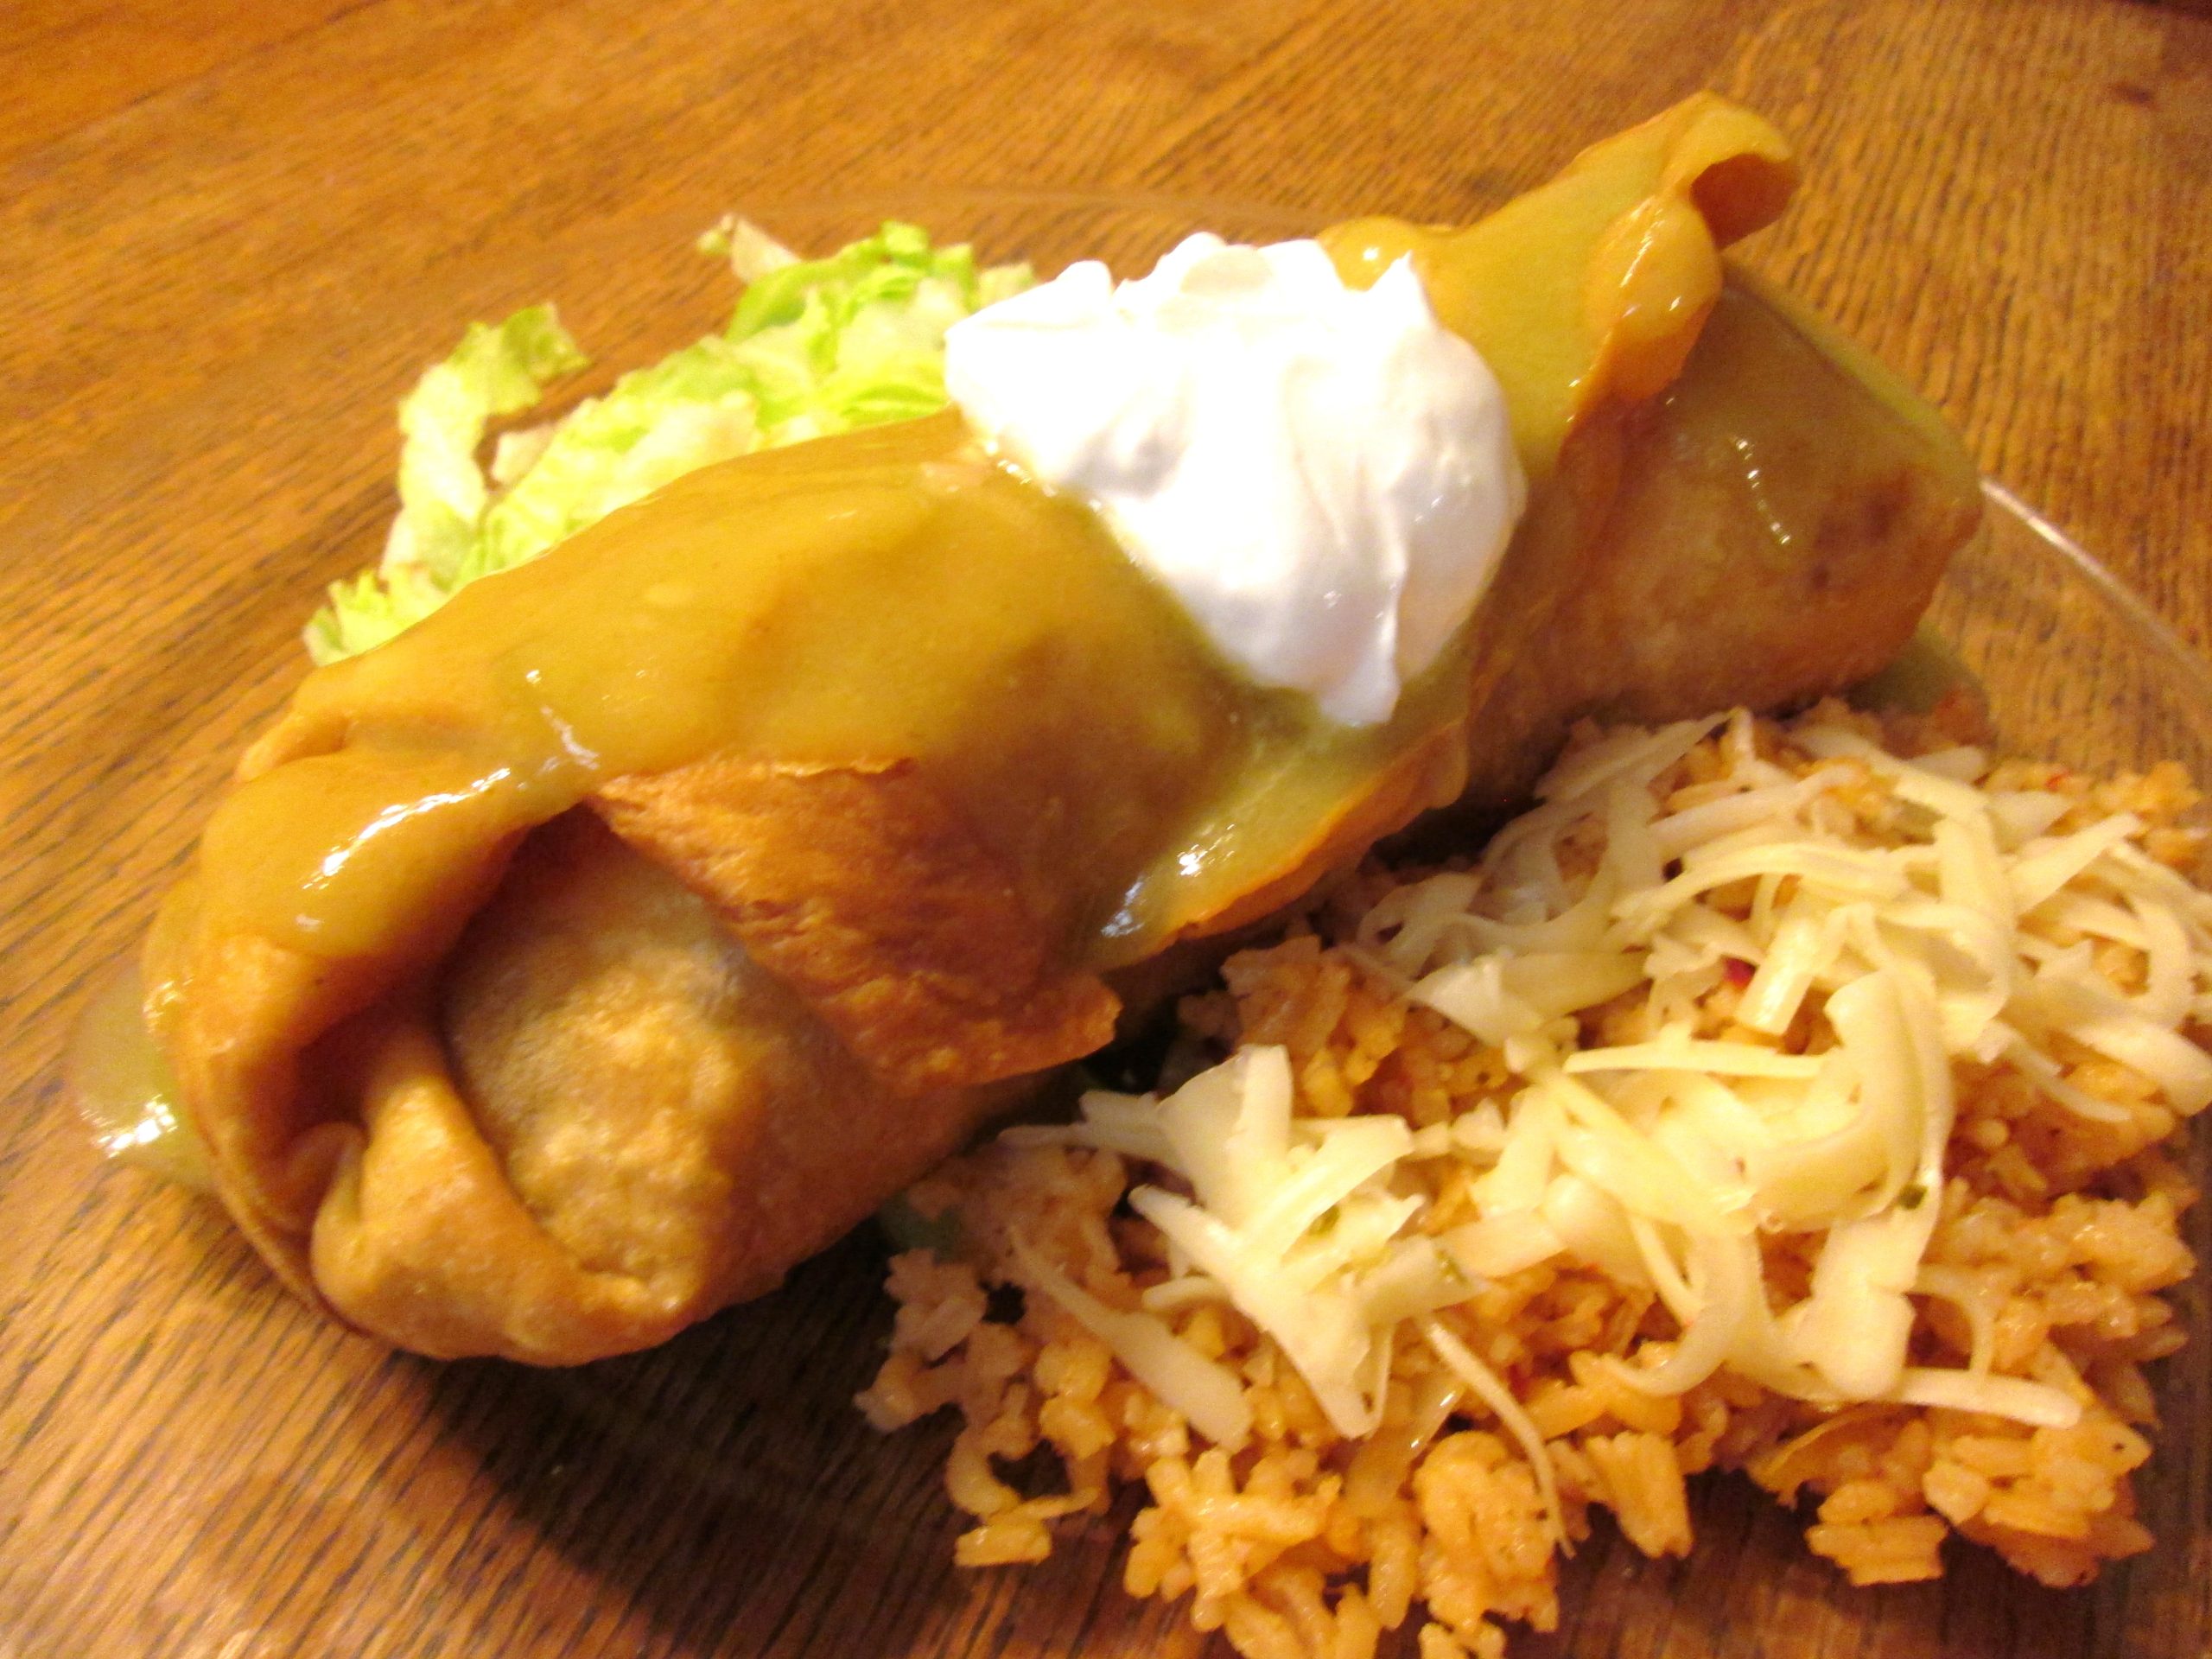
Chimichanga - Poor Man's Gourmet Kitchen -Fried Chimichanga, Thanks to Hollywood!

When ever I here the word Chimichanga, I think of Dustin Hoffman in “Meet the Fockers”.  Now I don’t know How you like your Fried Chimichanga, but  I like mine tender yet crispy all at the same time.  Now that may sound like a crazy combo, and you may be asking yourself, “How in the world do I do that?”  Because you and I both know you can’t get that combination wrapped in plastic in the frozen section.  So you’ll have to trust me when I say, It’s all in the tortilla baby!

Regular grocery stores have tortillas falling off the shelves these days because they have so many different kinds.  The problem is, it doesn’t matter how many different versions or brands they have because 9 times out of 10, they’re still not selling fresh tortilla’s.  Unless you are making them yourself, the only way you’re going to get them fresh is if you get them uncooked from the refrigerated section or straight from the Tortilleria.  Personally I prefer the Tortilleria.  Why?  Because they are light and slightly doughy which leaves more room for cooking.  Any thing that comes out of my kitchen when I’m using these tortillas is fresher and tastes like it just came out of a restaurant kitchen.  This includes but not limited to, Burritos, Quesadillas and of course a Fried Chimichanga!  So now that you understand the importance of starting with a good tortilla, you are well on your way to making an excellent Fried Chimichanga.

Fried Chimichanga Ingredients:

2 part Chopped Beef Chuck
1 part Chorizo
1/4 Bell Pepper
1 Jalapeno
2 Green Onions chopped (Scallions)
1 Pinch Cilantro
2 Garlic Cloves Chopped
1/2 Lime (squeezed)

1 tsp Chili Powder
1 tsp Cumin
Garlic Salt (Goya all purpose seasoning) to taste

Combine all ingredients in a hot skillet in the order they are listed.  Brown the meat then add the Chorizo and thoroughly cook.  Add the vegies, then the seasonings.  Roll the Chimichanga in large a flour tortilla stuffed with the Beef/Chorizo mix, Spanish Rice and Pepper Jack Cheese, then fry at 375 degrees till golden brown.  Top the Fried Chimichanga with Green Chili Sauce and Sour Cream and serve.