Blue Cheese Dressing

Homemade, chunky Blue Cheese Dressing.

The Best Blue Cheese Dressing

I have been a fan of Blue Cheese Dressing my entire life so, believe me when I say this recipe is amazing. It just doesn’t come this good in a bottle and many online recipes just can’t be trusted. Some bloggers get you in the vicinity of a decent dressing but there always seems to be something missing. Am I right? Well, not here, no sir/mam. I’ve got the best recipe right here and it’s great on salads, used as a dip with veggies or chicken wings.

Crumbled Blue Cheese.

Smooth or Chunky Blue Cheese Dressing

These days you can buy blue cheese already crumbled and ready to go. If you’re buying it by the brick, however, you’ll have to break it down and crumble it with your hands or slice it with a knife. If you’re going for a chunky recipe, just eye ball the pieces and prep them to your preference and size. If you prefer a creamy dressing, just break down the blue cheese to a size your blender or hand mixer can handle because that’s the only way you’re going to get a creamy Blue Cheese Dressing with out mixing for hours by hand.

Dinner Salad with Blue Cheese Dressing.

Blue Cheese Dressing or Dip

Last week I filmed my version of Buffalo Chicken Wings and I paired that recipe with this Blue Cheese Dressing. The two recipes together are sensational. So good in fact that I bought more wings and ingredients to make the dressing again, yesterday. I used every last bit, of the dressing I filmed, on salads I ate for lunch, all week long. So I highly recommend both of these recipes.

Blue Cheese Dressing Ingredients:

6 – 8 oz Blue Cheese
1 cup Butter Milk
1 cup Sour Cream
1 cup Mayonaise
1/3 cup White Wine Vinegar
1/2 tsp Garlic Powder
1/2 tsp Onion Powder
1 tsp Sugar, maybe more
Salt and Pepper to taste

Just mix all of the ingredients together, to make your Blue Cheese Dressing, and be sure to watch the video tutorial.

Shredded Chicken Tacos

Shredded Chicken Tacos with Red Chili Sauce and Lime.

The Best Shredded Chicken Tacos

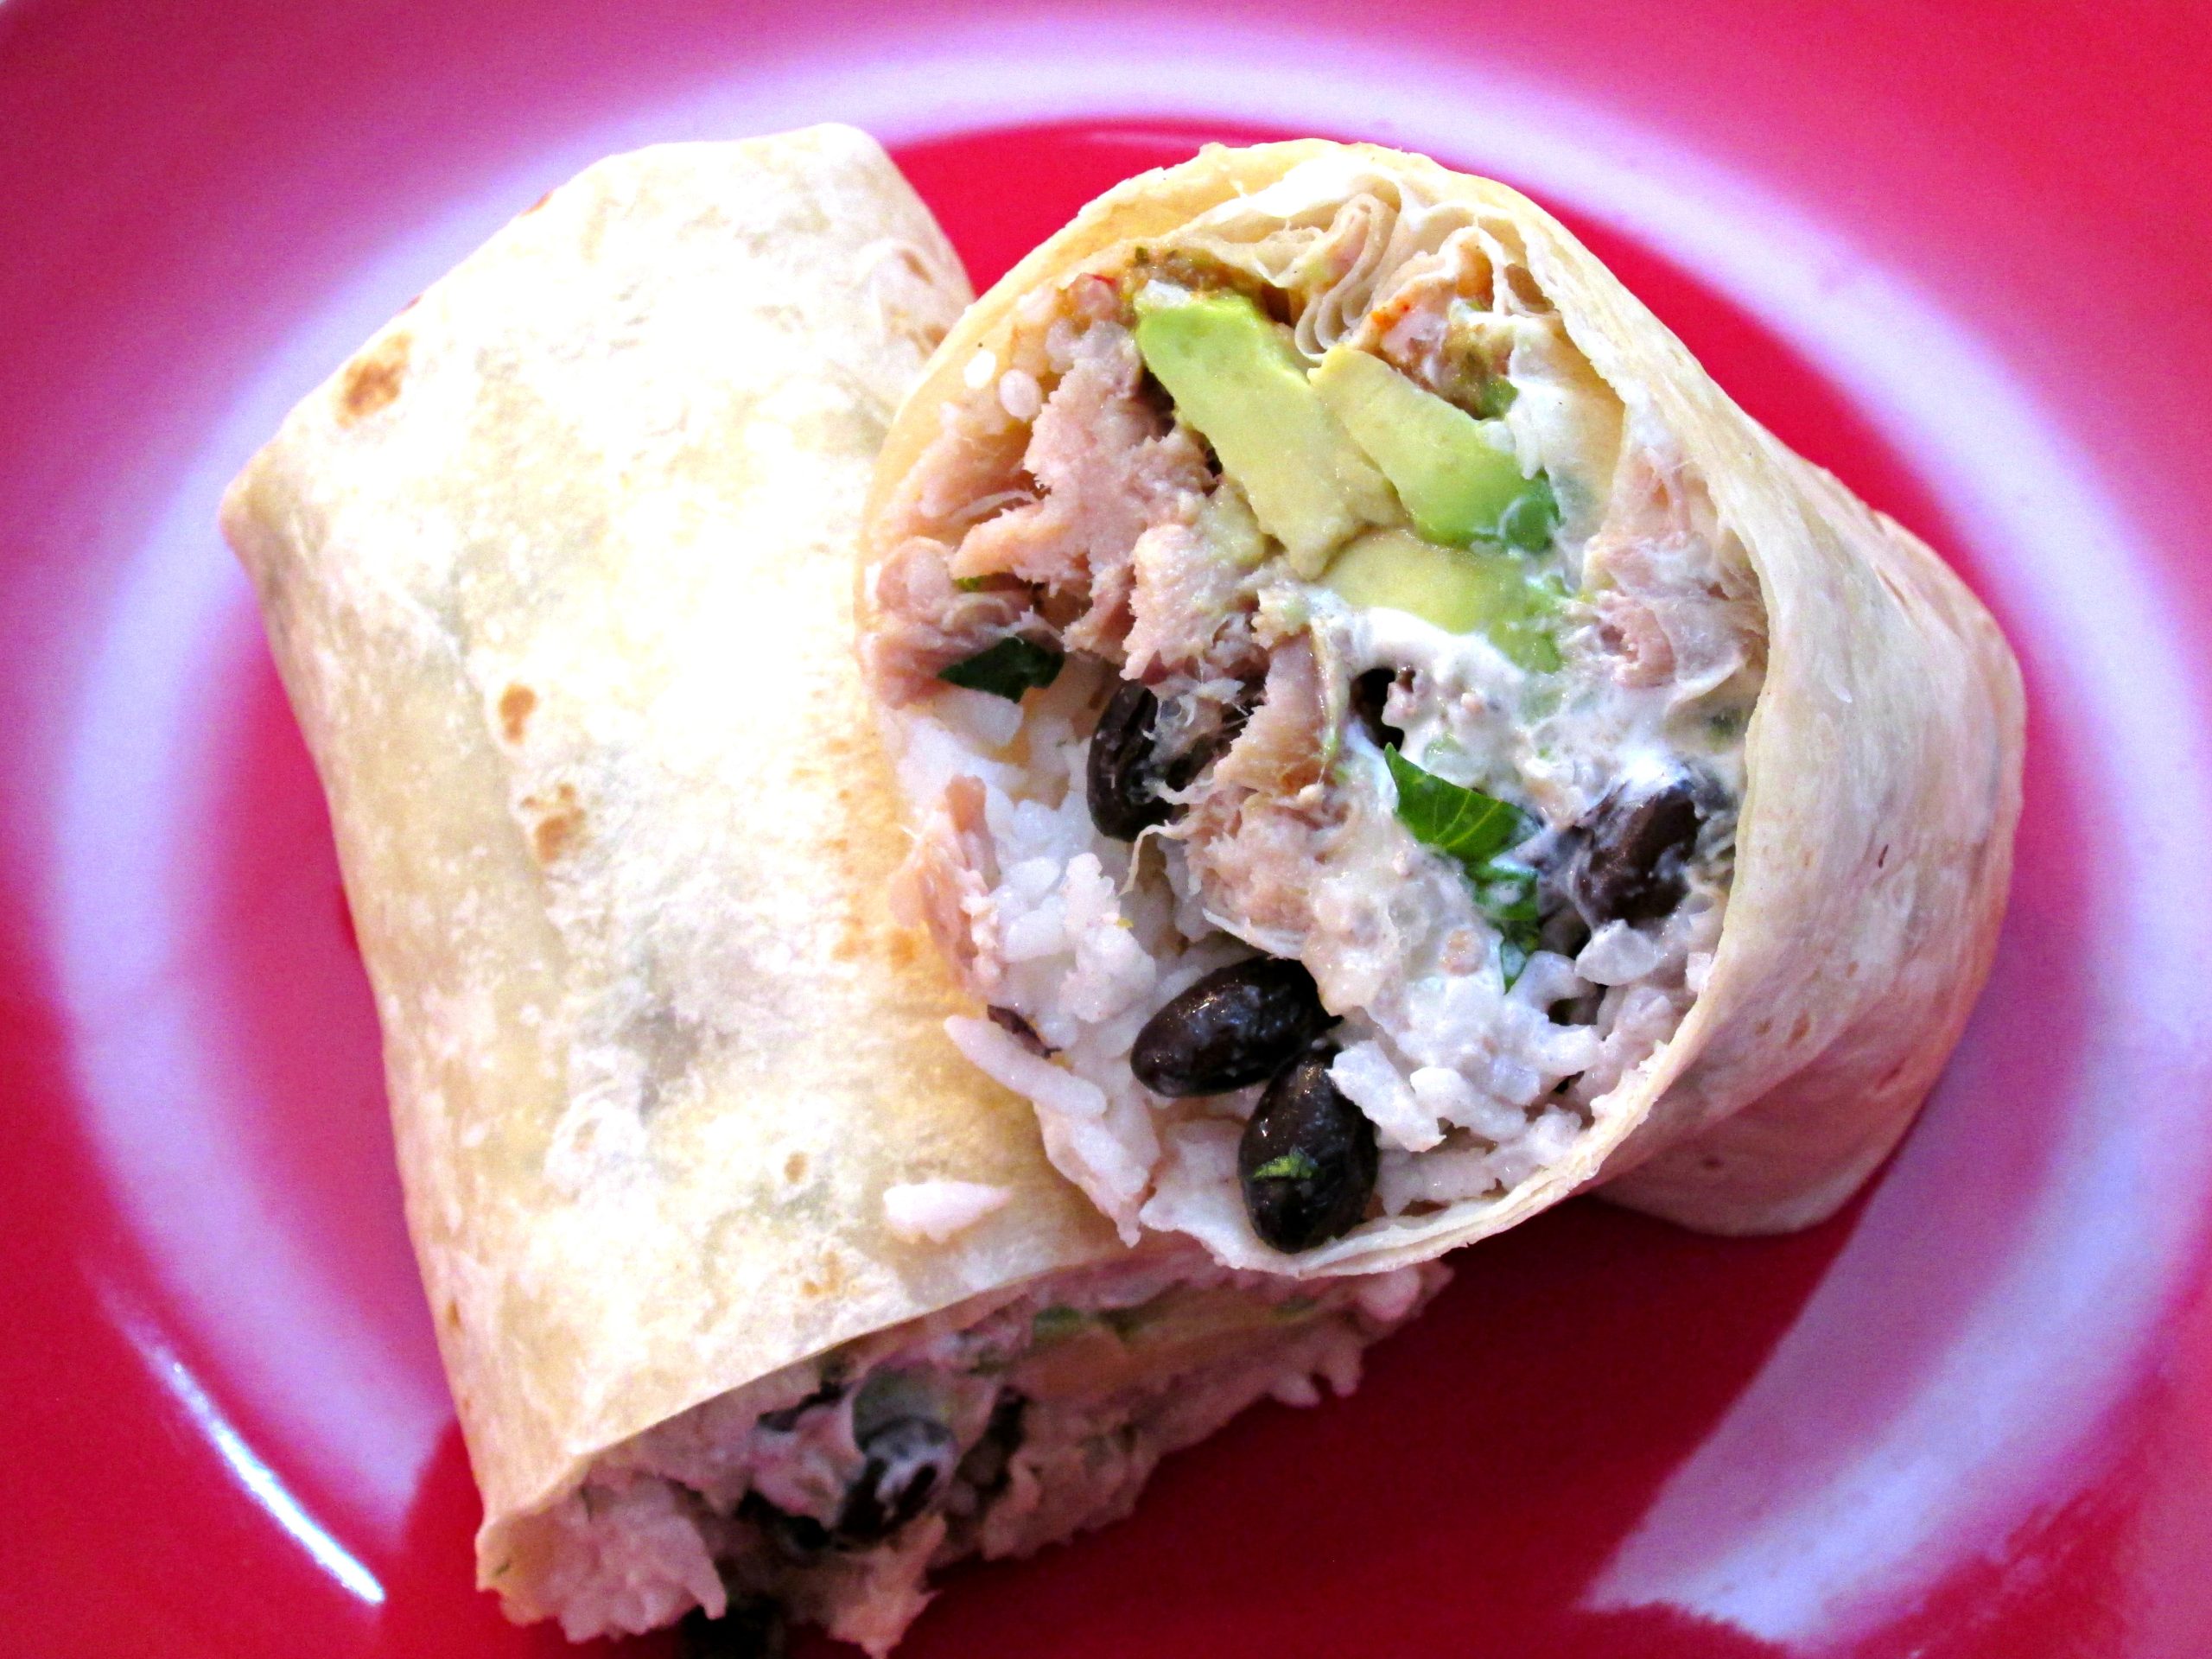
If you’re a fan of Tex-Mex or Mexican food and you love Shredded Chicken Tacos, you’re in for a treat because this is the real deal and they’re so easy to make using this slow cooker recipe. The meat is fall off the bone tender and full of amazing flavor. Plus, this recipe can be used for more than just tacos. I’m talking about burritos, nachos, chimichangas, quesadillas or served over rice, it’s that versatile.

Seasoned Boneless Chicken Thighs.

Shredded Chicken Taco Seasoning

One of the best seasonings to use for this Shredded chicken Taco recipe is Blackened Seasoning. It’s got everything you need in one and can usually be found with barbecue rubs and all purpose seasonings in your grocery store. It’s also very easy to make if you can’t find someone that carries it and you want or need to make your own. Here’s my recipe for Blackened Seasoning if you’re interested. The seasoning in the photos and video tutorial is my recipe and it’s got smoked paprika, cumin, onion & garlic powder, as well as a few other ingredients you’re going to love. It goes great with pork, beef, poultry and seafood. I highly recommend you try it, if you haven’t already. I also use kosher salt and pepper.

Diced Tomatoes, garlic and chipotle peppers in adobo sauce topped with seasoned chicken thighs and Mexican oregano.

Shredded Chicken Tacos Secret Sauce

Every recipe has that one thing that makes it really special and this Shredded Chicken Tacos recipe is no exception. In the bottom of your slow cooker, you want to add a can of diced tomatoes, chipotle peppers and some minced or chopped garlic. Then, once you add the seasoned chicken thighs, top everything off with Mexican Oregano. If you’re Crock-Pot has a heavy glass lid like mine and it doesn’t allow steam to escape, you won’t have to add any liquid. Otherwise, 1 cup of chicken broth might be necessary. The cooking time will depend on what you’re trying to accomplish. Set on low, I personally cook for 10 to 12 hours but the recommended cooking time by the manufactures is between 6 to 8. On high, the recommended time is 4 to 6 so, you decide.

De-boned slow cooked Chicken thigh meat for tacos.

De-bone the Chicken Tacos Meat

One thing I appreciate is not having to spit back out the food I’m trying to eat. Nothing more annoying to me than biting into a texture that just isn’t palatable so, there’s two things you want to get rid of after the chicken is cooked. They’re both considered one in the same, more or less, but they often separate when the meat tenderizes and that’s the thigh bone and the end cap on the bone. Then once those have been removed, feel free to fork and shred the meat.

Skillet full of Shredded Chicken Tacos meat.
Pan Fry Shredded Chicken Tacos Meat

I like to add a little more texture to the meat, in my Shredded Chicken Tacos, by pan frying the the shreds in an 8th inch of oil for about 5 minutes. Once it starts getting some color and gets a little crispy on the edges, I had a few scoops of the left over slow cooker juice. You don’t want the meat to dry out and there’s so much flavor there, it’s good to utilize and not let it go to waste.

Shredded Chicken Tacos – Slow Cooker Recipe – PMGK
Shredded Chicken Tacos Ingredients:

8 to 10 Chicken Thighs, boneless or bone in
Season with Kosher Salt & Pepper and Blackened Seasoning
1 can Diced Tomatoes
2 tbsp Chipotle Peppers in adobo sauce
1 tbsp Mexican Oregano
1 pkg Corn Tortilla’s
Oil for frying, canola or vegetable

Cook on the Low setting for 10 to 12 hours in a Slow Cooker and follow the directions in the Shredded Chicken Tacos video tutorial.

Grilled Lobster and Secret Sauce

The Best Grilled Lobster

This is, absolutely, hands down, the Best Grilled Lobster that I have ever had and it is so easy to prepare and grill.  The hardest part is dispatching a live lobster, if that sort of thing bothers you, but I show you the most humane way to do it and the quickest way to to clean and sanitize your lobsters, before grilling.  But, this tutorial isn’t just a how to, I give you the best secret sauce recipe to saturate the meat and it makes the lobster more savory and succulent than you could’ve ever imagined.

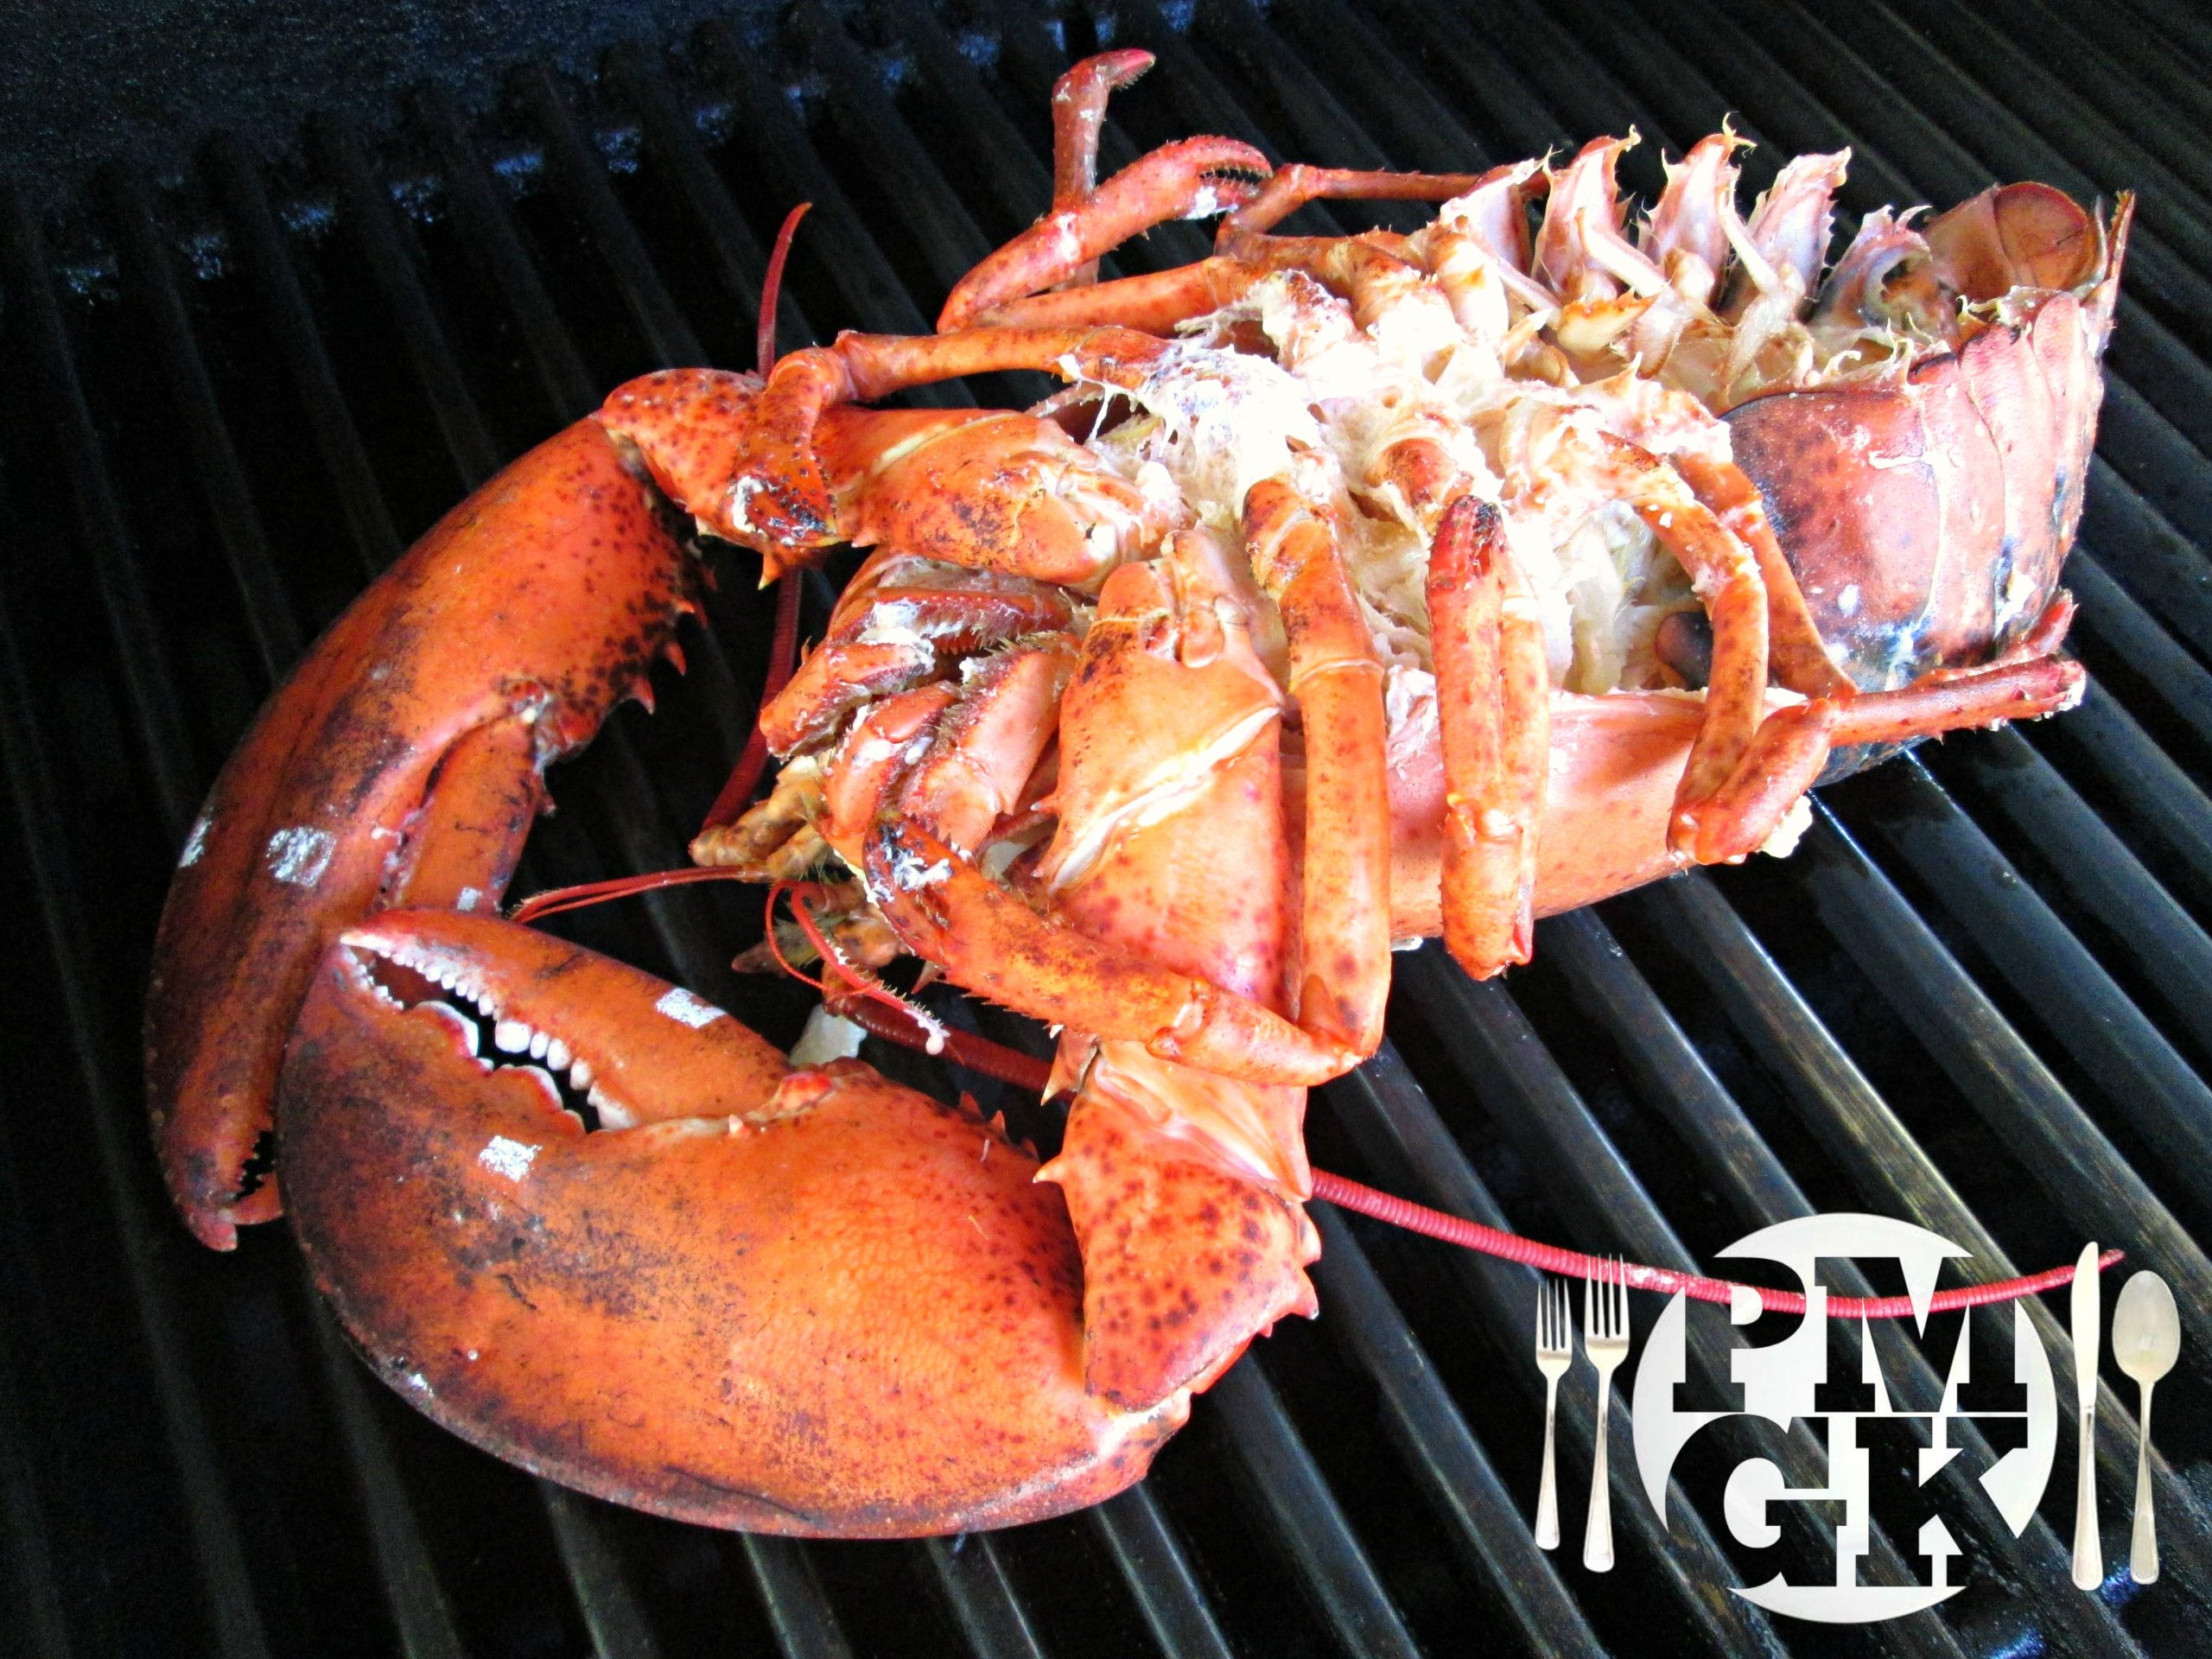
3 Pound Grilled Lobster

I’ve been waiting a long time to show you how I cook a Grilled Lobster.  The reason being that, up until now, there wasn’t anywhere near by selling live lobsters.  A while back I filmed and posted about my local Oriental Market.  Well, right next door, another Asian market, about the size of Walgreen’s, opened with a large variety of seafood options, including live crab and lobster tanks.  I was so excited.  The only problem was, they only had dungeness crabs.  I talked to the owner and checked back weekly for several months but they were really having a hard time finding a vendor with reasonable prices that would deliver to this area.  Long story short, they found one.  I’m still not ecstatic about the price but at least, now, they are available.  And thanks to my Patrons, I was able to walk in there last week and say, “Give me the biggest one!”

How much does a 3 lbs Grilled Lobster Cost?

This Grilled Lobster ain’t no joke and at these prices, who’s laughing?  I mean, if this is the market price, can you imagine what a 3 pound lobster would cost in a Restaurant.  The basic philosophy and justification behind restaurant cost is basic biz 101;supply and demand, overhead and employment cost and of course profit.  The easiest way to calculate this equation is to take the cost of the product and times that price by 3.  I paid $46.03, American, for this lobster.  So, in a nutshell, a restaurant would charge you close to $160!

YouTube Trolls often comment, “Poor Man’s my Ass” on my videos because they don’t grasp or understand this concept.  Also the fact that there is a time and a place for everything.  I don’t buy expensive food and cook and eat like this all the time.  That’s just ridiculous.  But, occasionally, for holidays or a special dinner, with my wife and family, I make an exception.  And the more of you that choose to get involved with my work, can help me make this happen, for you, more often.

Also, ironically, if you google, “lobster food history”, you’ll find that lobster was considered “Poor Man’s” food and served only to people and families in poverty.


Dispatching a Live Grilled Lobster

It’s always best to cook fresh and the only way to cook a fresh Grilled Lobster is to dispatch a live one.  This isn’t for the faint of heart but I strongly believe it’s for the greater good.

The last 100 hundred years or so we’ve gotten away from such practices and we no longer appreciate what we are eating.  We live in a world of instant gratification and all of the work that goes into the hamburgers we all love to eat so much is taken for granted.  We need to get more hands on and stop filling our heads with delusions that it’s wrong to do it or that it’s okay as long as someone else is doing it.

That being said, I show you the most humane way to dispatch a live lobster in the video.  The only thing I didn’t mention, however, is the fact that I placed the lobster in a more dormant state before doing so.  A lobsters normal habitat and water temp can vary between 45 to 60 degrees Fahrenheit, depending on where it’s from.  So, you can place the lobster in colder temperatures, like a sink full of ice water or a freezer, for 20 to 30 minutes, and the lobster will become more calm and docile.  This hibernation like state is considered, by many, to be the more humane way to take a lobsters life with a quick plunge of a sharp knife to the back of the head.  It’s quick and virtually painless.

Now all you have to do is clean the cavity and harvest the goods.

Grilled Lobster Tomalley and Roe

Before you cook your Grilled Lobster, you have to clean it.  Technically you can just throw them on the grill without doing so but there are a few things you should know about.  First is the Tomalley, which controls the digestive glands in the lobster.  Second is the Roe and it’s more or less lobster caviar.  Both are considered a delicacy but in truth, I don’t care for either.  The picture above is the Roe and it can be served raw or cooked.  Generally you just mix in some salt.  The Tomalley can be used as a spread, like butter but it’s best to just leave it alone and wash it down your sink, like I do in the video.  There are health risks associated to eating Tomalley, so proceed with caution.  Also, the same way you devien shrimp, you can devien lobster.

Eating Grilled Lobster

You’re Grilled Lobster can, technically, be baked if you prefer or if you just don’t want to grill.  In all honesty the grill just adds that smokey flavor which can be achieved with liquid smoke if you’re cooking in the oven, but still want the grilling taste.  The secret sauce recipe I give you below is more of a paste or a “topping”, if you will, that should be applied towards the end of the cooking.  Make sure the meat is well moisturized with some olive oil, beforehand, so the lobster doesn’t dry out and bake at 350 degrees Fahrenheit for 1 1/2 minutes per ounce before applying the butter paste topping.  If any of the topping mix is left, when it’s done, just add a few tbsp more of melted butter for dipping.

You can eat the Claws, Arms, Tail and you can use a rolling pin to squeeze meat out of the legs.  There’s more meat at the base of the legs and in the body than most people realize, so be sure to check every nook and cranny.

Other Lobster Recipes: Lobster Tail with Claws, Tempura Lobster Tail, Lobster Bisque, Lobster Sauce, Stuffed Lobster, Poor Man’s Lobster

Grilled Lobster Ingredients:

2 lobsters
2 tbsp Olive Oil
3 Garlic Cloves
5 Fresh Basil Leaves(do not use dried)
2 Green Onions
4 tbsp Butter
Salt and Pepper to taste

Water for steaming

After the lobsters have been cleaned, steam them in a couple inches of water for 5 to 10 minutes, depending on their size.
Then Grill as instructed in the video for an additional 5 to 10 minutes before applying the Garlic, Basil, Onion and Butter paste.
Use half the butter for the paste and the other half for dipping the Grilled Lobster meat.