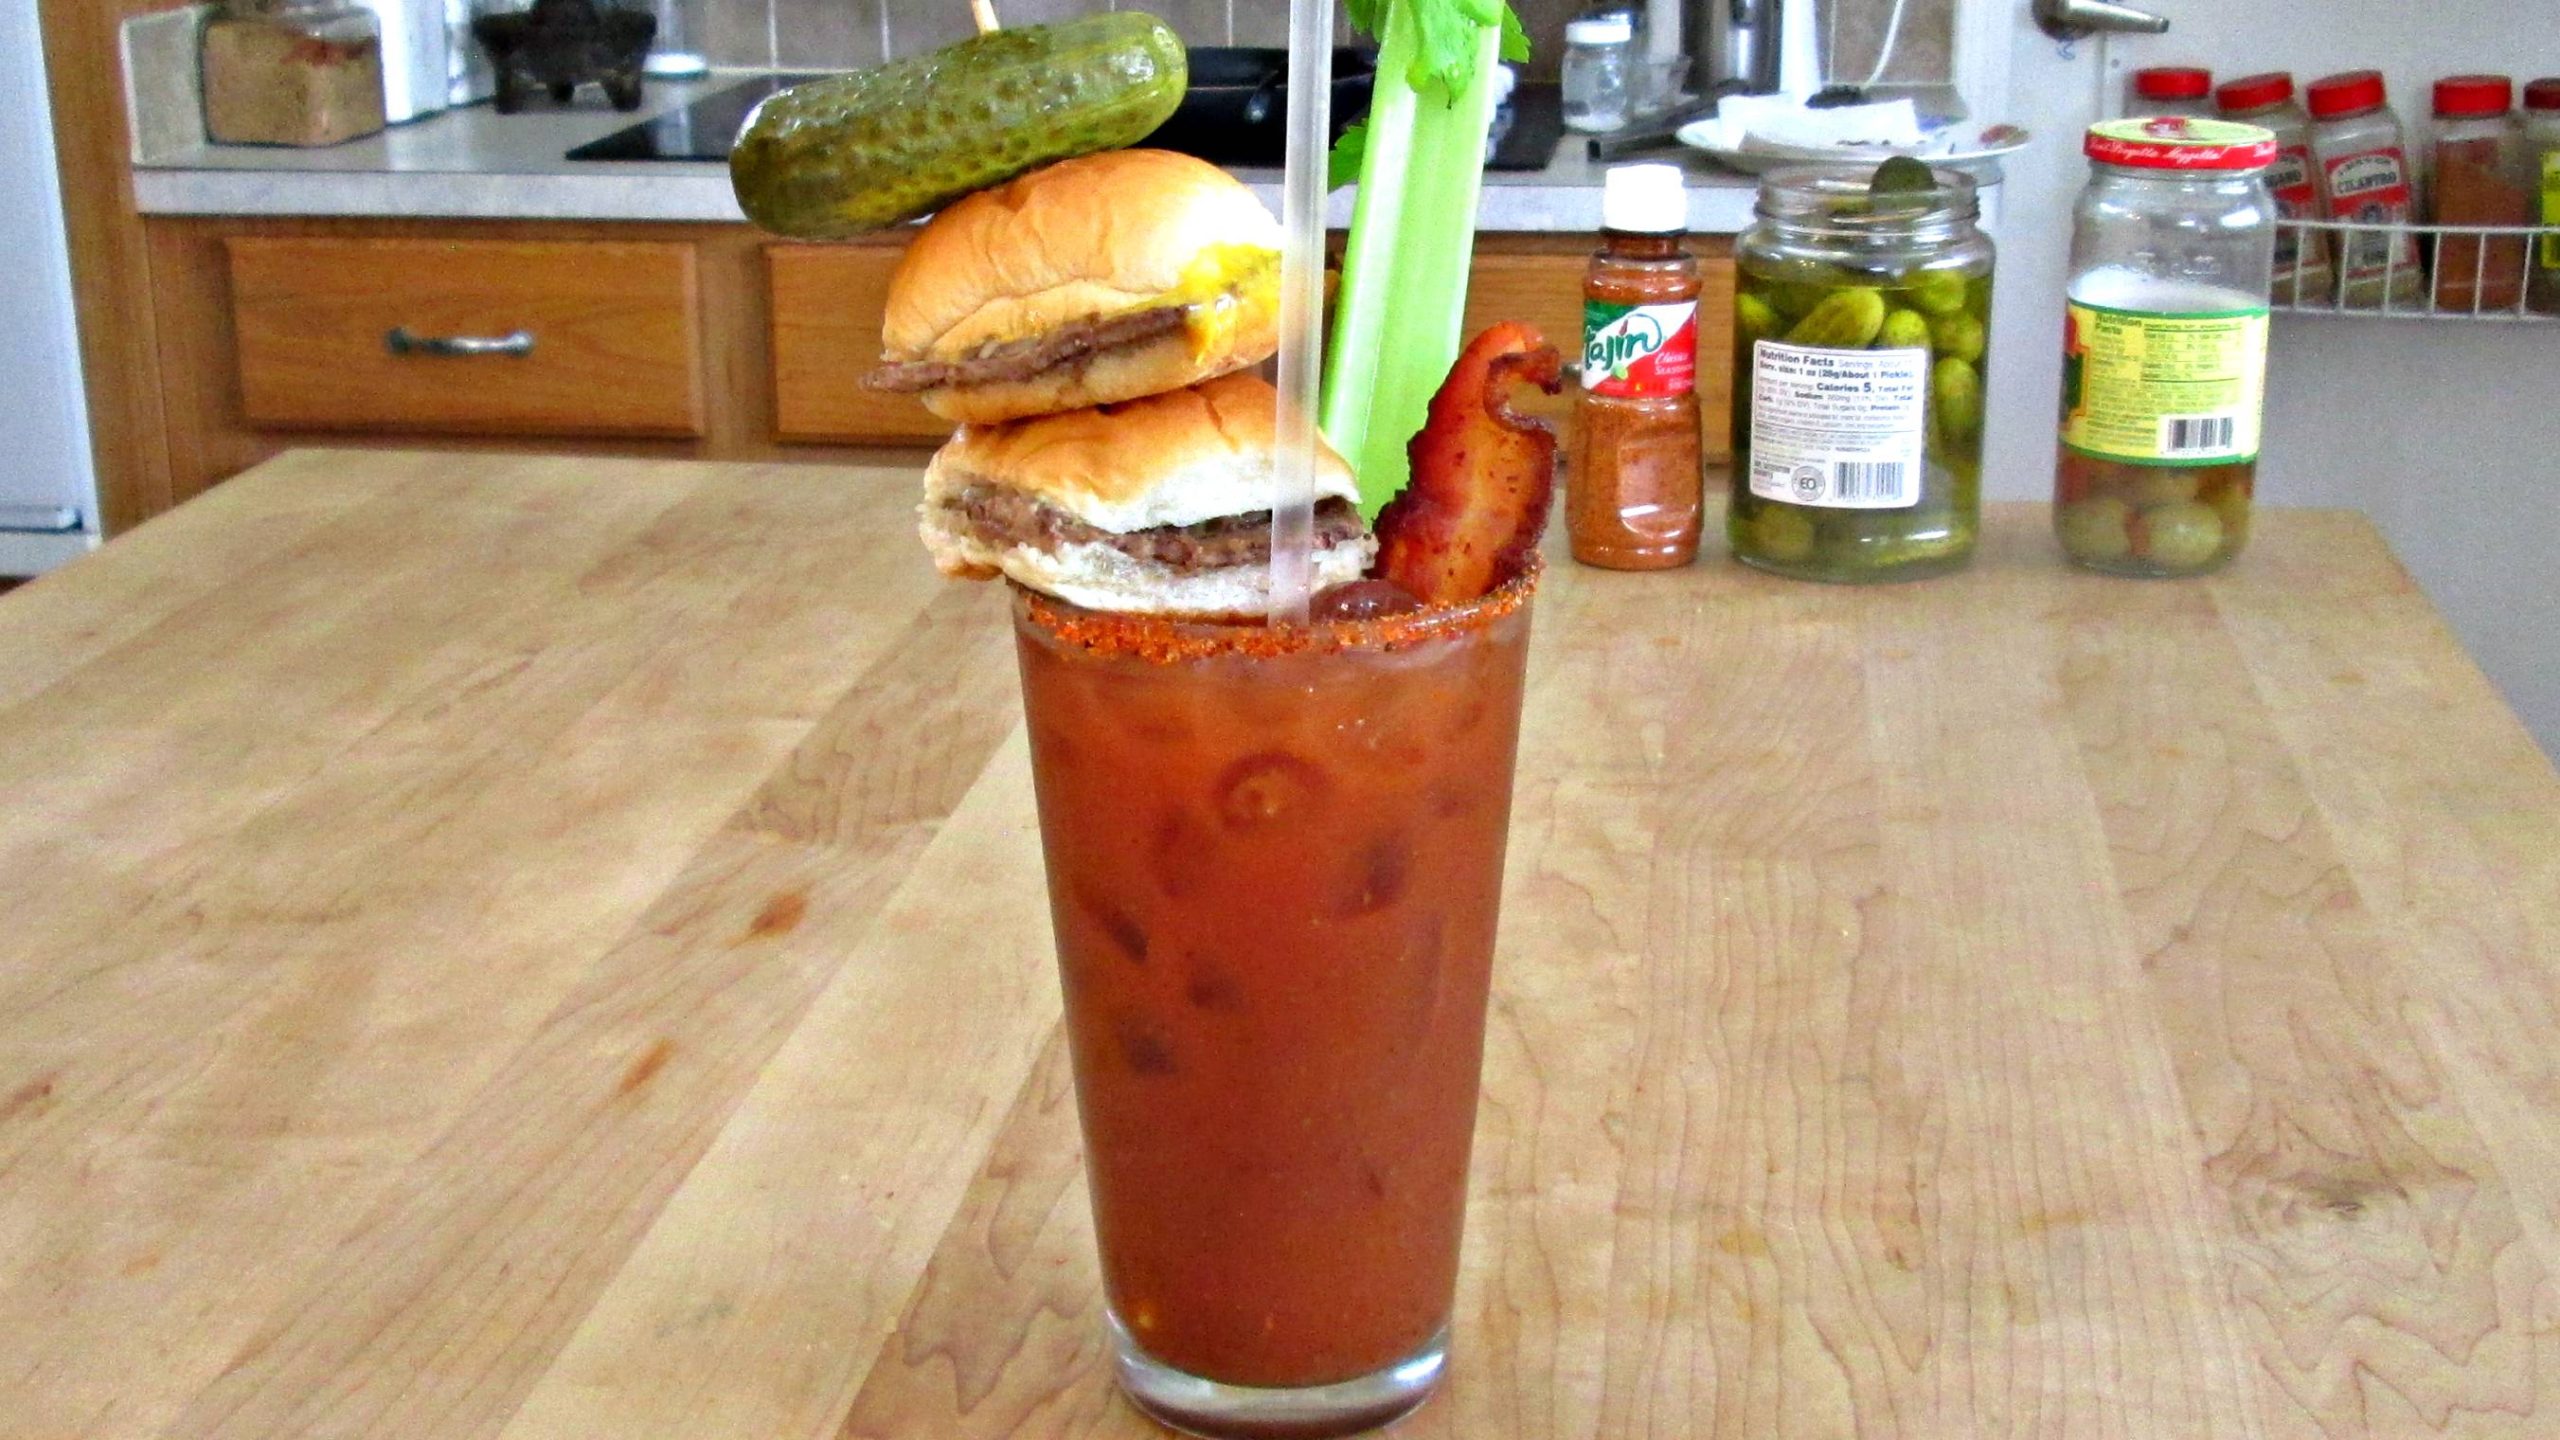
I’ve always loved a good cocktail and this Bloody Mary Brunch is no exception because it’s got it all. Not only are they known for being a fantastic hangover cure, restaurants around the world are now making them a meal by adding epic ingredients to the garnishment. It use to only incorporate a few vegetables like a stick of celery and some green olives but, now days, you can get just about anything and I’m going to show you exactly what I’m talking about.
Bloody Mary Garnish’s
The last thing anyone wants, when they’re hungover, is difficulty so, in this Bloody Mary demonstration, I keep it simple by using a products that only take a few minutes to put together and cook. In these instances, the freezer section at your local grocery store can be your best friend; especially if you planned ahead and already have a box of microwaveable goodies in your ice box. In this post I use White Castles cheeseburger sliders(which I’m, in no way, affiliated), but you can use all kinds of things. Jalapeno Poppers, Bagel Bites, Jimmy Dean Breakfast sandwich’s, cheese sticks or pizza pockets are just some examples.
Now when it comes to the Bloody Mary mix, I do like them bold and spicy. One of the best mix recipes that I have ever come across, and again I’m not affiliated with, is made by Zing Zang. I’m pretty sure it can now be found in every grocery Walmart around the world. I’ve used it to make my Red Beer and it’s amazing to cook a roast in.
I use pickle juice and Tajin to salt and spice the rim of my glass. Tajin is used in my Mangonada Recipe and I’ve got a pic of what it looks like in that post. It has a wonderful blend of dehydrated and ground chili peppers, sea salt and lime juice so, it’s perfect for any Bloody Mary recipe.
Bloody Mary Brunch Ingredients:
1 glass Ice 3 oz Vodka 8 oz Bloody Mary Mix 3 tbsp Pickle Juice 3 tbsp Tajin, spicy salt 1 pc Bacon, cooked 1 stick Celery 2 Slider Cheese burgers 1 Pickle, small 2 Queen Pimento Green Olives
I use shish kebab sticks for skewers and straws for Drinking these Bloody Mary Brunch cocktail’s.
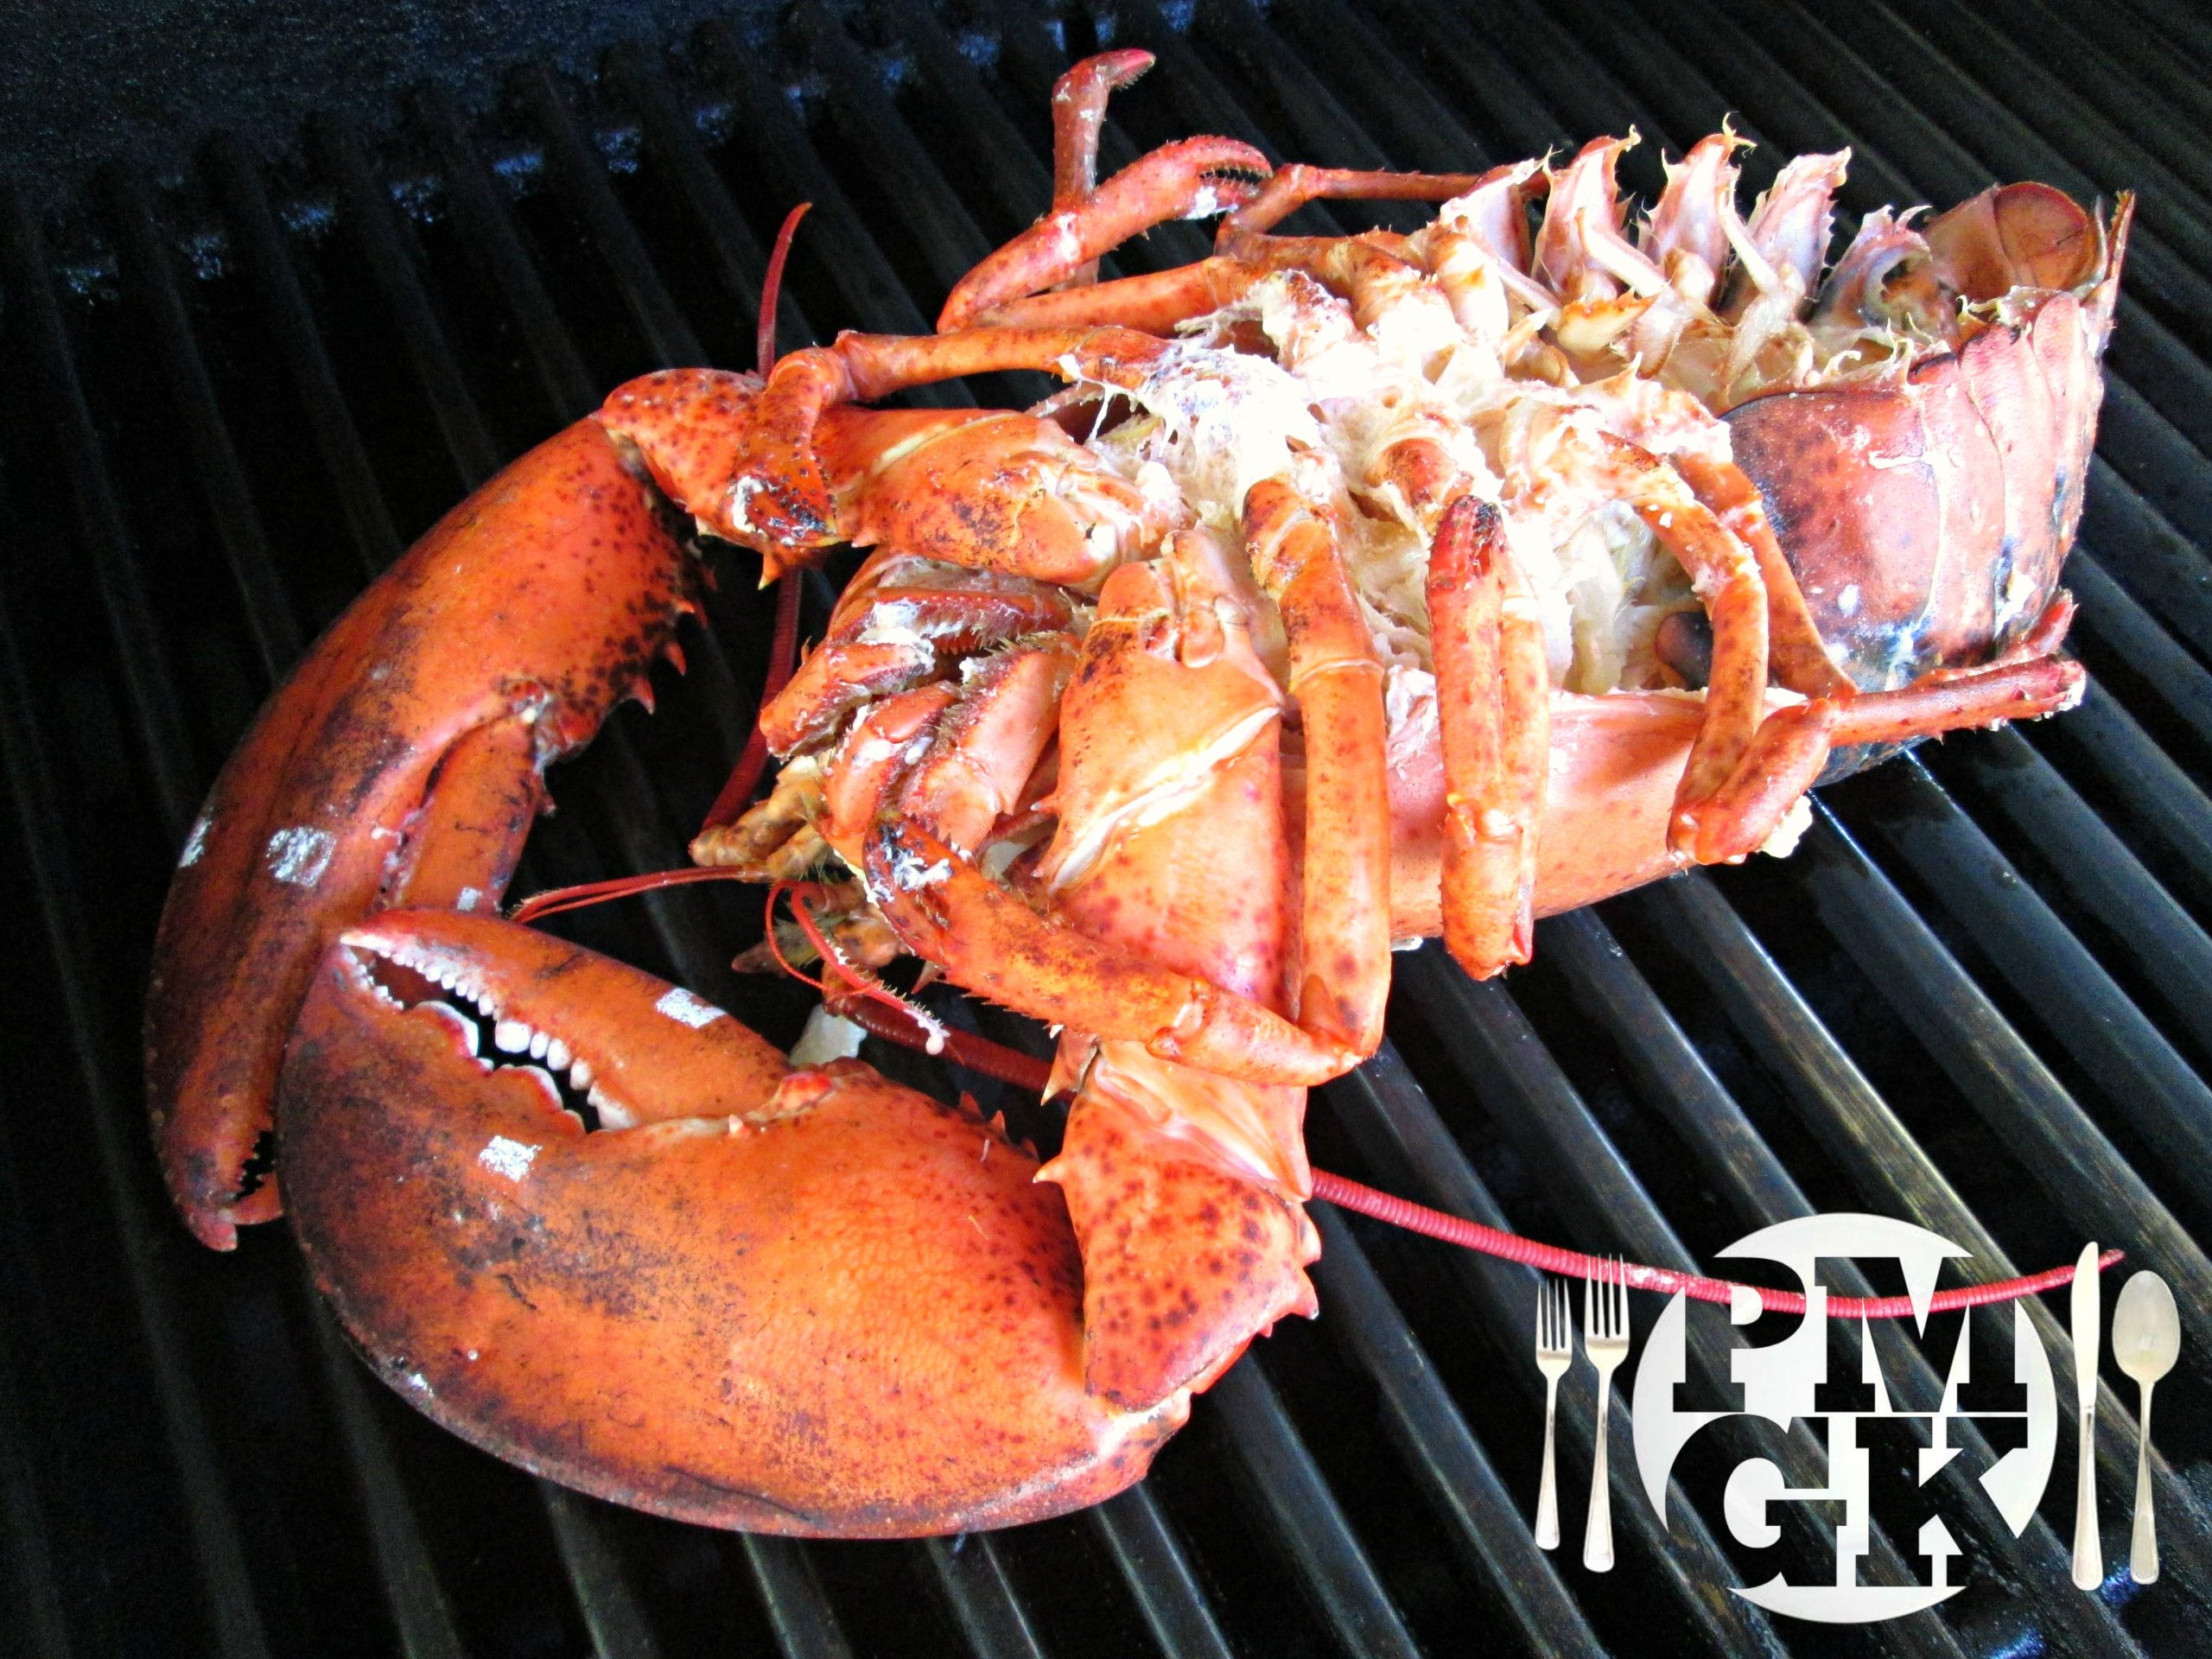
This is, absolutely, hands down, the Best Grilled Lobster that I have ever had and it is so easy to prepare and grill. The hardest part is dispatching a live lobster, if that sort of thing bothers you, but I show you the most humane way to do it and the quickest way to to clean and sanitize your lobsters, before grilling. But, this tutorial isn’t just a how to, I give you the best secret sauce recipe to saturate the meat and it makes the lobster more savory and succulent than you could’ve ever imagined.
3 Pound Grilled Lobster
I’ve been waiting a long time to show you how I cook a Grilled Lobster. The reason being that, up until now, there wasn’t anywhere near by selling live lobsters. A while back I filmed and posted about my local Oriental Market. Well, right next door, another Asian market, about the size of Walgreen’s, opened with a large variety of seafood options, including live crab and lobster tanks. I was so excited. The only problem was, they only had dungeness crabs. I talked to the owner and checked back weekly for several months but they were really having a hard time finding a vendor with reasonable prices that would deliver to this area. Long story short, they found one. I’m still not ecstatic about the price but at least, now, they are available. And thanks to my Patrons, I was able to walk in there last week and say, “Give me the biggest one!”
How much does a 3 lbs Grilled Lobster Cost?
This Grilled Lobster ain’t no joke and at these prices, who’s laughing? I mean, if this is the market price, can you imagine what a 3 pound lobster would cost in a Restaurant. The basic philosophy and justification behind restaurant cost is basic biz 101;supply and demand, overhead and employment cost and of course profit. The easiest way to calculate this equation is to take the cost of the product and times that price by 3. I paid $46.03, American, for this lobster. So, in a nutshell, a restaurant would charge you close to $160!
YouTube Trolls often comment, “Poor Man’s my Ass” on my videos because they don’t grasp or understand this concept. Also the fact that there is a time and a place for everything. I don’t buy expensive food and cook and eat like this all the time. That’s just ridiculous. But, occasionally, for holidays or a special dinner, with my wife and family, I make an exception. And the more of you that choose to get involved with my work, can help me make this happen, for you, more often.
Also, ironically, if you google, “lobster food history”, you’ll find that lobster was considered “Poor Man’s” food and served only to people and families in poverty.
Dispatching a Live Grilled Lobster
It’s always best to cook fresh and the only way to cook a fresh Grilled Lobster is to dispatch a live one. This isn’t for the faint of heart but I strongly believe it’s for the greater good.
The last 100 hundred years or so we’ve gotten away from such practices and we no longer appreciate what we are eating. We live in a world of instant gratification and all of the work that goes into the hamburgers we all love to eat so much is taken for granted. We need to get more hands on and stop filling our heads with delusions that it’s wrong to do it or that it’s okay as long as someone else is doing it.
That being said, I show you the most humane way to dispatch a live lobster in the video. The only thing I didn’t mention, however, is the fact that I placed the lobster in a more dormant state before doing so. A lobsters normal habitat and water temp can vary between 45 to 60 degrees Fahrenheit, depending on where it’s from. So, you can place the lobster in colder temperatures, like a sink full of ice water or a freezer, for 20 to 30 minutes, and the lobster will become more calm and docile. This hibernation like state is considered, by many, to be the more humane way to take a lobsters life with a quick plunge of a sharp knife to the back of the head. It’s quick and virtually painless.
Now all you have to do is clean the cavity and harvest the goods.
Grilled Lobster Tomalley and Roe
Before you cook your Grilled Lobster, you have to clean it. Technically you can just throw them on the grill without doing so but there are a few things you should know about. First is the Tomalley, which controls the digestive glands in the lobster. Second is the Roe and it’s more or less lobster caviar. Both are considered a delicacy but in truth, I don’t care for either. The picture above is the Roe and it can be served raw or cooked. Generally you just mix in some salt. The Tomalley can be used as a spread, like butter but it’s best to just leave it alone and wash it down your sink, like I do in the video. There are health risks associated to eating Tomalley, so proceed with caution. Also, the same way you devien shrimp, you can devien lobster.
Eating Grilled Lobster
You’re Grilled Lobster can, technically, be baked if you prefer or if you just don’t want to grill. In all honesty the grill just adds that smokey flavor which can be achieved with liquid smoke if you’re cooking in the oven, but still want the grilling taste. The secret sauce recipe I give you below is more of a paste or a “topping”, if you will, that should be applied towards the end of the cooking. Make sure the meat is well moisturized with some olive oil, beforehand, so the lobster doesn’t dry out and bake at 350 degrees Fahrenheit for 1 1/2 minutes per ounce before applying the butter paste topping. If any of the topping mix is left, when it’s done, just add a few tbsp more of melted butter for dipping.
You can eat the Claws, Arms, Tail and you can use a rolling pin to squeeze meat out of the legs. There’s more meat at the base of the legs and in the body than most people realize, so be sure to check every nook and cranny.
2 lobsters
2 tbsp Olive Oil
3 Garlic Cloves
5 Fresh Basil Leaves(do not use dried)
2 Green Onions
4 tbsp Butter
Salt and Pepper to taste
Water for steaming
After the lobsters have been cleaned, steam them in a couple inches of water for 5 to 10 minutes, depending on their size.
Then Grill as instructed in the video for an additional 5 to 10 minutes before applying the Garlic, Basil, Onion and Butter paste.
Use half the butter for the paste and the other half for dipping the Grilled Lobster meat.
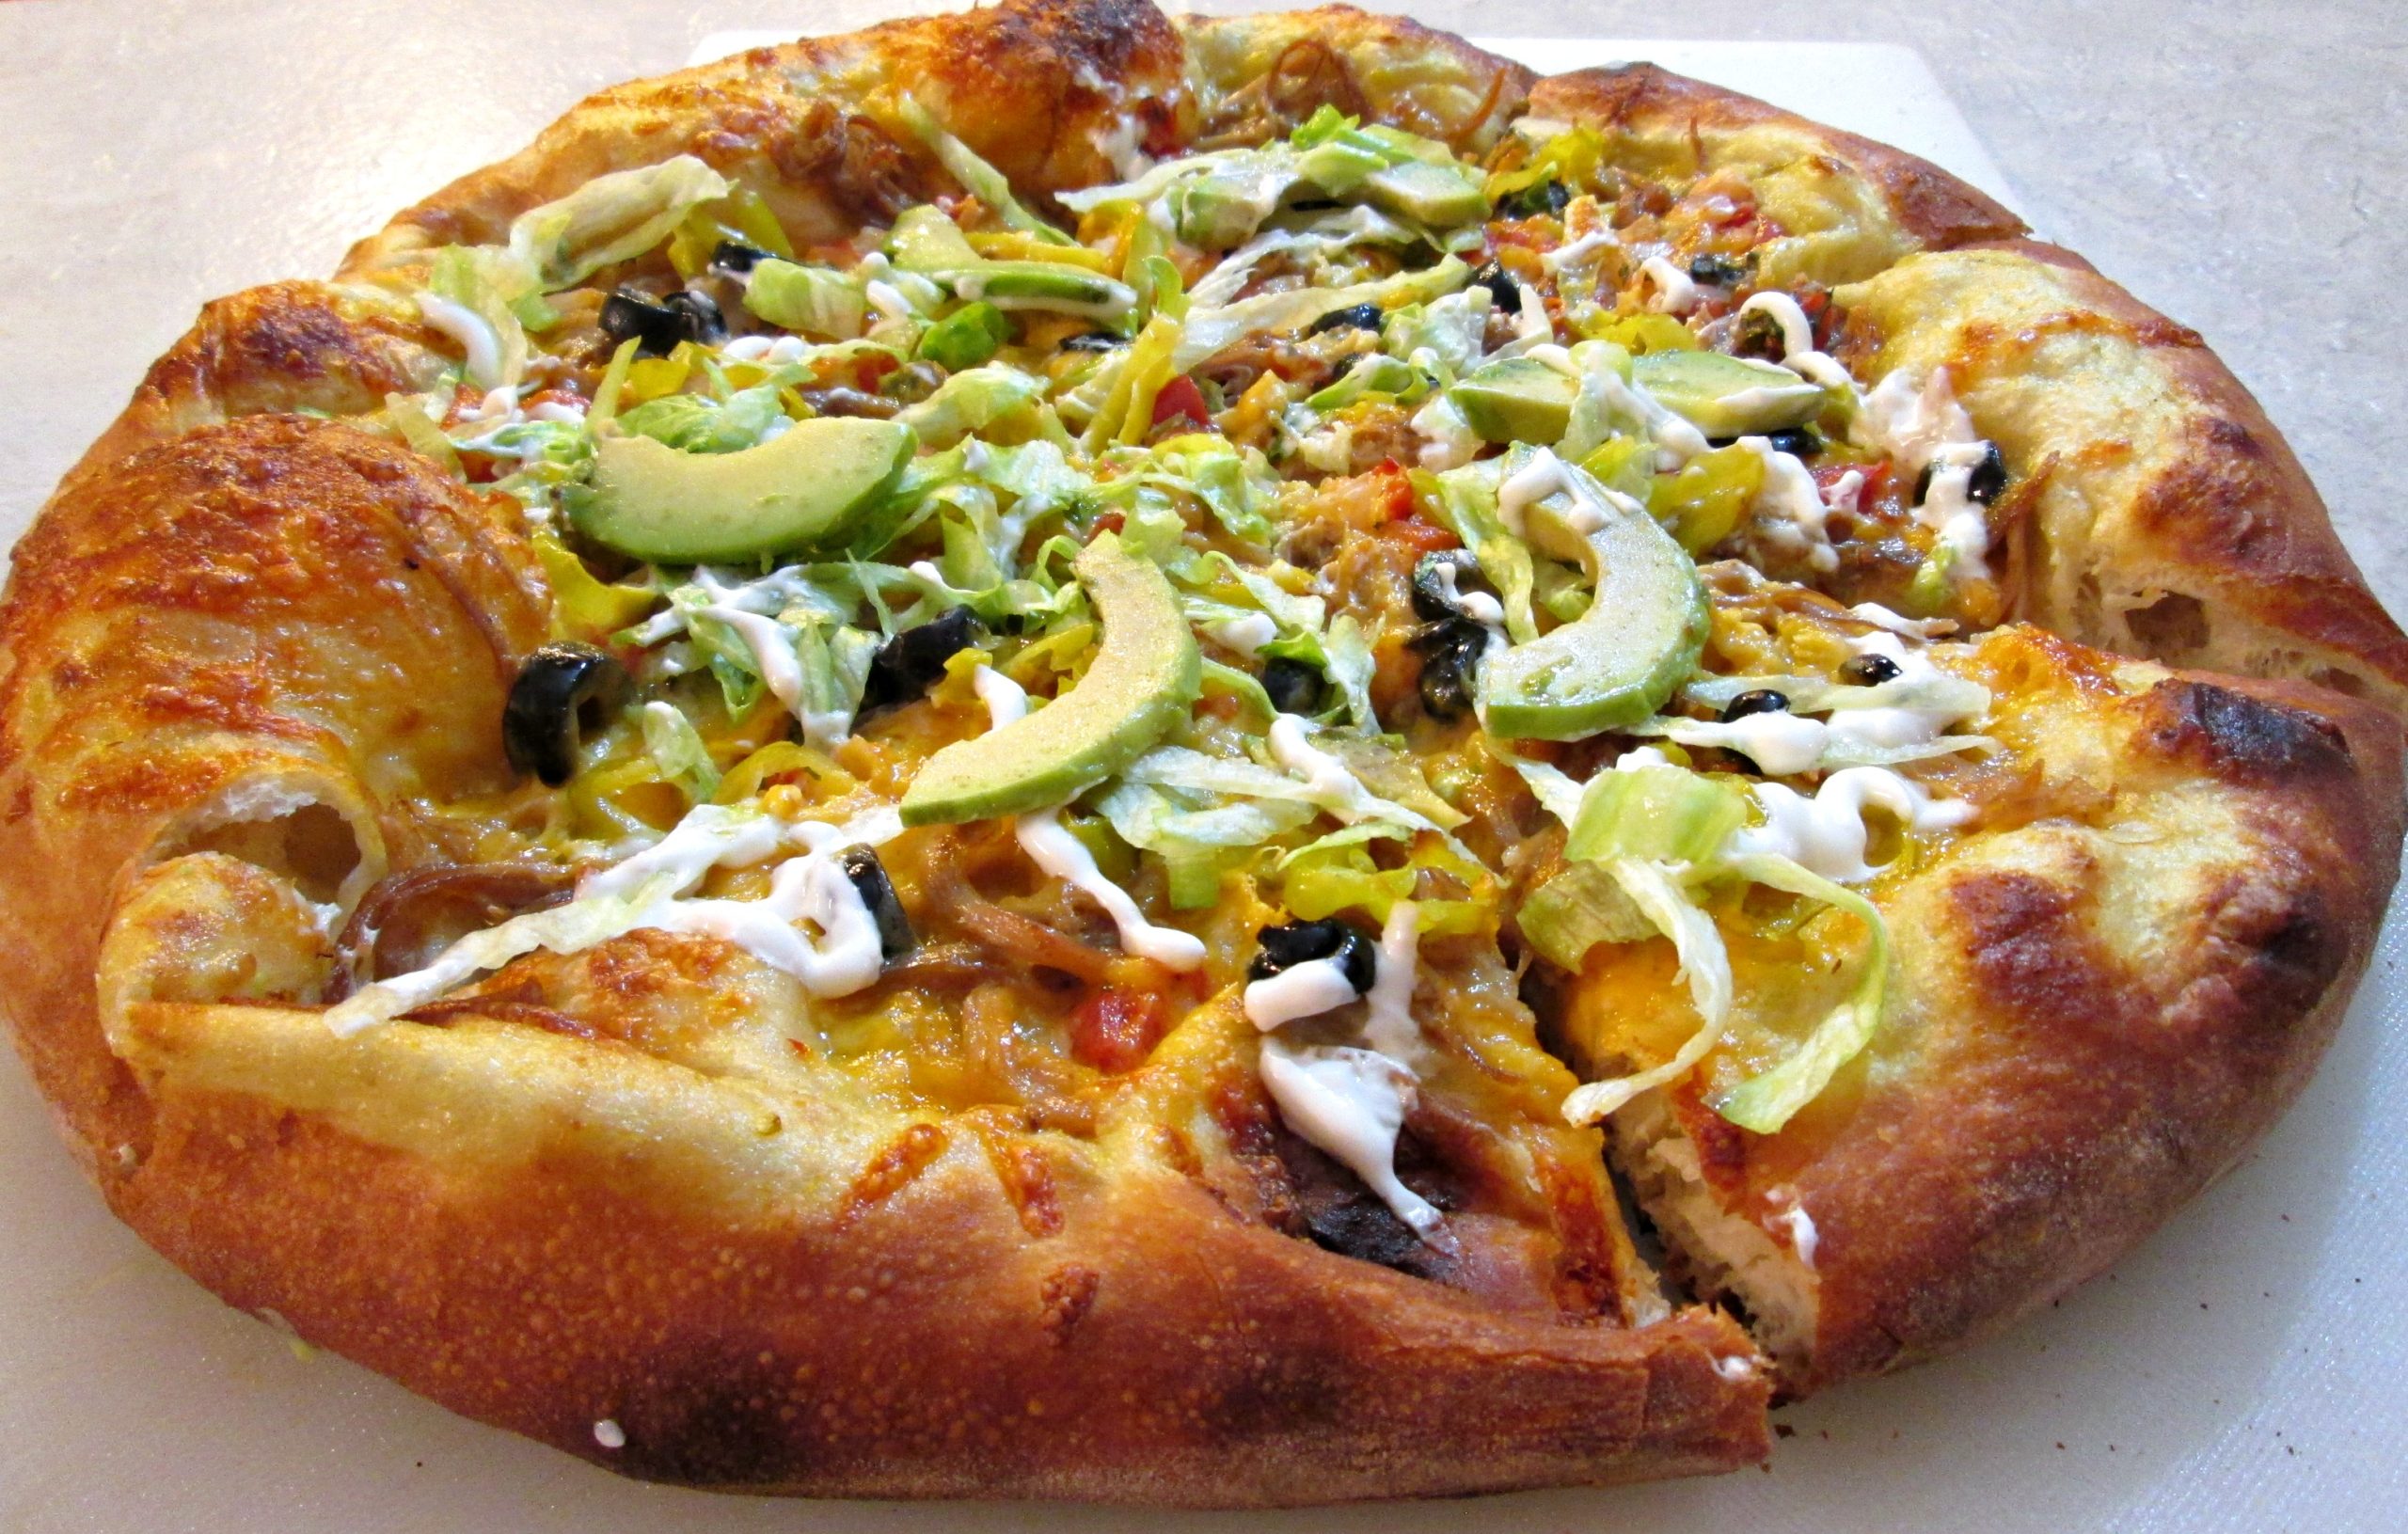
Nacho Pizza is fabulous and once you see and taste it for yourself you’ll agree. Nachos very often have a real nice spicy sauce over them with melted cheese, also Onions, Peppers, chopped Tomato and Olives, Avocado or Guacamole and very often, Lettuce and Sour Cream. Well, you guessed it. those are all of my ingredients for this Nacho Pizza and if you dare to try it out for yourself, you’re going to love it.
Pepperoni Vs. Nacho Pizza
Clearly, there’s no comparison between a classic Pepperoni Pizza and a Nacho Pizza. In fact I’m just showing off a nice pic I took of this Pepperoni using Vita Versa’s Pizza Peal. And I am so glad they sent it too me. I had this old Baking stone I hadn’t broke out yet and I’ve just been dying to use it. So between the two, i can crank out some fantastic Pizza.
The Pizza Peel is easy to use and making pizza is a lot more enjoyable now when pull this off the wall to slide the dough in and out. As you will see in my Nacho Pizza Video down below, owning your own peal makes total sense. And it cleans up and stores with ease. So if you’re interested in Vita Verse’s Pizza Peel, check out their page.
You might also need a few other recipes if you want to make your Nacho Pizza the same way I made this one. I’ve got those links listed down below along with the Pizza Dough recipe as well.
Pizza Dough for one 14″ Pie
1/3 cup Green Enchilada Sauce or Chili Verde
1 cup Colby Jack Cheese, grated
1 cup Pork, Chicken or Beef, shreaded
1/2 cup Pico de gallo, salsa
1/4 cup pepperoncini’s, chopped
1 small can Black Olives, chopped
Bake at 550° Fahrenheit for 6 minutes on a baking stone on the very bottom rack. Top with chopped cold Lettuce, Avocado and Sour Cream. Then serve each Nacho Pizza slice with Nacho Cheese.