New and Improved Jalapeno Poppers!

So what’s so new and improved about these Jalapeno Poppers? Everything! These Poppers are absolutely done right. There is nothing lazy about them. If you’ve already looked online, then you’ve probably noticed that there are a lot of people that don’t even deal with the breading. And then, to make matters worse, some recipes use only half the pepper. Others are wrapped with bacon or just a little Panko sprinkled on top, then baked. Well not my Jalapeno Poppers, no Sir/Mam. Not only are these the real deal, I’ve made some definite improvements so let’s talk about it.
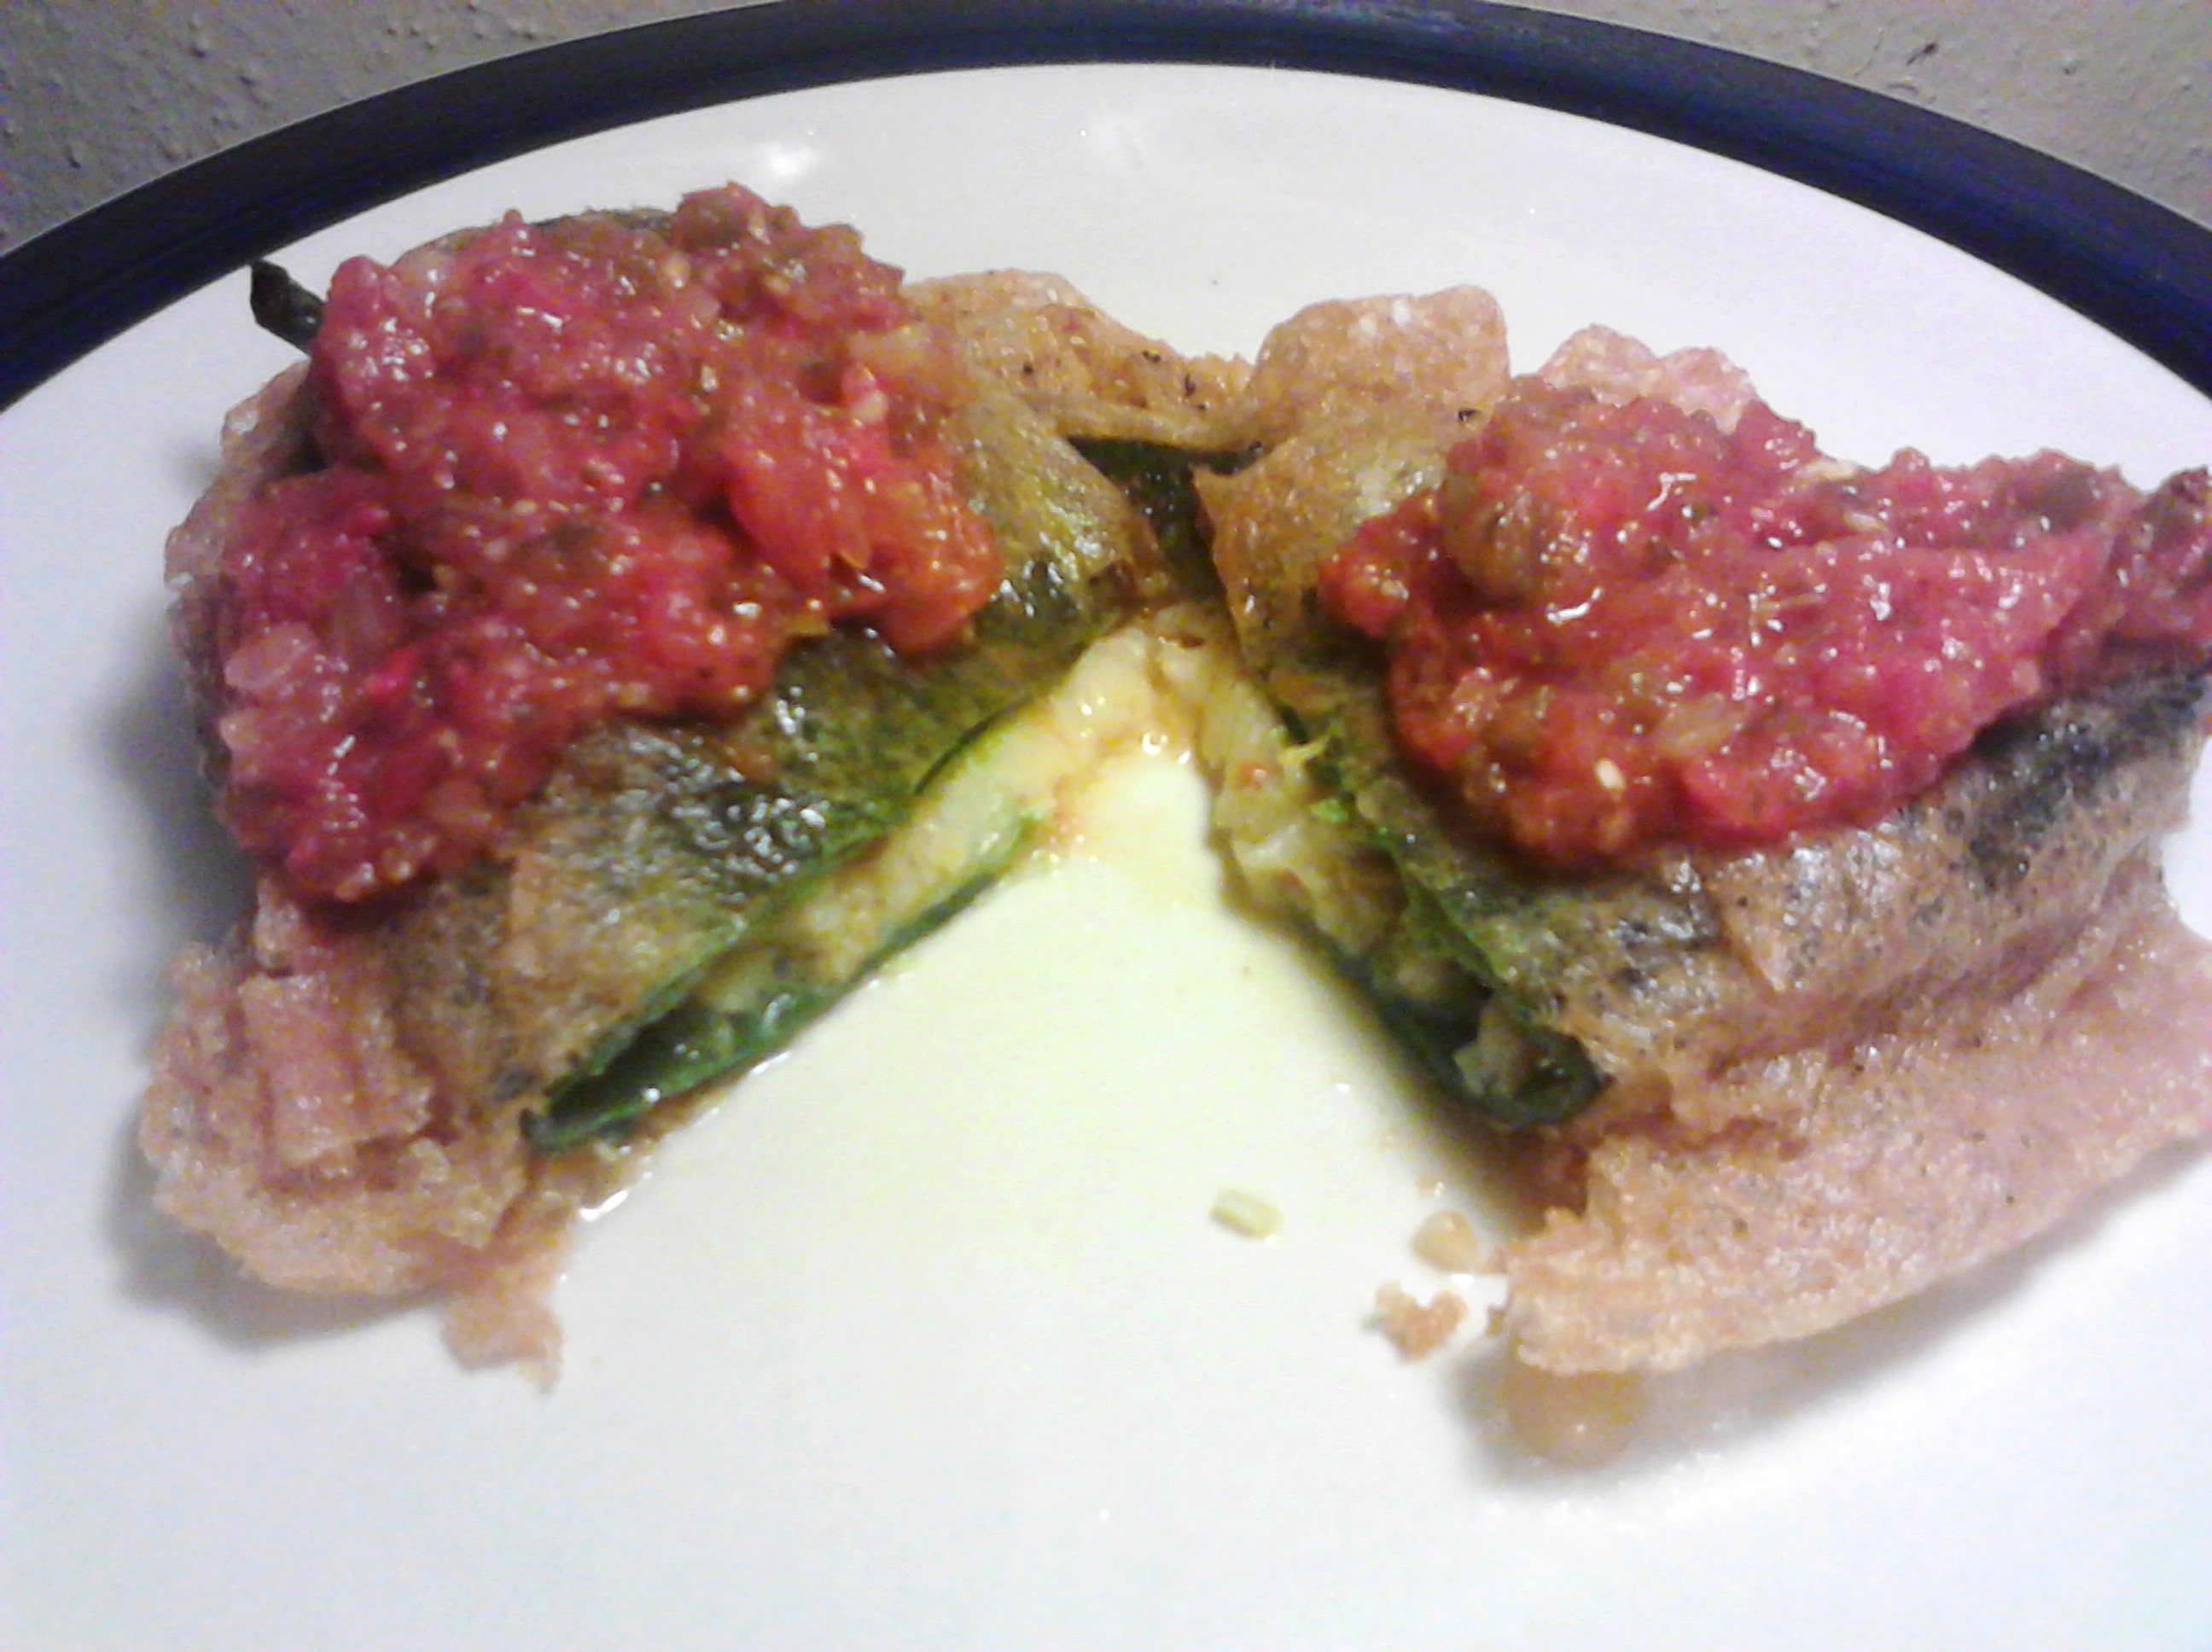
 First of all, what are the basic rules for traditional Jalapeno Poppers? One, it’s got to be a whole Pepper. Two, it’s got to be stuffed with Cheese. Three, it’s got to be breaded and Baked or Fried, and Four, it’s got to stay and hold together. The secret for all of the above is detail. So the first thing you need to do is peel the skins. This is one of the secrets to keeping the breading on a shiny, smooth Jalapeno. The second trick is to stuff them with enough Cheese so that two Jalapeno halves will stick back together with pressure. Now if you want to know how to keep them together with out using a tooth pick, listen to this. Once the Jalapeno Poppers are stuffed and pressed together, they must be rolled in flour first, then egg washed, rolled in breading, then back in the egg wash and rolled in the breading one last time. This three step process will hold the Pepper together from the outside, while the cold from the freezer holds the inside. Freezing the Poppers for a couple of hours before they’re fried insures that they won’t fall apart in the fryer. The Frying Cooks The egg wash breading on the outside before the frozen cheese softens on the inside. And this keeps them from falling apart and making a mess in the oil.
Jalapeno Poppers Ingredients:
8 to 10 Jalapeno Peppers
1 pkg Creme Cheese
2 chopped Green Onions
1/3 pkg sliced bacon
1/2 cup graded Colby Jack Cheese
1/2 tsp Ranch Dressing Seasoning (optional)
Breading:
3 to 4 eggs
1/2 cup Flour
1 cup Bread Crumbs (Progresso Garlic and Herb)
Oil for Frying
I recommend Frying at 375 degrees until golden brown, which takes only a few minutes. If you’re going to bake them, bake at 425 degrees for approximately 8-12 minutes. Serve Jalapeno Poppers with a Sweet Berry Jelly or Orange Chili Sauce.