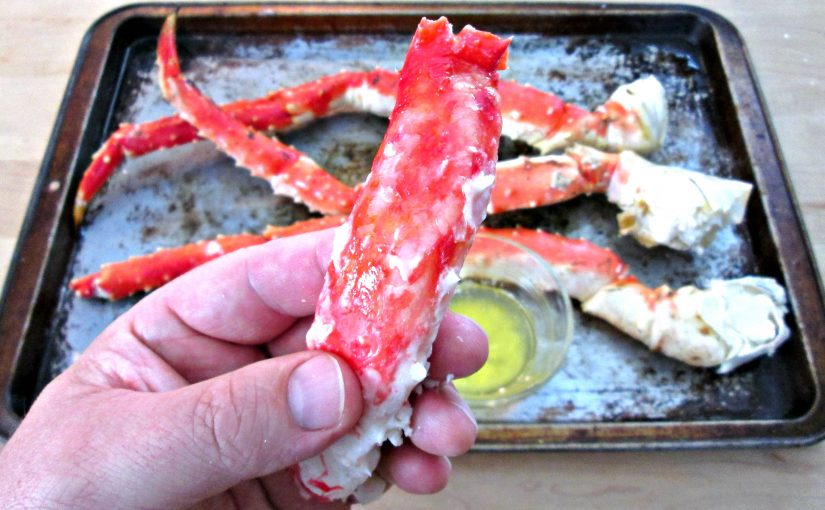
2 lbs of cooked Alaskan King Crab Legs on a sheet pan with butter.
Delicious King Crab Legs
Out of all seafood, I’ve got to admit that King Crab Legs are my all time favorite thing to eat. I love Snow Crab and Dungeoness Crab too but nothing, to me, is so satisfying as rewarding your self with a hefty sized piece of crab meat dipped in garlic butter. The flavor is so rich and sweet and it literally does melt in your mouth. The only problem is that they’re usually horribly expensive. I believe, however, that there is a time and place for everything, special occasions like birthdays and holidays have always warranted a place in my heart to splurge a little, even on a budget.
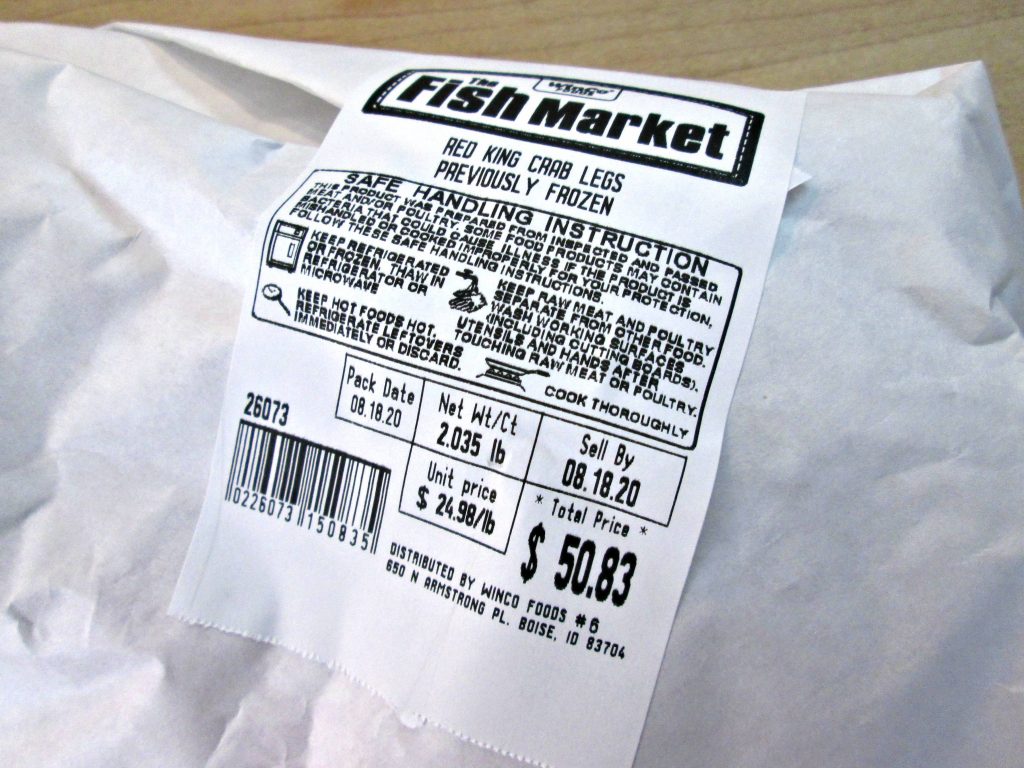
2 pound package of frozen Red King Crab legs labels $24.98/lb, total price $50.83!
King Crab Legs Market Price
The market price of seafood changes like anything else judging by the supply and demand. The only problem is is that it’s a little bit more unpredictable than, let’s say, beef or cattle because no one really knows how much is actually available. All we can do is judge the market by the previous and current catch recorded by quality control and government observers that keep track of the numbers.
I worked in Alaska, for a time, on a fishing factory trawler so, I know a little bit about how it works. I lived on a 220 ft fishing boat, out at sea, for 3 to 4 months at a time, depending on the fishing season. The difference with crabbing is how much further north they have to go and how much colder it gets. Crabbing is considered to be one of the most dangerous and deadly professions in the world. If you’ve ever caught an episode of Deadliest Catch, you know what I’m talking about.
All things considered, there are many other factors that go into pricing King Crab Legs when they hit the market. I can tell you that the price jumped 3 dollars more per pound, when I decided to film this video, from the previous week. If you want to know how I’ve gotten them cheaper, and I mean 1/3 this cost, check this out.
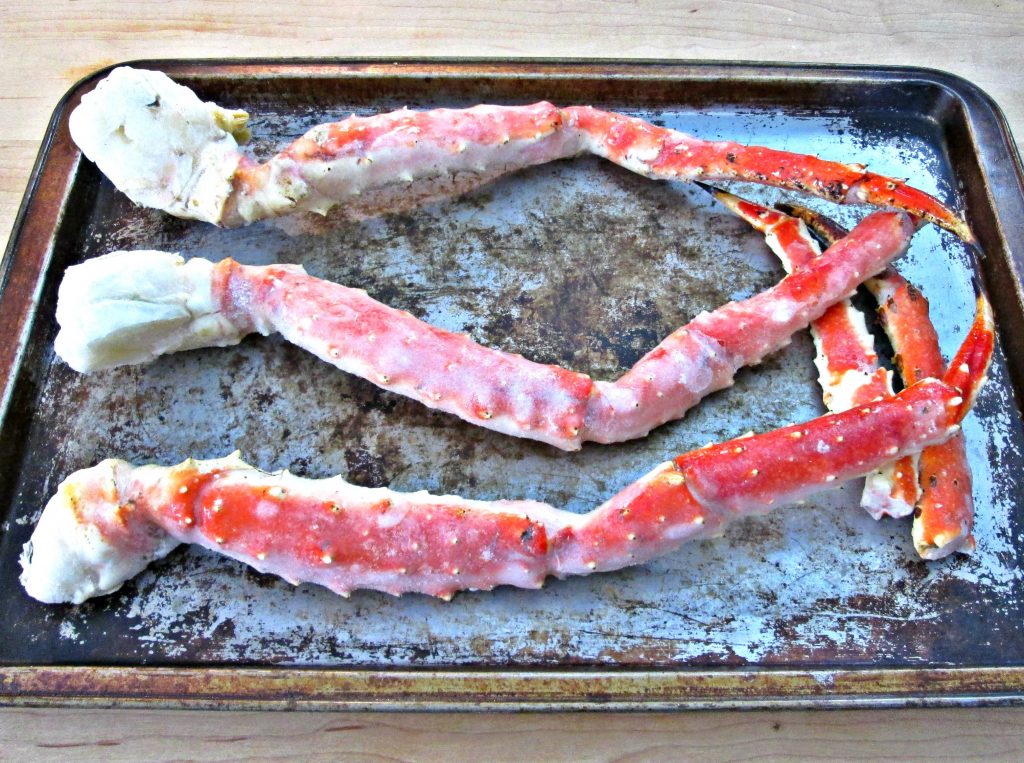
2 lbs of Frozen King Crab Legs on a cookie sheet.
Frozen King Crab Legs
It’s no secret that when we buy King Crab Legs we’re usually buying them frozen but did you realize that they’ve already even been pre-cooked. So, cooking these up at home really isn’t going to be that difficult because all we need to do is reheat them. They can easily be over cooked, though, so that’s something you should avoid at all costs. Following these simple methods should help you cook your crab perfectly and without complications.
Fully Cooked King Crab Legs and one thigh meat portion removed from the shell.
King Crab Legs Baked, Grilled or Steamed by PoorMansGourmet.
Baked, Grilled or Steamed King Crab Legs
The 3 most common ways to cook and/or reheat King Crab Legs is baked in the oven, barbecued on a grill or, the most popular, steamed in a large pot on a stove top. In this video tutorial, I demonstrate how to do all three with ease and I’ve listed the cooking time and temps, for each process, down below.
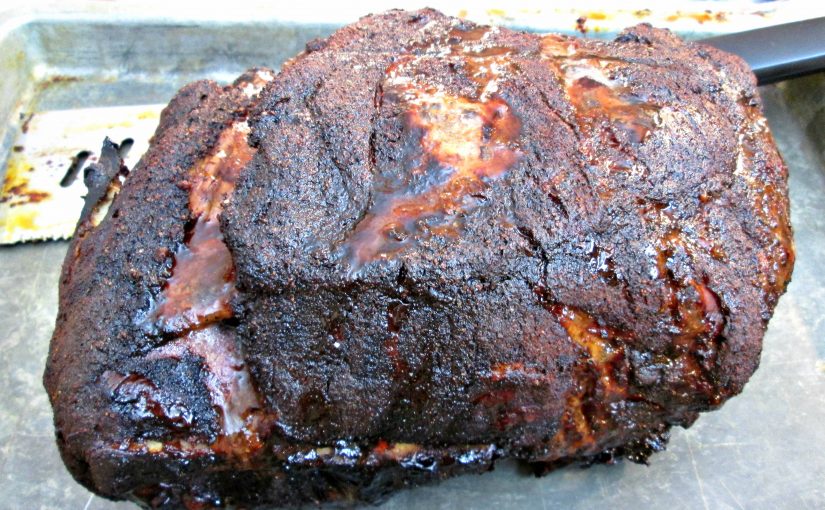
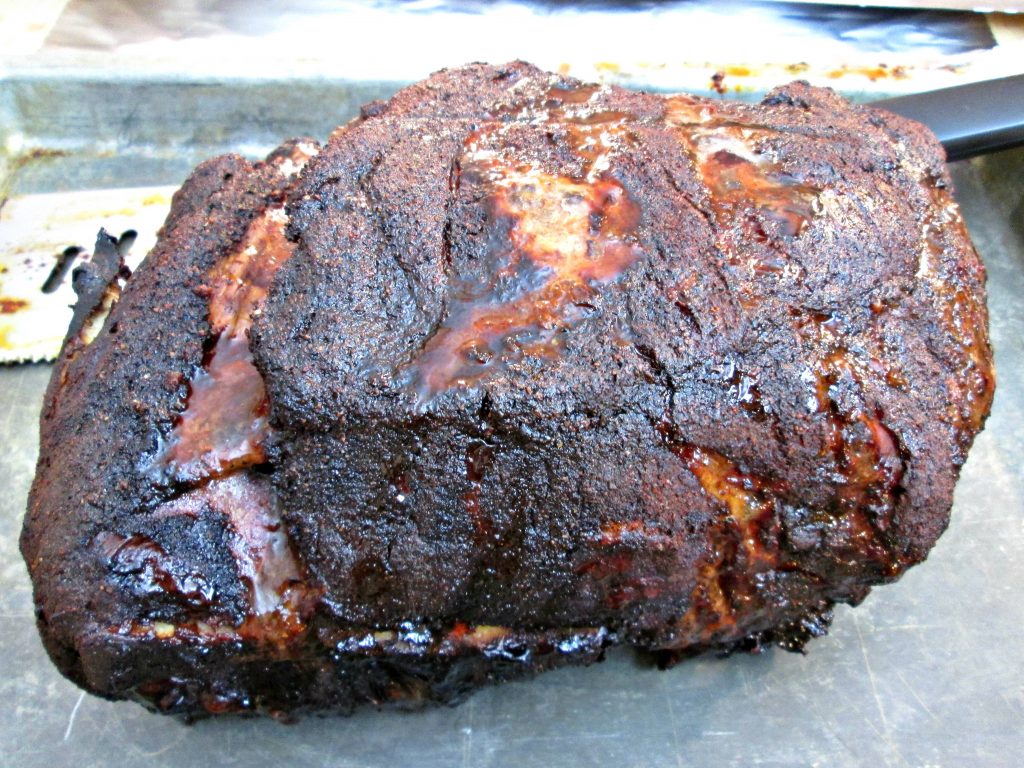
Smoked Boston Butt Pork Shoulder Roast hot off the grill.
The Best Boston Butt Roast
One of my all time favorite recipes is pulled pork and my go to recipe is normally Kalua Pork but if you’ve ever had a Smoked Boston Butt Roast, you know it’s amazing. I’ve got a really great rub to share with you and, for those that don’t have a smoker, I’m going to teach you how to smoke your butt’s on a gas grill and still get the same results.
One packaged and tagged Raw Pork Butt Shoulder Roast, 7.55 lb, $9.66.
What is a Boston Butt
Some people confuse and automatically assume that a Boston Butt Roast is exactly what it sounds like, the butt or bottom muscle of the pig, but this couldn’t be further from the truth. It’s actually the front shoulder above another famous roast portion, the picnic. So, the difference is, the Butt roast is more square and has the shoulder blade bone cut into each portion and the picnic is more like the bicep and forearm(ham hocks) of the front legs. Both cuts of meat, however, make excellent pulled pork.
Apparently, butts are named after the barrels the pork was stored in during the revolutionary war in New England. The barrels themselves were indeed called butts. New England is comprised of six states in the northeastern united states and Boston Massachusetts is considered it’s largest city, Hence, the Boston Butt.
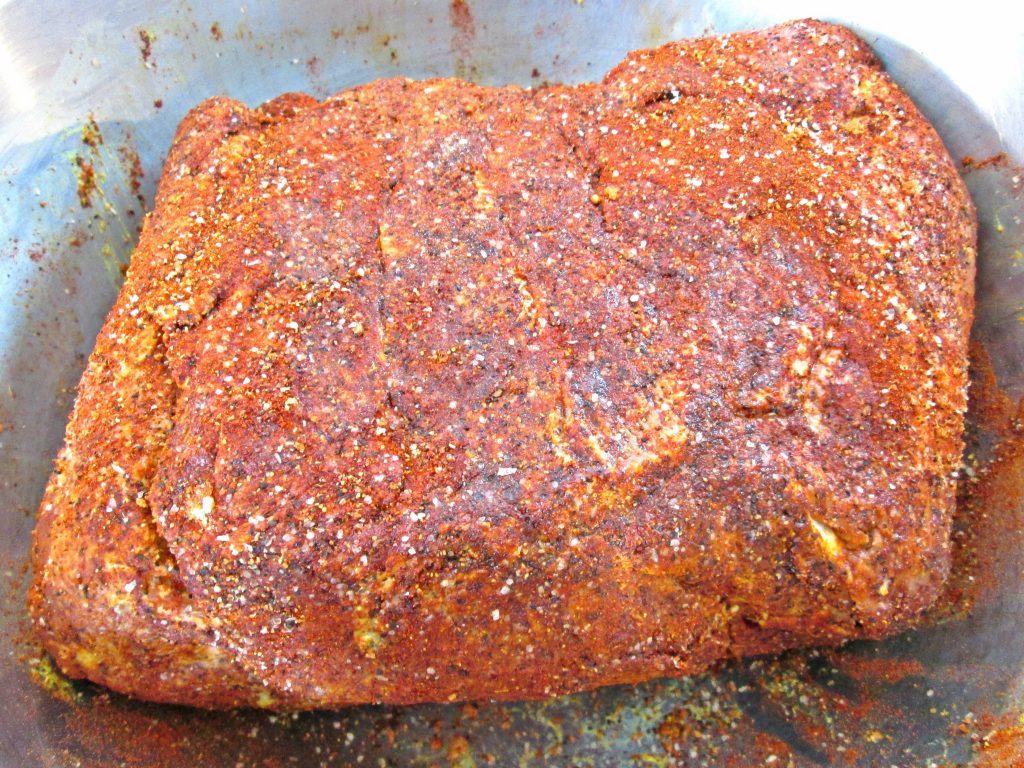
Seasoned Boston Butt Pork Shoulder Roast ready for the grill.
Seasoning a Pork Butt
There are many different ways to prepare a Smoked Boston Butt and no one recipe is the right way. When I think of pork roasts, though, I tend to lean towards my Latin taste buds which pull me towards a spicier more flavorful seasoning. Sure you could go with a classic salt and pepper rub and you would, most likely, get fantastic results. Me, on the other hand, prefer Barbacoa and Chipotle style recipes so, I put together a rub with a little more flare. I use yellow mustard as a binder and several sweet and savory ingredients for color and flavor.
You also have to consider whether or not you want to add any Barbecue Sauce. If you do want to add it, it’s best brush a thin layer over the roast at the time of wrapping in foil. It’s also fairly common unwrap the butt, when it’s done cooking, and glaze it with a thinner sauce. Common glaze’s are generally a mix of barbecue sauce, apple juice, apple cider vinegar and sometimes blended fruits like apricots or peaches. Once a glaze is applied, the Boston Butt Roast is placed back on the grill, uncovered, for 15-20 minutes to caramelize.
Smoking on a gas grill
Thanks to cooking shows on TV and cooking channels, like mine, on YouTube, Barbecue and smoked meats have gained extraordinary popularity. I think that most folks already love a good BBQ but, I’m not really sure that everyone has ever really experienced great barbecue. It was years before I ever really appreciated it. Any meat that came out of my Mom’s kitchen was never grilled and it always chewed like leather or an old shoe. Sadly, other than fish, I had no idea that meat could melt into your mouth until I was literally a full grown man and slow and low is the way to go.
On a gas grill, unless someone is burning the food, there isn’t the luxury of smoke. Without the added flavors, that burning logs, chips, pellets and nitrates the smoke provides, you’re not going to get that infamous “smoke ring” grill masters brag about. The smoke, however, on a gas grill, can still be achieved and I show you how to do it in this video tutorial. What I don’t mention, though, is an alternative.
First know, to achieve smoke, all you have to do is introduce and burn wood chips or pellets inside the barbecue grill itself. I purchased a cheap Smoker Tube from amazon that, very easily, fills with pellets and accomplishes this task. You can, however just wrap wood chips or smoking pellets in a hand made aluminum foil pouch and, with many poked holes in the foil, get the same if not similar results.
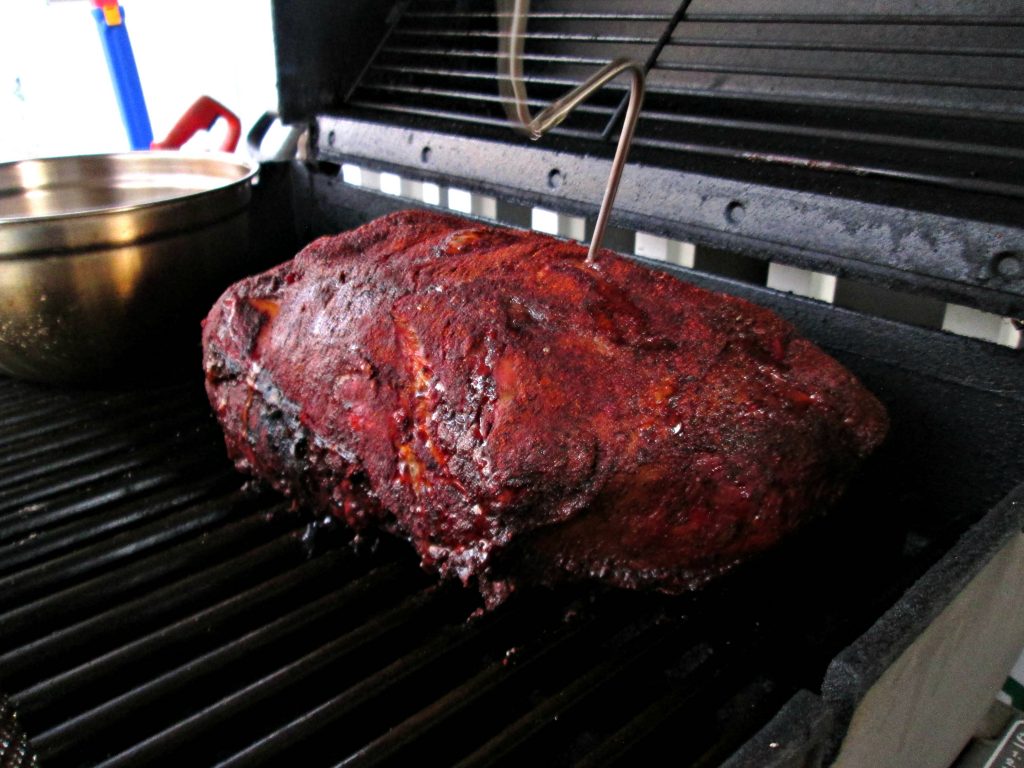
Smoking Boston Butt Roast on the grill with thermometer probing the meat.
The Boston Pork Butt must cook over indirect heat. This means that there mustn’t be a gas burner directly under the meat. My grill, for example has 3 burners. I turn the front one on low and leave the back two off to place the butt over indirect heat. I also add a bowl of water, to regulate humidity and help to keep the roast from drying out. Another step you can take is spritzing the roast, once every hour, with apple juice or apple cider vinegar or a mix of the two in a spray bottle.
I try to maintain a temperature around 275° F on my lowest setting but, on hotter days, sometimes the grill will heat up as high as 325° F so, don’t freak out if yours does. The look of the outside and the actual internal temp of the pork butt is what really matters.
Half of a Smoked Butt Roast shredded into pulled pork with Au Jus.
The smoker tube, on average, lasts 2 to 3 hours before more wood chips or pellets need to be added. I only add them once. When the tube burns out the second time, there’s no need for further smoke.
I probe the center of the roast with a thermometer after 4 hours. Once I’ve reached 160° F internal temp, I wrap the Boston Butt in foil and roast until internal temperature reaches 195° F. Then I remove it from the grill and let it rest 20 to 30 minutes before I shred it.
Shredded pulled pork from a 7.5 lb Boston Butt Pork Shoulder roast.
If I wrapped the the butt properly, there won’t be any leakage and there will be a puddle of roast juice in the bottom of the foil when I unwrap it. This juice or Au Jus, if you will, is essential for the pulled pork to reach maximum flavor and it provides a ton of moisture in the meat that keeps it from drying out so, don’t throw it out. If you want to chill it first to remove the heat, that’s fine but poor the whole thing over the shredded pulled pork and turn the pieces over a few times before serving.
If you’re interested in making pulled pork sandwich’s with this recipe, check out my Coleslaw recipe.
Smoked Boston Butt Roast on a Gas Grill by PoorMansGourmet.
Smoked Boston Pork Butt Ingredients:
7.5 lb Boston Pork Butt 3 tbsp Yellow Mustard
Pork But Rub
1/2 cup Smoked Paprika 3 tbsp Kosher Salt 2 tbsp Black Pepper 2 tbsp Brown Sugar 2 tbsp Cumin 1 tbsp Coffee grains 1 tsp Garlic Powder 1 tsp Onion Powder
Apple Cider Vinegar to Spritze
275° Fahrenheit for approximately 8 hours, total cook time. Wrap in foil at 160°, approximately 4 to 5 hours and cook for an additional 3 hours or until internal temperature reaches 195° F, then remove from the grill and let it rest. After 20 minutes, shred into pulled pork, add the leftover juice from the roast and serve. For more flavor, shake the rub seasoning into the shredded pulled pork.
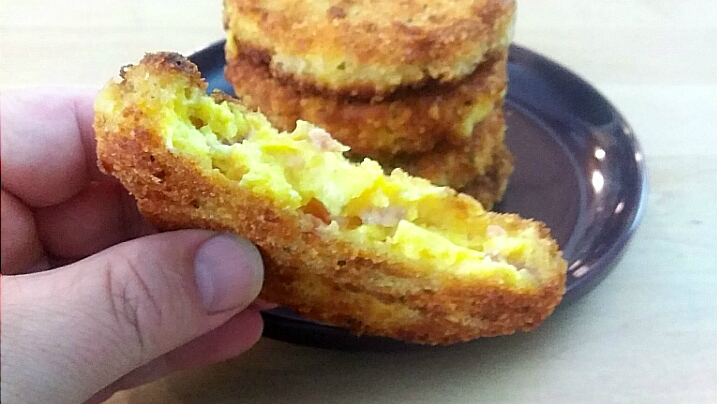
Six stacked Breakfast Combo Bar Patties on a small purple plate.
The Best Breakfast Combo Bar
If I’ve never expressed my love for breakfast foods, particularly hot breakfast foods, I can sum it up in a word… GIMMIE! This Breakfast Combo Bar is no exception. What is it? It’s a crispy fried scrambled egg, ham and cheese patty and, if you’ve never tried one before, believe me when I say, they’re amazing. These can’t be purchased by the average consumer, by the way, and you don’t usually find this item on a restaurant menu so, you’re going to have to learn how to make these and try them your self.
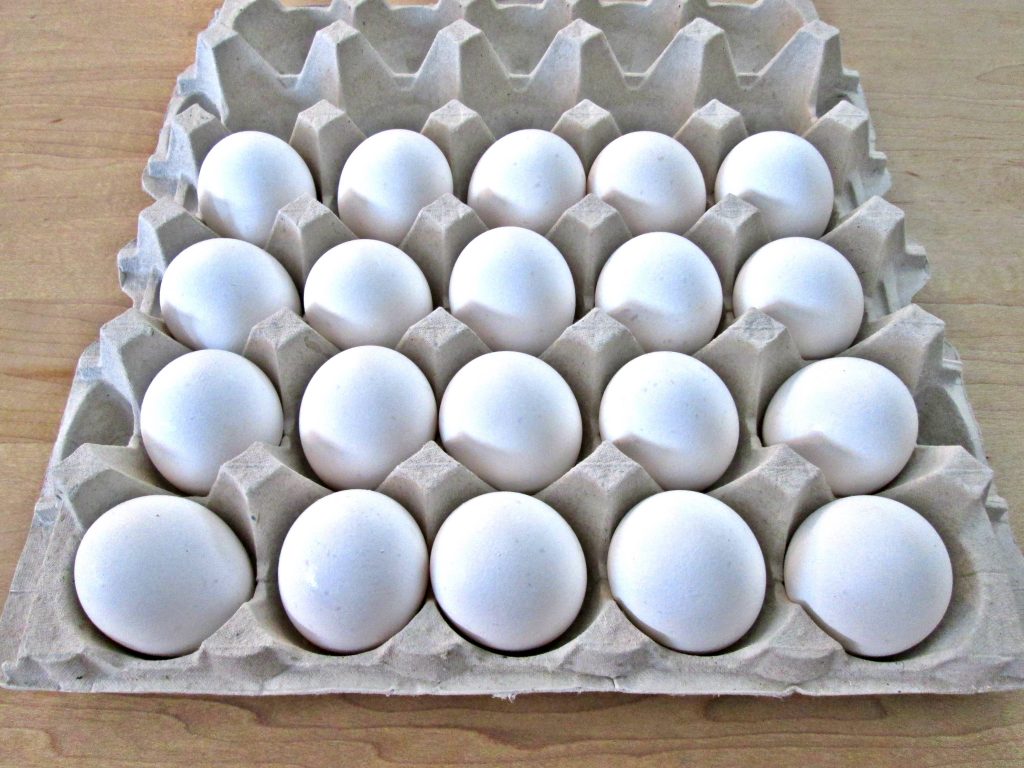
One carton of 20 chicken eggs.
Where does it come from
I learned about the Breakfast Combo bars over 25 years, when I attended trade school, and I fell absolutely in love with them. I’ve never seen them served any where else but I have since learned that they are a bulk product, made by Hormel, and they’re only sold to distributors and restaurant supply companies like Sysco; which also explains why my school cafeteria was serving them up in the mornings.
Eggs are the main ingredient in this recipe, mixed with minced ham and cheese so, be sure you’re stalked up to make these because it takes 2 eggs to make 1 Breakfast Bar.
One box of Original Velveeta Cheese.
What Kind of Ham and Cheese
The ingredients in the Hormel recipe says that the cheese in these Breakfast Combo Bars is pasteurized and American so, I chose to go with Velveeta Cheese. You can use what ever you want but, I’m telling you, the Velveeta, in my opinion, is spot on the way I remember these bars tasting. So, it’s something to consider if you prefer real cheese.
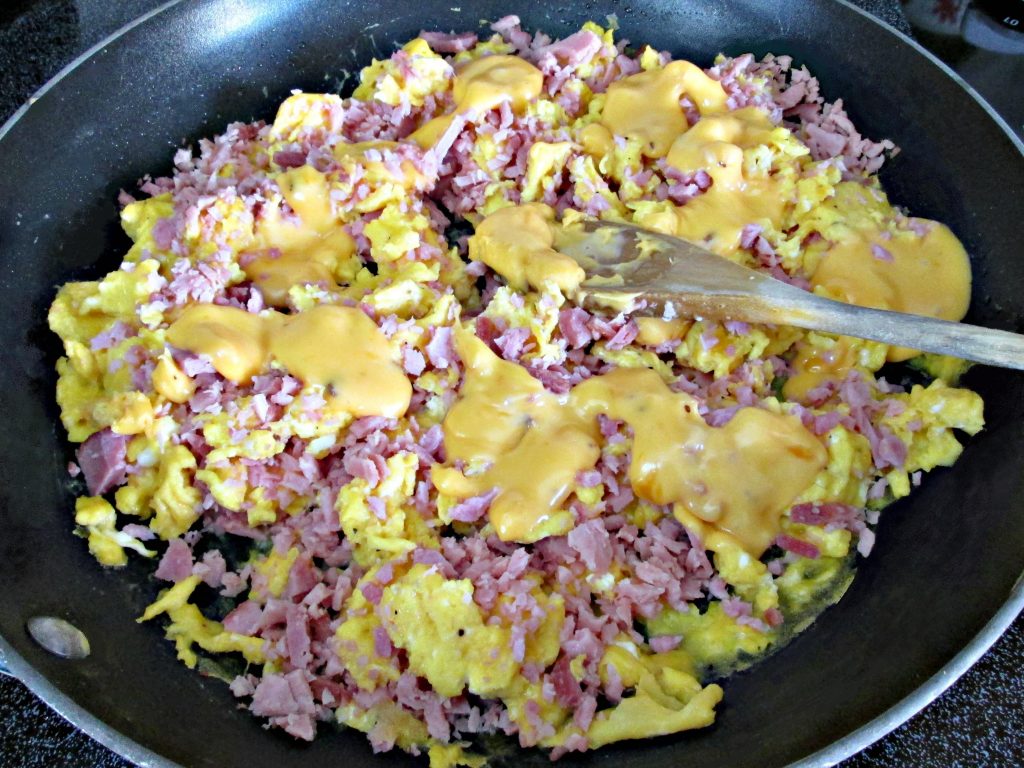
Cooked ham and cheese with scrambled eggs.
The Ham I use is just a classic hickory smoked ham that I add to the eggs, chopped, after they’ve cooked. I melt down the Velveeta cheese in a smaller pan with a few tablespoons of whipping cream to make it creamy and easy to poor over the eggs and ham mixture. Then, I mix everything together, remove from the heat and form patties on a cookie sheet.
Eggs, ham and cheese mix formed into patties on a cookie sheet for the freezer.
It’s good to use a non-stick cookie sheet or some non-stick spray that will keep the eggs, ham and cheese mix from sticking, once you’ve made patties. I use an egg pan mold approximately 3″ inches in diameter. The mold is only about one 1/2″ inch so, it makes it easy to press them flat too. The patties must be frozen before they’re battered for frying or they will not sustain their shape. 1 hour, minimum, in the freezer is required to obtain a frozen patty. In fact, I usually keep half of them in the freezer while I’m frying the first batch because they soften quickly and fall apart in the egg wash.
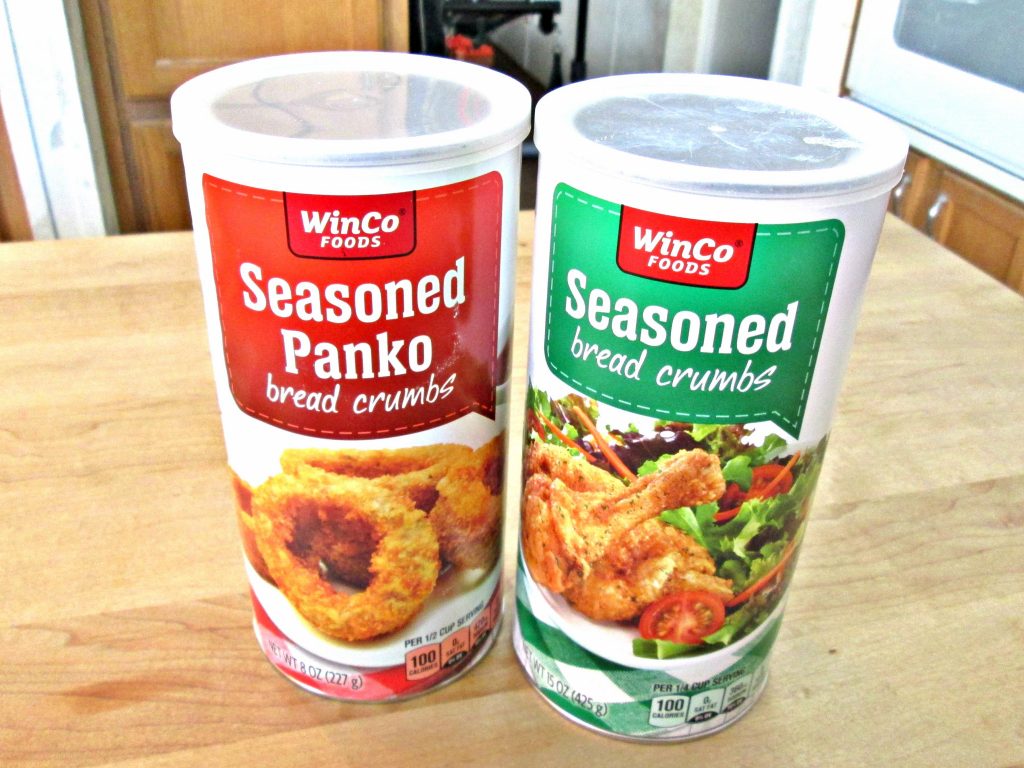
2 canisters of both Seasoned Panko and Bread Crumbs.
Breading and Batter
Once the egg, ham and cheese patties are fully frozen, they can be put through a 3 step breading. First the flour, then the egg wash and the seasoned Panko and bread crumb mix. Each patty only needs to go through these steps once. There’s no need for a second coating, trust me. Now all you need is a half inch of oil, in a hot pan, for frying. Fry at 350° Fahrenheit for approximately 2 minutes, or until golden brown, on each side. Then remove from the heat and let them rest on a rack or paper towels, to remove the grease, and serve.
Breakfast Combo Bar video tutorial by PoorMansGourmet
Breakfast Combo Bar Ingredients: Makes 6
12 eggs, scrambled and pre-cooked with Salt and Pepper to taste 1/2 cup Ham, minced 1/3 cup Velveeta Cheese, melted 2 tbsp Whipping Cream or Milk
1/3 cup flour 2 eggs 3 tbsp water 1/3 cup Bread Crumbs, seasoned 1/2 cup Panko, seasoned
Oil for Frying
Watch and follow all of the instructions in the Breakfast Combo Bar video tutorial.