Non-Stick Cookware Review Blue Diamond vs. MSMK PRO

Nonstick Pans Review

I know that some of us use non-stick pans and others absolutely attest them, I get it. I’ve heard everything under the sun, believe me, about pot and pan preferences. I’m not interested in debating anyone because, most likely, they’re right and doing what’s right, for them and that’s great. I just thought that I could share some cookware comparisons for those who are interested in Nonstick pans that are practically restaurant quality. So, I put together another video tutorial for you to see what I found.

MSMK PRO Cookware Specs

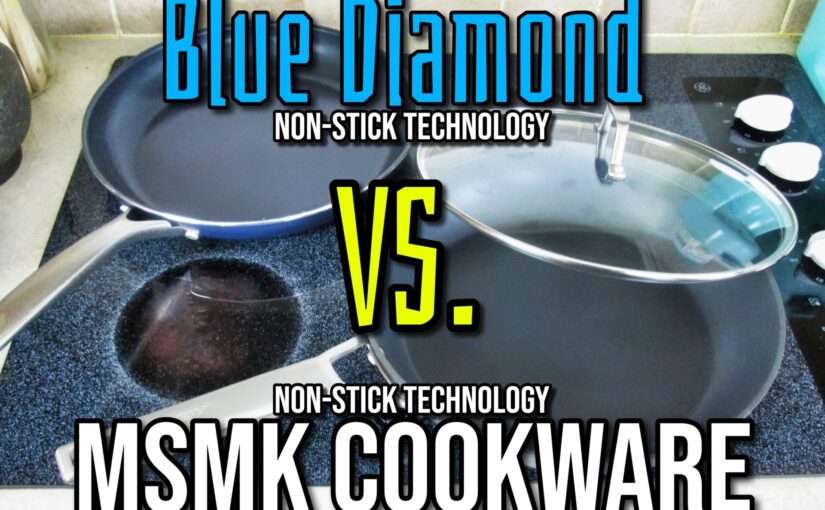
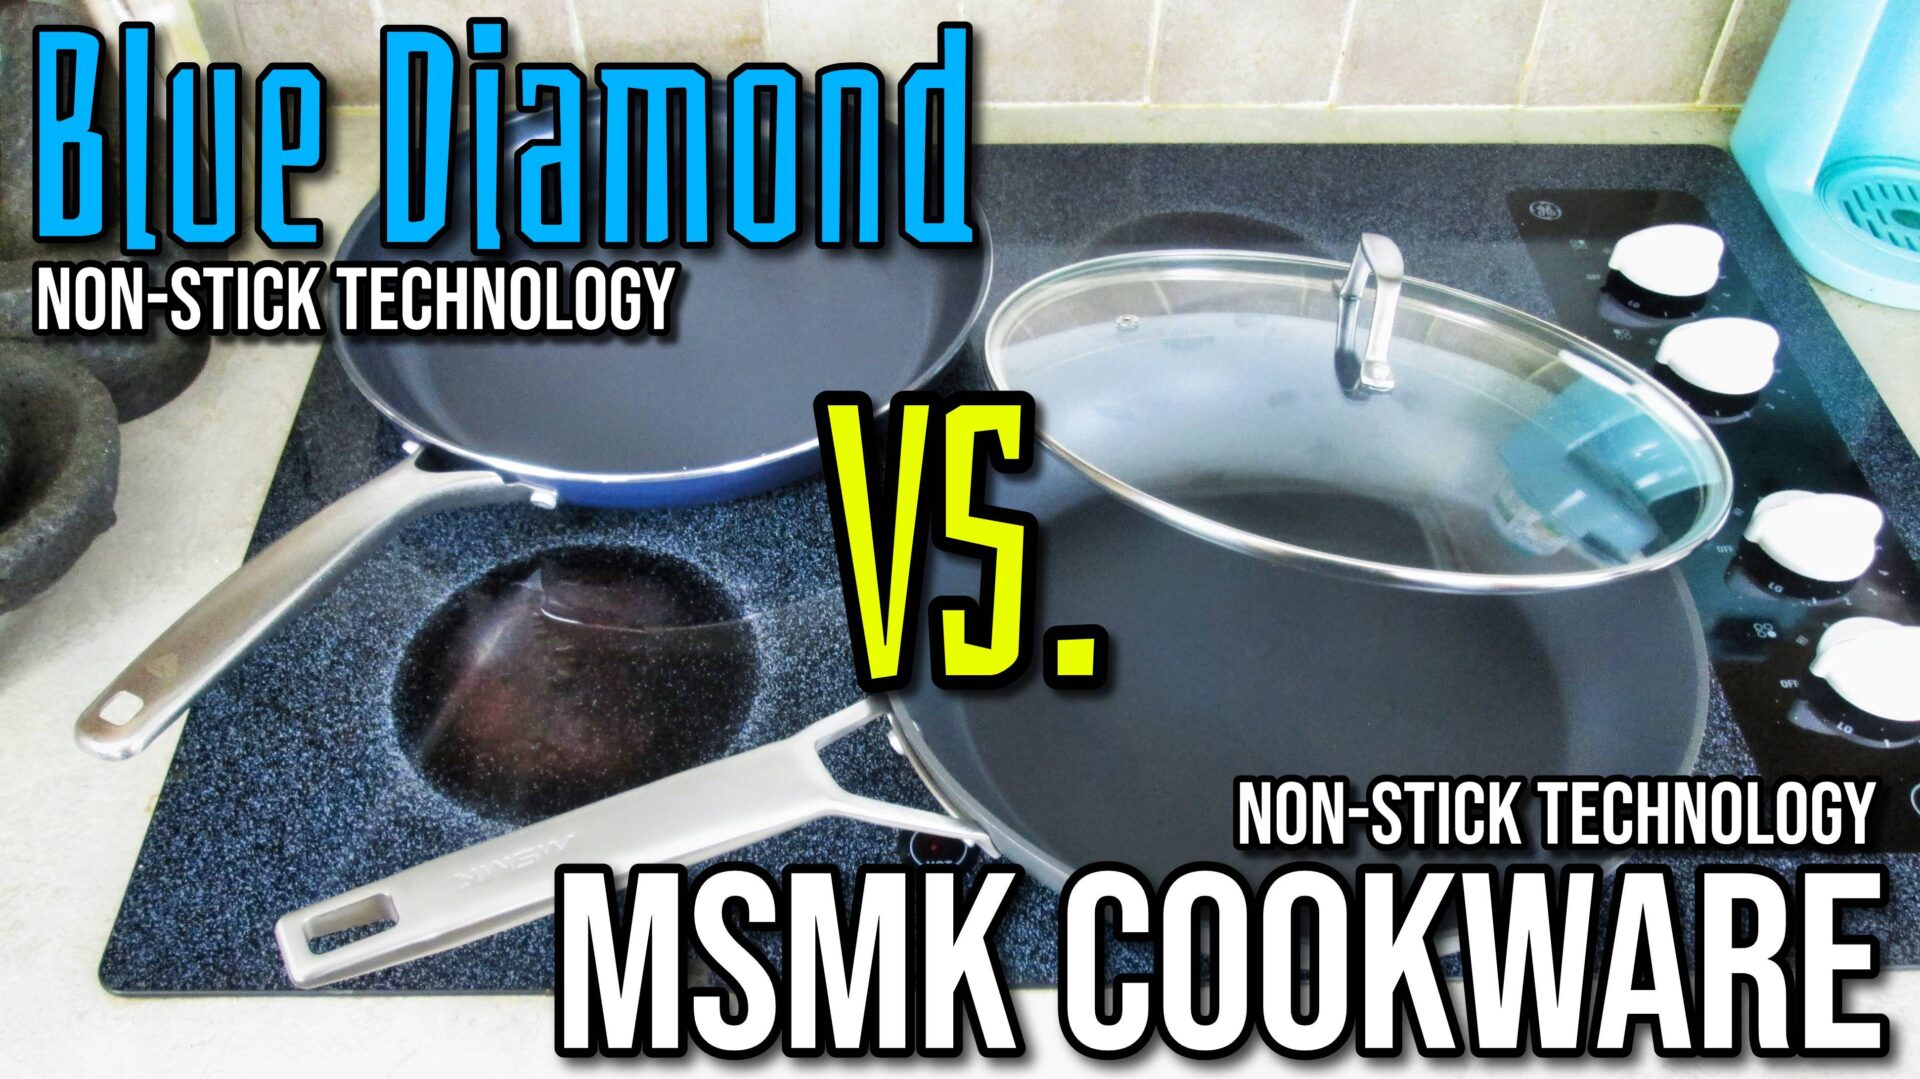
In this video tutorial, I share a variety of pans that I have used and filmed over the years. Some of which were Nonstick and some that were not. I’ve arrived to the simple conclusion that we need better cookware and it needs to be affordable. I chose one of the most cost efficient and popular pans on the market today, Blue Diamond’s 12″ Nonstick Skillet, and compared it to MSMK PRO 12″ Nonstick Skillet.

MSMK Cookware is, however, a PAID SPONSOR but I have never let that deator or distort my views and opinions. I believe in the products or I don’t endorse them. My video, honestly, is a straight forward “infomercial”, if you will, but as you know I always give more information in these blog posts. The following is text, straight from the sponsor and manufacturer. My video is down below.

  1. Point 1: PRO NONSTICK-Non Stick Technology

We suggest you cook eggs to show this feature

Get restaurant-quality meals at home just like a pro chef with MSMK non-stick frying pan set! Coated with a triple layer of nonstick material and tough titanium ceramic diamond compound to make them super durable. USA and GRE TUV approved, PFOA FREE, no nickel, lead, and other heavy metals, safe for children, PTFE&PFAS Free

  1. Point 2: STAY-COOL STEEL HANDLE

The pans Y-shaped structure allows the handle to dissipate heat effectively and keep the handle cool continuously, keeping yourself and your loved ones safe when cooking. 

The sealed design with stainless steel surface refined polishing prevents any soup or sauce from getting inside, making it easy to clean. 

Plus, the hole at the end of the handle allows for easy hanging on a wall, saving valuable storage space in your cabinets

  1. Point 3: PROFESSIONAL HEAT DISTRIBUTION

4mm-thick smooth stainless steel bottom & pot design with a thick mouth and thin body allow for more even heat distribution, creating perfect omelets without burning the bottom on your induction hob, smooth bottom is designed to avoid scratching up the glass hob, Heats up 15% faster than other cookware

  1. OVEN SAFE TO 700℉, Common pans can only make it  450℉ safe

OVEN SAFE TO 700℉: With our cookware, you can seamlessly transition your sautéed dishes straight into the oven for final changes,700℉ safe, without sacrificing taste or quality.

Our non-stick coating adds ease, efficiency, and peace of mind to your cooking experience.

Nonstick Cookware video tutorial comparison video by PoorMansGourmet.

My Opinion about this Cookware

As I mentioned in the video, I think the best nonstick pan is going to infuse a more durable cooking surface that doesn’t scratch, a skillet that can endure higher temperatures and doesn’t warp or deteriorate quickly.

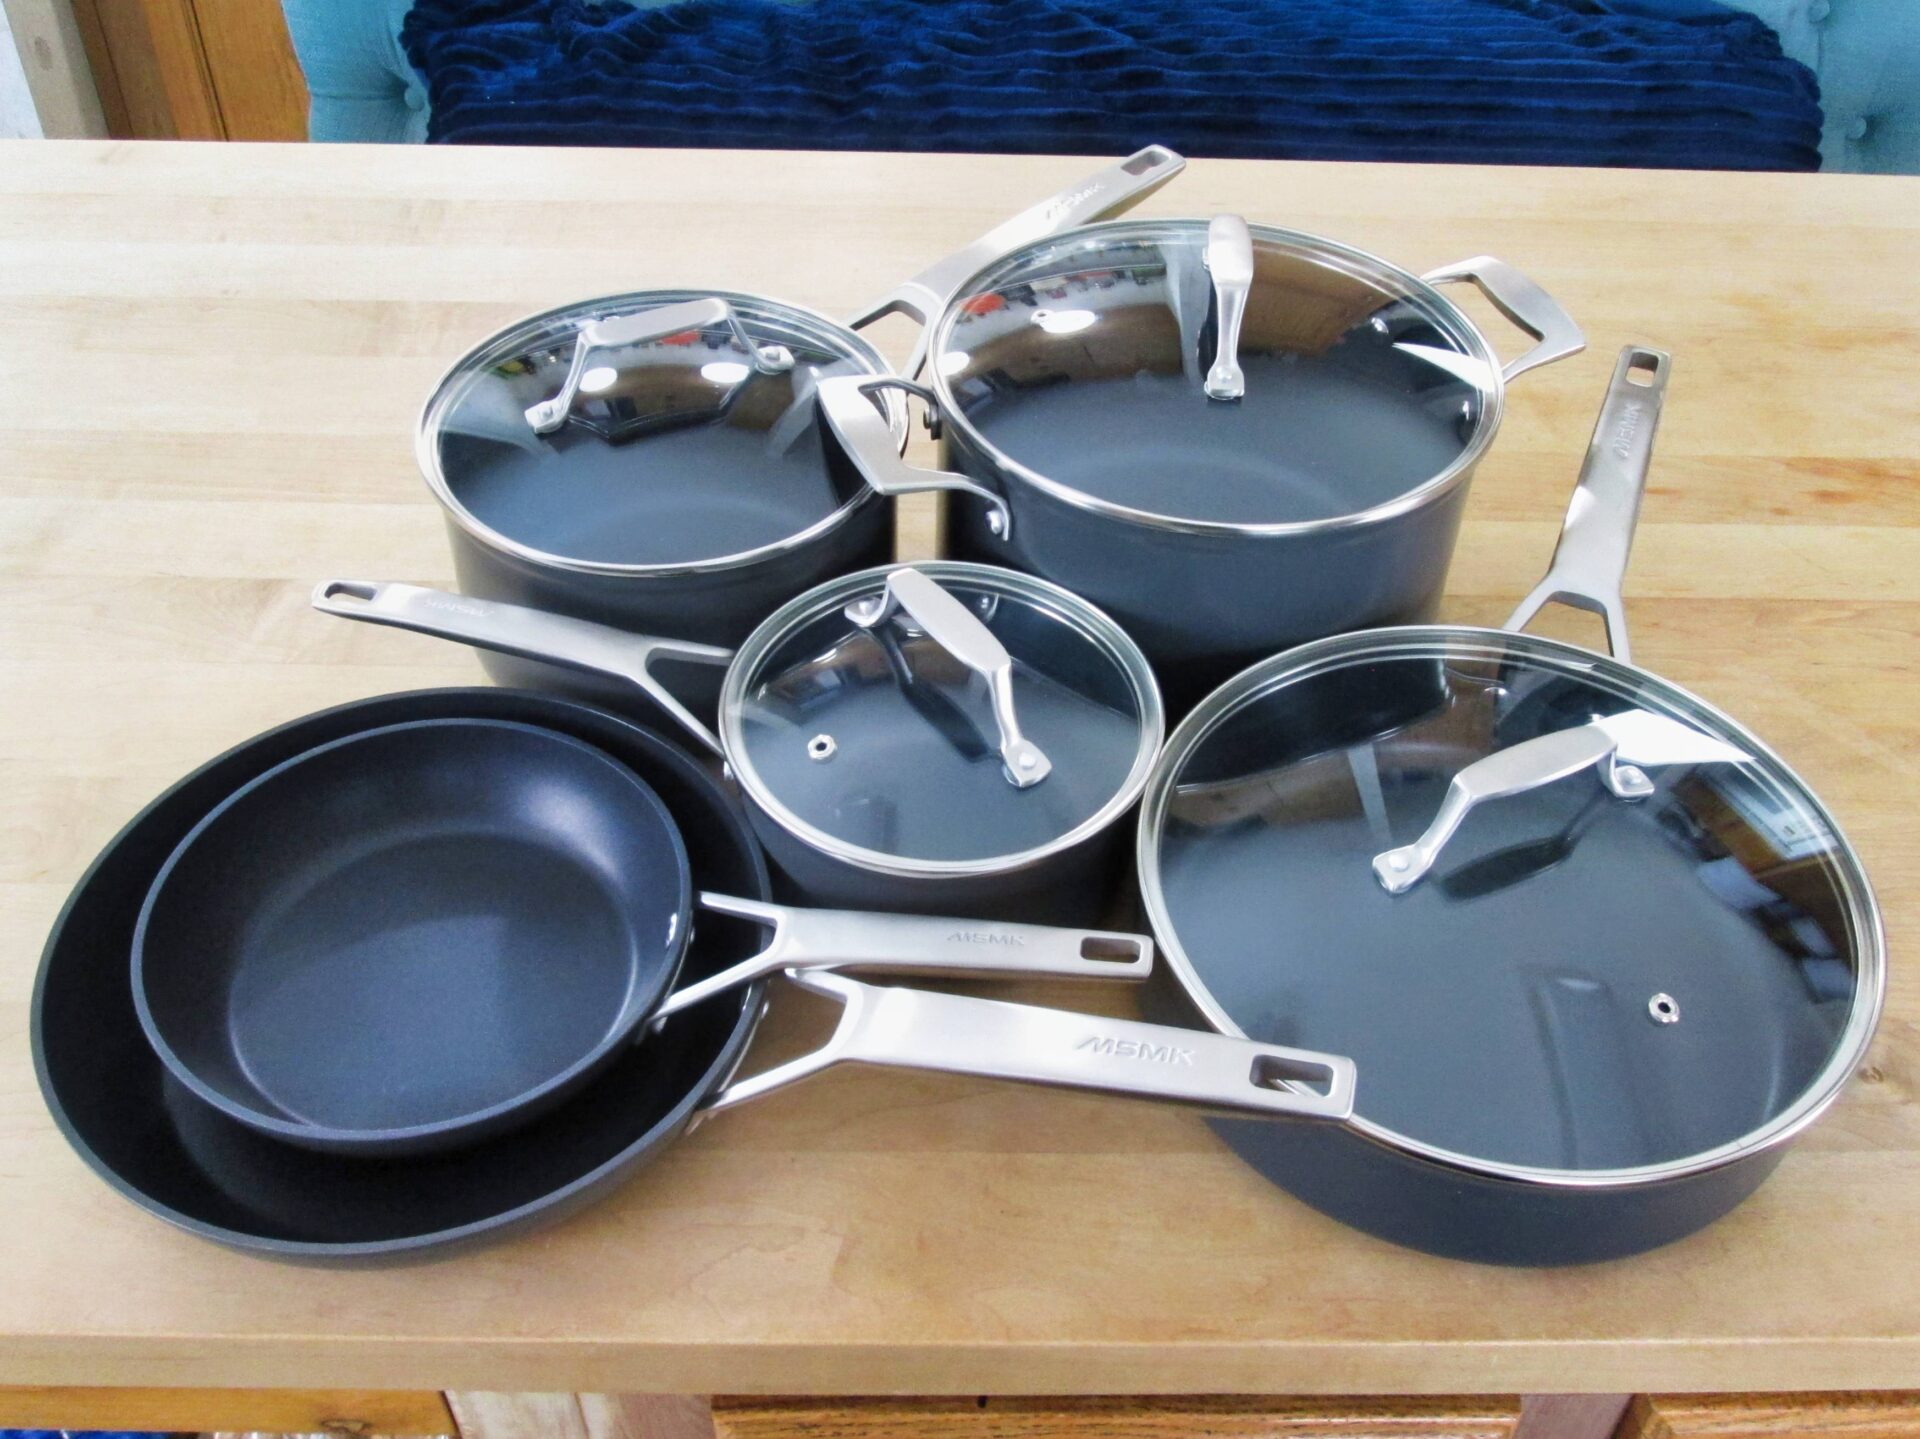
These pans also compare to a more popular set and brand made by Ninja but they’re expensive. These Pots and Pans look almost identical to those and have higher temp ratings. I’ve also been authorized to offer a temporary discount code for my followers so, if you’re interested, take full advantage of this opportunity.

Get MsMk 10 Piece Non-Stick Frying Pan Set here:https://dada.link/QvwWbe

Use my code OUMRJZ6C to get a 15% Discount (Available from 07.13-11.1)

Get MsMk 12-inch large non-stick frying pan with lid here:https://dada.link/Wtu-vs

Use my code 7PGSEERI to get a 15% Discount (Available from 07.13-11.1)

Bottling and Storing Wine

Full 36 Bottle wooden wine wrack against a small wall in my kitchen.

The Easiest Way to Bottle and Store Wine

This is the Fourth installment to my “How to make Wine” video and blog post series. If you’ve missed the other posts and video tutorials, refer to the link above to get caught up. So far we’ve gone through the “Primary Stage” and the “Secondary Stage” of wine making. We also spent some time with Clarifying your wine and now I’m going to teach you the easiest and best ways to bottle and store your homemade wine.

The amzchef Juicing machine.

Sponser’s for this Post

I was approached by a marketing department to advertise a few products for them. I only agreed to help them because these are directly related to the wine making and storing process.

In the first video of this series, I mentioned that it wasn’t a good idea to blend your fruit but a juicer could be used. So, I looked into this Juicer and it’s exactly what you need for a higher juice yield, when you’re making wine.

This particular machine uses an auger, much like an auger in a meat grinder. Fruit is dropped through the top until it reaches the re claimer and the the auger takes over by feeding and pressing the fruit into the juicer; which separates the pulp from the juice. Both of which are still needed to make your wine so, DO NOT throw the pulp out. Just add them to the bucket the way I demonstrated, in that first wine making video, using the press.

You can purchase one of these Juicer’s HERE using this temporary 20% off Discount code: CX37QTNA

Stainless Steel 24″ BODEGA Wine Cooler 52 Bottle Capacity.

I also received a BODEGA wine cooler from the same marketing group. Again, I’m waiting for the links and discount codes for it as well but, these refrigeration units are ideal for anyone that doesn’t have a basement or a wine cellar; where it’s most often cooler than the rest of the house.

Anyone that can’t afford those kinds of luxuries can possibly find it worth their while to pick up a unit like this to store their wine instead. These units maintain an efficient and stable environment, for wine, set at an exact and constant temperature and runs on only 95 watts of power.

Dark and light wines will vary with different temperatures and your personal tastes will, of course, play a roll in that but this cooler, in particular, ranges between 41° and 68° Fahrenheit in the settings. Warmer temperatures can be set for the red wines and colder chills for the whites.

Personally, I don’t buy wine. I make it. Wine can be very expensive to buy but, in my opinion, it doesn’t make my wine-making any less valuable and it’s worth protecting. I put a lot of work into my process and there’s nothing more valuable in this world than time.

If you’re not into wine or making wine, clearly something like this doesn’t make sense for you. But, if you’re like me and you’re really finding the joy in picking up a hobby like this, that you can enjoy all year long, a wine cooler can really protect your investment.

You can purchase this Wine Cooler HERE with this temporary 20% off discount code: BSLX-77LMQT-CVG9AT

PMGK Homemade wine, bottled and stacked on wine racks in a wine cooler.

Bottling and Storing

In this tutorial, I show you how to bottle wine from a 1 gallon carboy to 750 ml wine bottles. I demonstrate how to siphon and cork the wine using a cheap wine siphon and a Portuguese wine corker. I show you how easy it is to spruce up your bottles with cheap pvc shrink wrap and labels. I also advise you on the type of conditions and environment that is more suitable for wine by demonstrating the use of a wine cooler.

You need to know, however, the proper temperatures that each wine should be properly stored. Though, it would be nice to have a cool basement, a wine cellar or, indeed, a wine cooler like the one I’m advertising, sometimes none of these things are practical. So, let’s dive into next best practice’s.

Dark places are you’re best friend when it comes to the preservation of wine. This means under desks, in corners or closets. Even boxed up will make all the difference. Light, sunlight, in particular, will destroy the wine. That’s why most wines are placed in dark green or brown bottles and wine coolers are made with double pane smoked glass, for protection.

Vibration or constant movement needs to be avoided and heat. So, a basement may be dark and humid for your wine, but if it’s being stored near a furnace or heater, you’re going to quickly ruin your wine. Also, placing a wine cooler in a garage to store your wine, is another bad idea.

Wine bottling, corking and labeling materials for properly storing wine.

Most garage’s lack insulation and, in the Spring, Summer and Fall months, can quite possibly be warmer than any other room in your house. Though you may be thinking,”Hence, the refrigerator”, it’s a bad idea and here’s why.

A compressor will be constantly battling the temperature of the garage to maintain the temperature of your wine. A 30° variance will make your cooler work harder and quite possibly blow the motor, void the warranty and, most likely, ruin you’re wine before you even discover it.

Wine bottles should be stored on their sides. Everyone knows this but do they know why? It keeps the cork wet which in turn keeps it expanded for a tighter fit. The last thing you need is oxygen slipping into your wine and turning it into vinegar.

Any wine should be stored at a minimum of 70° Fahrenheit and much lower for some reds and most white wines and or champagne. 55° F is a nice happy medium and the average temp many red wines should be stored at. 41° F on up is optimal for most light wines and, of course, your own personal tastes will be a factor as well. Many of the tannin’s in darker wine’s can effect the flavor if they’re not stored at the right temperatures so, you can refer to this chart if you’re worried about it.

Wine Serving Temperature Chart
How to make Wine part 4 – Bottling and Storing Wine video tutorial by PoorMansGourmetKitchen

Pinsoon Air Fryer Oven

Pinsoon 10 Quart Air Fryer with 8 cooking presets, Rotisserie and adjustable time and temp.

The Best Air Fryer

This Pinsoon Air Fryer has got to be one of the best kitchen appliances I have ever seen. As a younger man, I lived in and out of Hotel’s for years, because of the work I was traveling for, and I wish I had something this compact and practical I could’ve traveled with back then. This machine doesn’t just air fry, it acts like a mini oven or toaster oven. Plus it has a rotisserie motor in it with a spit rod for meat and a basket attachment for more containment. I tested this thing out, with everything I could throw at it, and these were my results.

Top Round Sirloin Beef Roast with Garlic, Onions, Mushrooms and Sweet Peppers.

Pinsoon Air Fryer Recipes and Presets

One of the things I really like about this Air Fryer is the control panel. It’s got a Digital face with smart touch functions including presets, time and temperature adjustment, oven light, rotisserie rotation and a start button combination with the power switch. It’s very user friendly and it comes with a book with over 30 recipes they recommend. Everything I cooked in the video, I cycled back to back cooking just like I would do in a restaurant. I just kept running different options, just like different orders of food coming in, and kept the heat going and it handled everything I threw at it, with precision.

If you’re looking for a simple lifestyle change but you don’t want to change what you’re eating, this might be the answer for you. It’s healthier eating because it cooks the fat off the food instead of baking or deep frying more back in. This company is giving you 20% off for a limited time if you use this code Tara10QT and This Link!

Pinsoon Air Fryer Oven video tutorial by Poor Man’s Gourmet Kitchen.