Black plate with Chow Mei Fun Singapore Noodles on top.
The Best Singapore Noodles
If you’re thinking that this recipe title is actually 3 different recipes, you’d be right. I combined Chow fun, Mei fun and Singapore noodles because there virtually isn’t much difference. Mei Fun is a thin rice noodle and Chow Fun, is the thicker flat Vermicelli rice noodle, similar to fettuccini. Singapore noodles, however, can be made with either noodle with the addition of curry powder added to the sauce ingredients but, everything else between these 3 dishes are practically the same and that’s why I’ve turned them into one recipe.
Some recipes vary on the ingredients but I’ve put together a simple vegetable version I think everyone will love. You can add any other protein you like, if you want the addition of meat. Beef, pork, shrimp or chicken are among the most common; pre-seasoned, marinated and usually cooked beforehand, then added to the noodles and vegetables before the dish gets the sauce.
How to make Chow Mei Fun Singapore Noodles by PoorMansGourmet.
Chow Mei Fun Singapore Noodles Ingredients: Serves 4
10 oz Vermicelli Rice Stick Noodles, cook 5 oz at a time 4 Eggs, use 2 eggs per 5 oz of noodles 2 Nappa Cabbage Leave, chopped 1/2 Carrot stick, chopped 1/4 Large Onion, sliced 1 Celery stick, chopped 2 Green Onions, chopped 1/2 cup Bean Sprouts
Sauce 1 Garlic Clove, chopped 1 tsp Fresh Ginger, chopped 1 tsp Oyster Sauce 1 tsp Soy Sauce 2 tsp Fish Sauce 1 tsp Sesame oil 1 tbsp Rice Wine 1 tsp sugar, optional but recommended 1/2 tsp Salt, optional but recommended 1/2 tsp MSG, optional but HIGHLY recommended 1/4 tsp White Pepper 1 tsp Curry Powder, optional but makes Mei Fun a Singapore Noodle
Salt and Pepper this dish to taste 1/4 cup Oil for cooking, add 2 tbsp at a time.
If you like your food spicy, add Sriracha or Garlic Chili Paste in small amounts. Proteins (beef, pork, shrimp or chicken) should be seasoned, marinated and cooked first but added to the wok or frying pan last, before adding the sauce. For example, I cook one slice boneless chicken thigh per 5 oz of noodles, which easily serves 2 people. I season with Kosher salt and pepper, 1/2 tsp of curry powder and 1 tbsp of potato starch. Once this is mixed together, I fry the meat in the oil I use for this dish first, then remove from the wok, leaving the oil, then start the eggs, add the vegetables, noodles and sauce, just like I show you how to do in the video tutorial.
If you’ve only been eating 15 cent grocery store bought Ramen packages, with foam noodles, and you’ve never had Ramen made fresh in a Restaurant or at home with egg noodles, you’ve been missing out. There’s nothing like a fresh bowl of gourmet cooked Ramen made right because it’s packed with carbs, proteins and all kinds of vitamins and nutrients; especially if it’s made with Bone Broth. Real Ramen recipes have this and they’re delicious.
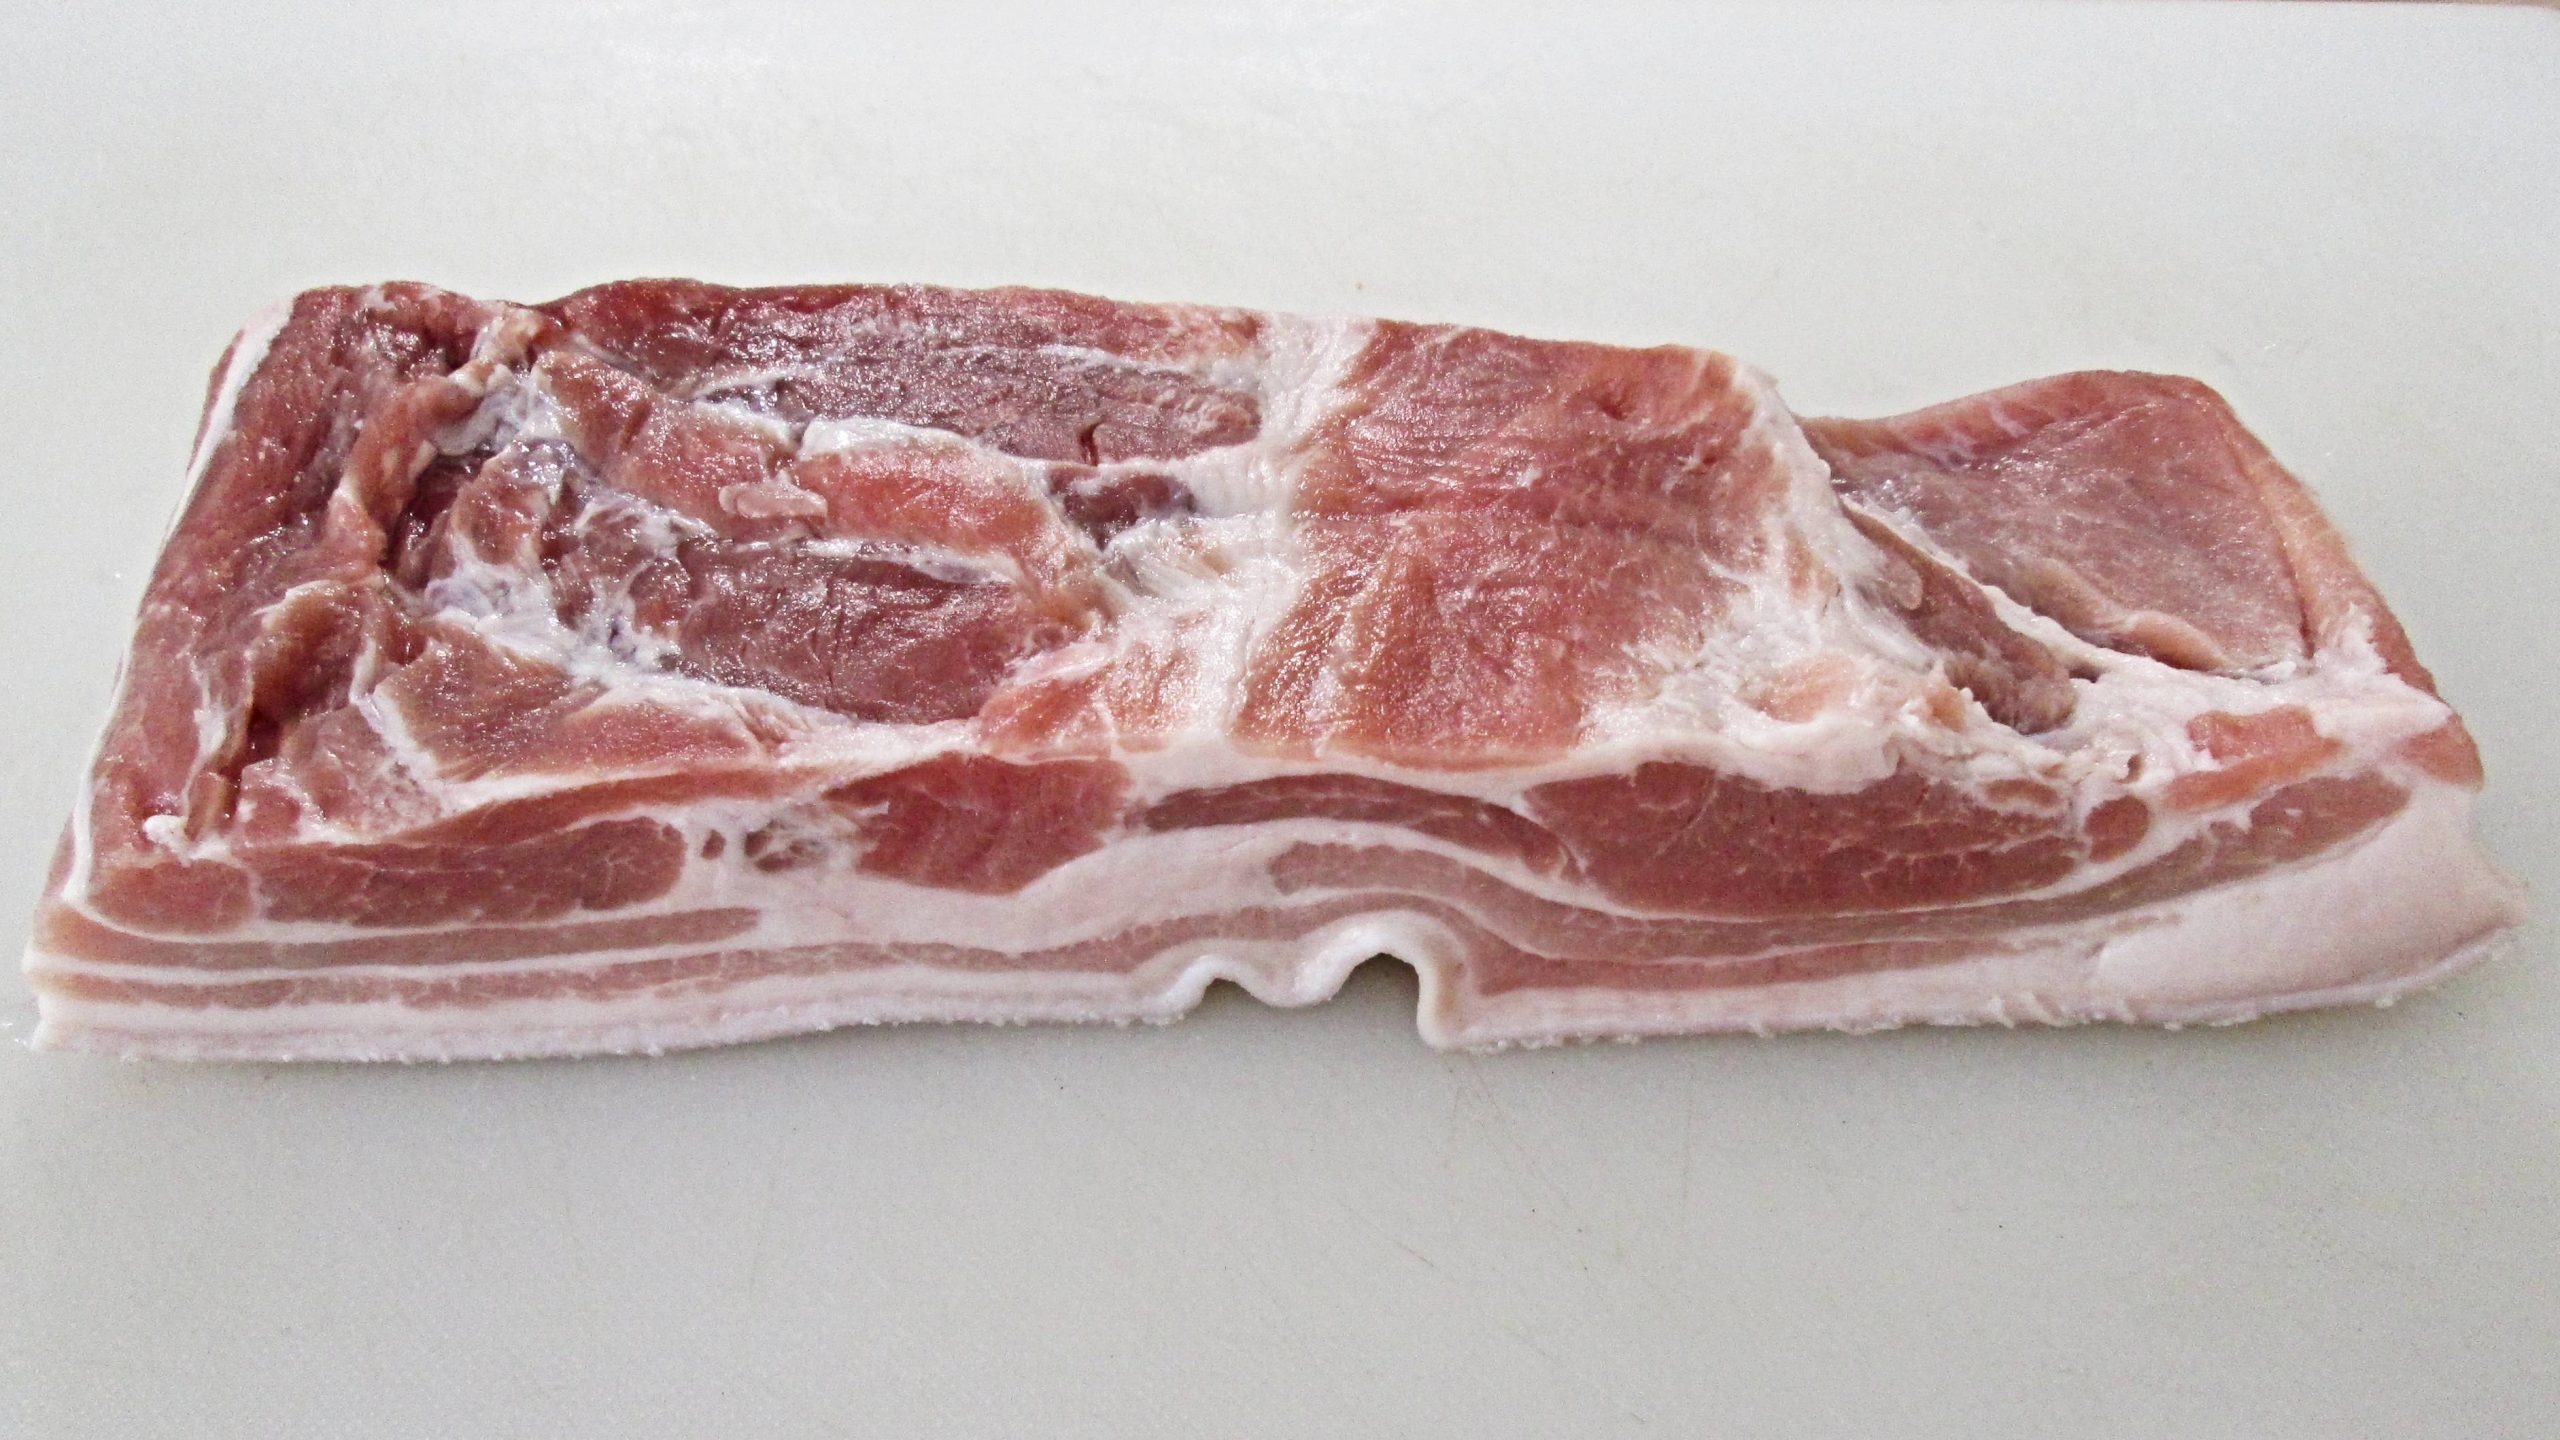
Cubed cut pork belly portions braising in a large pot of ingredients.
Cooking Pork Belly
The most important thing about cooking pork is making sure it’s cooked all the way through. But, you don’t need to worry about that when you’re braising because the slow and low process goes above and beyond the safety measure temperatures and breaks down the enzymes in the meat to the point of absolute tenderness. In this recipe, I encourage you to poach the pork belly pieces for no less than 20 minutes. This will delicately cook the meat all of the way through before braising in my secret sauce.
Homemade Ramen Noodles with Braised Pork Belly, Baby Bok Choy, Spinach, Beef Broth and Scallions.
Making this Noodle Soup
It’s always a good idea to use the freshest ingredients when making this dish, however, some substitutions can be made and I’ve made a few. I do teach you how to make Beef Bone Broth from scratch and it’s great in this recipe if you want to spend 3 hours making it. If not, Knorr’s Bouillon is a fantastic alternative and I use their Beef, Chicken and Tomato recipes often(not affiliated, I just like it).
It’s also nice to have fresh noodles on hand and you can either Make them yourself, the way I show you “How to make Pasta“, purchase the oriental style Yaka Soba noodles, which I use in this recipe, or just use a plain cheap package of Ramen noodles. All will work just fine for this recipe.
Vegetables are always a fine addition to practically any soup and this dish is no exception. You can add what ever you like but my recomendations for this recipe 3 simple greens; fresh spinach, baby bok choy and scallions. Celery, carrot, cilantro, bean sprouts, red onion and corn are also other great alternatives and additions.
As far as proteins go, boiled or poached eggs are very common in Ramen bowls, chicken, instead of pork belly if you prefer or even beef brisket is great.
Braised Pork Belly with Noodles Ingredients:
1 lbs Frozen Yaki Soba Noodles (my favorite) 3 cups Beef Broth, to cook the noodles in and use as soup 2 to 3 lbs Pork Belly, cut into cubes
Vegetables 8 oz Spinach 10 Baby Bok Choy 2 Green Onions, chopped
Hong Shao RouBraising Ingredients 2 Fresh Ginger, sliced (size of a quarter) 1/4 tsp Anise 1 tsp Pickling Spice, ingredients below 1 pinch Chili Flakes 1/4 cup Soy Sauce 1/4 cup White Wine 1/4 cup Brown Sugar Top off pork belly with water in pot (2 to 3 cups)
Bring to a boil then simmer and cook, with a lid, for 1 1/2 hours.
Serve with 8 oz of cooked noodles, 5 to 6 cubes of Braised Pork Belly, 2 to 3 ladles of beef broth, 3 oz of Hong Shao Rou sauce, Garnish with Spinach, Baby Bok Choy and Green onion.
Full 36 Bottle wooden wine wrack against a small wall in my kitchen.
The Easiest Way to Bottle and Store Wine
This is the Fourth installment to my “How to make Wine” video and blog post series. If you’ve missed the other posts and video tutorials, refer to the link above to get caught up. So far we’ve gone through the “Primary Stage” and the “Secondary Stage” of wine making. We also spent some time with Clarifying your wine and now I’m going to teach you the easiest and best ways to bottle and store your homemade wine.
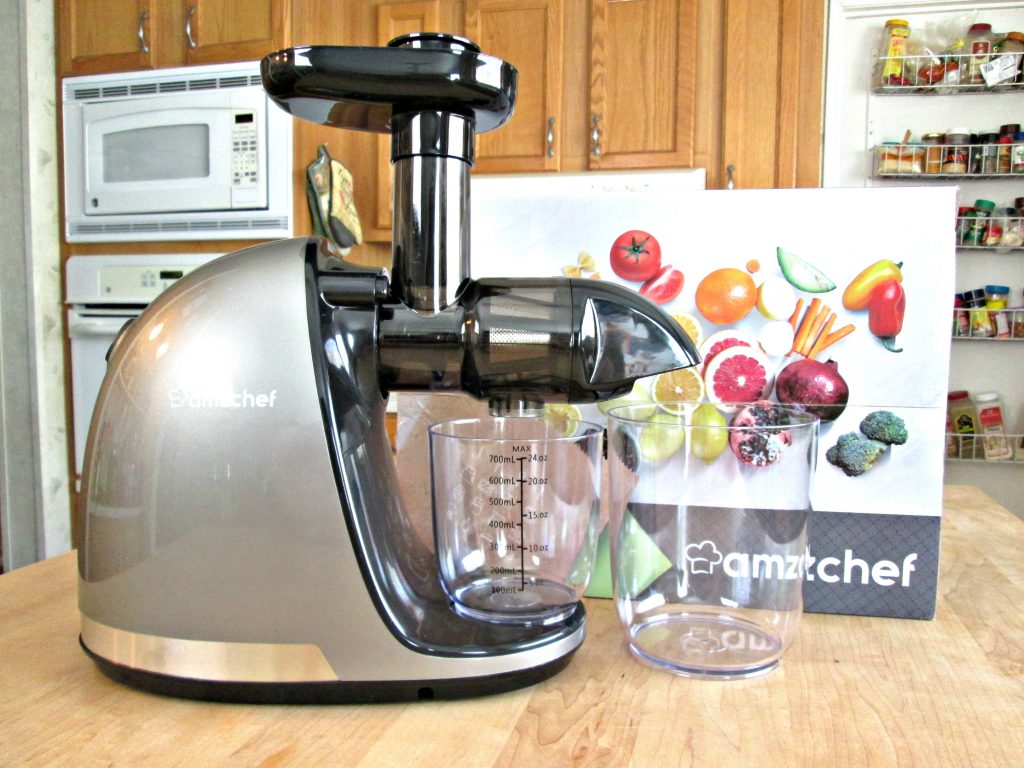
The amzchef Juicing machine.
Sponser’s for this Post
I was approached by a marketing department to advertise a few products for them. I only agreed to help them because these are directly related to the wine making and storing process.
In the first video of this series, I mentioned that it wasn’t a good idea to blend your fruit but a juicer could be used. So, I looked into this Juicer and it’s exactly what you need for a higher juice yield, when you’re making wine.
This particular machine uses an auger, much like an auger in a meat grinder. Fruit is dropped through the top until it reaches the re claimer and the the auger takes over by feeding and pressing the fruit into the juicer; which separates the pulp from the juice. Both of which are still needed to make your wine so, DO NOT throw the pulp out. Just add them to the bucket the way I demonstrated, in that first wine making video, using the press.
You can purchase one of these Juicer’s HERE using this temporary 20% off Discount code: CX37QTNA
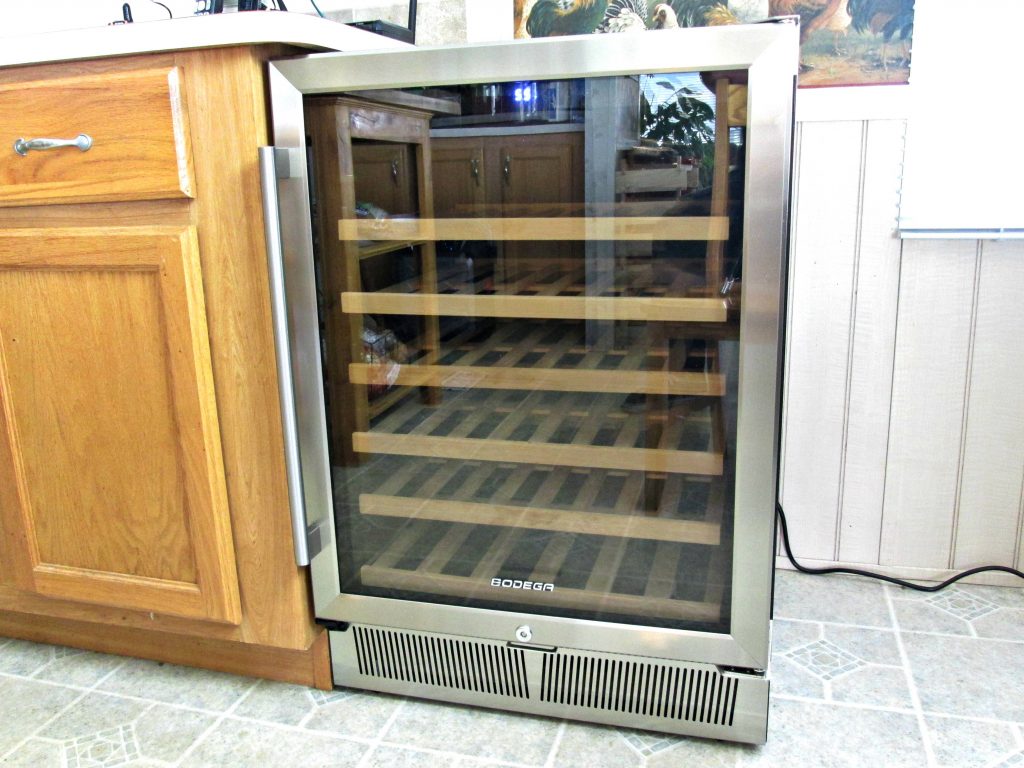
I also received a BODEGA wine cooler from the same marketing group. Again, I’m waiting for the links and discount codes for it as well but, these refrigeration units are ideal for anyone that doesn’t have a basement or a wine cellar; where it’s most often cooler than the rest of the house.
Anyone that can’t afford those kinds of luxuries can possibly find it worth their while to pick up a unit like this to store their wine instead. These units maintain an efficient and stable environment, for wine, set at an exact and constant temperature and runs on only 95 watts of power.
Dark and light wines will vary with different temperatures and your personal tastes will, of course, play a roll in that but this cooler, in particular, ranges between 41° and 68° Fahrenheit in the settings. Warmer temperatures can be set for the red wines and colder chills for the whites.
Personally, I don’t buy wine. I make it. Wine can be very expensive to buy but, in my opinion, it doesn’t make my wine-making any less valuable and it’s worth protecting. I put a lot of work into my process and there’s nothing more valuable in this world than time.
If you’re not into wine or making wine, clearly something like this doesn’t make sense for you. But, if you’re like me and you’re really finding the joy in picking up a hobby like this, that you can enjoy all year long, a wine cooler can really protect your investment.
You can purchase this Wine Cooler HERE with this temporary 20% off discount code: BSLX-77LMQT-CVG9AT
PMGK Homemade wine, bottled and stacked on wine racks in a wine cooler.
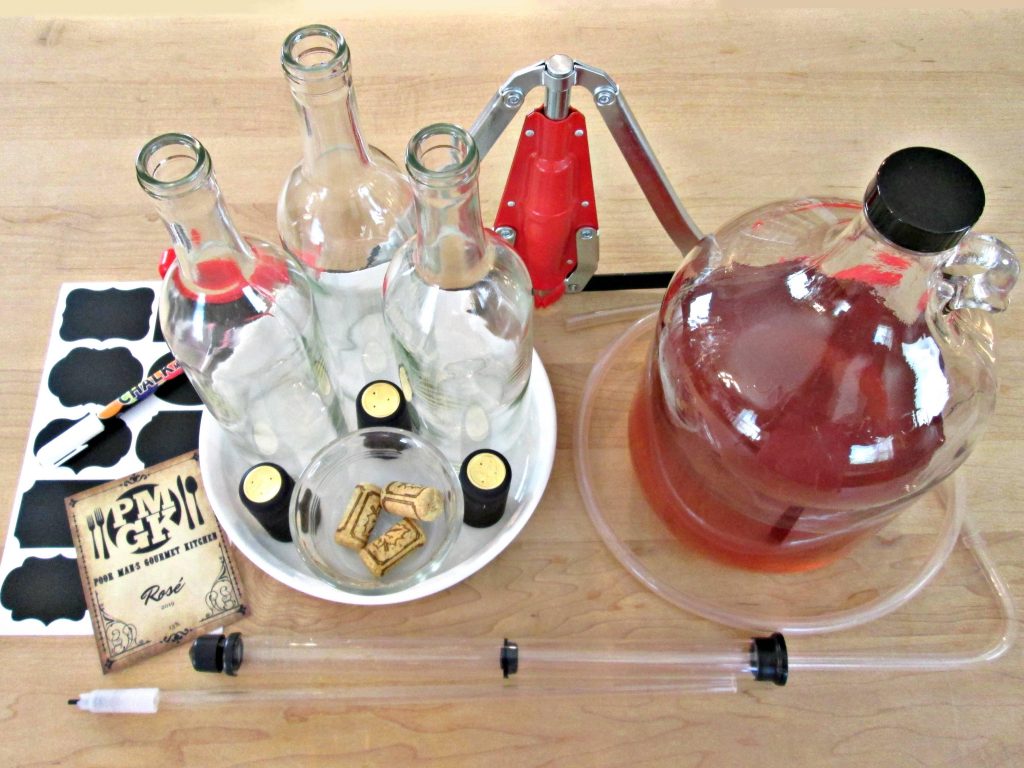
Bottling and Storing
In this tutorial, I show you how to bottle wine from a 1 gallon carboy to 750 ml wine bottles. I demonstrate how to siphon and cork the wine using a cheap wine siphon and a Portuguese wine corker. I show you how easy it is to spruce up your bottles with cheap pvc shrink wrap and labels. I also advise you on the type of conditions and environment that is more suitable for wine by demonstrating the use of a wine cooler.
You need to know, however, the proper temperatures that each wine should be properly stored. Though, it would be nice to have a cool basement, a wine cellar or, indeed, a wine cooler like the one I’m advertising, sometimes none of these things are practical. So, let’s dive into next best practice’s.
Dark places are you’re best friend when it comes to the preservation of wine. This means under desks, in corners or closets. Even boxed up will make all the difference. Light, sunlight, in particular, will destroy the wine. That’s why most wines are placed in dark green or brown bottles and wine coolers are made with double pane smoked glass, for protection.
Vibration or constant movement needs to be avoided and heat. So, a basement may be dark and humid for your wine, but if it’s being stored near a furnace or heater, you’re going to quickly ruin your wine. Also, placing a wine cooler in a garage to store your wine, is another bad idea.
Wine bottling, corking and labeling materials for properly storing wine.
Most garage’s lack insulation and, in the Spring, Summer and Fall months, can quite possibly be warmer than any other room in your house. Though you may be thinking,”Hence, the refrigerator”, it’s a bad idea and here’s why.
A compressor will be constantly battling the temperature of the garage to maintain the temperature of your wine. A 30° variance will make your cooler work harder and quite possibly blow the motor, void the warranty and, most likely, ruin you’re wine before you even discover it.
Wine bottles should be stored on their sides. Everyone knows this but do they know why? It keeps the cork wet which in turn keeps it expanded for a tighter fit. The last thing you need is oxygen slipping into your wine and turning it into vinegar.
Any wine should be stored at a minimum of 70° Fahrenheit and much lower for some reds and most white wines and or champagne. 55° F is a nice happy medium and the average temp many red wines should be stored at. 41° F on up is optimal for most light wines and, of course, your own personal tastes will be a factor as well. Many of the tannin’s in darker wine’s can effect the flavor if they’re not stored at the right temperatures so, you can refer to this chart if you’re worried about it.
Wine Serving Temperature Chart
How to make Wine part 4 – Bottling and Storing Wine video tutorial by PoorMansGourmetKitchen